
Dollar Store Acorn Fall Decor
This post may contain affiliate links and I may be compensated for this post. Please read our disclosure policy here.
Dollar Store Acorn Fall Decor
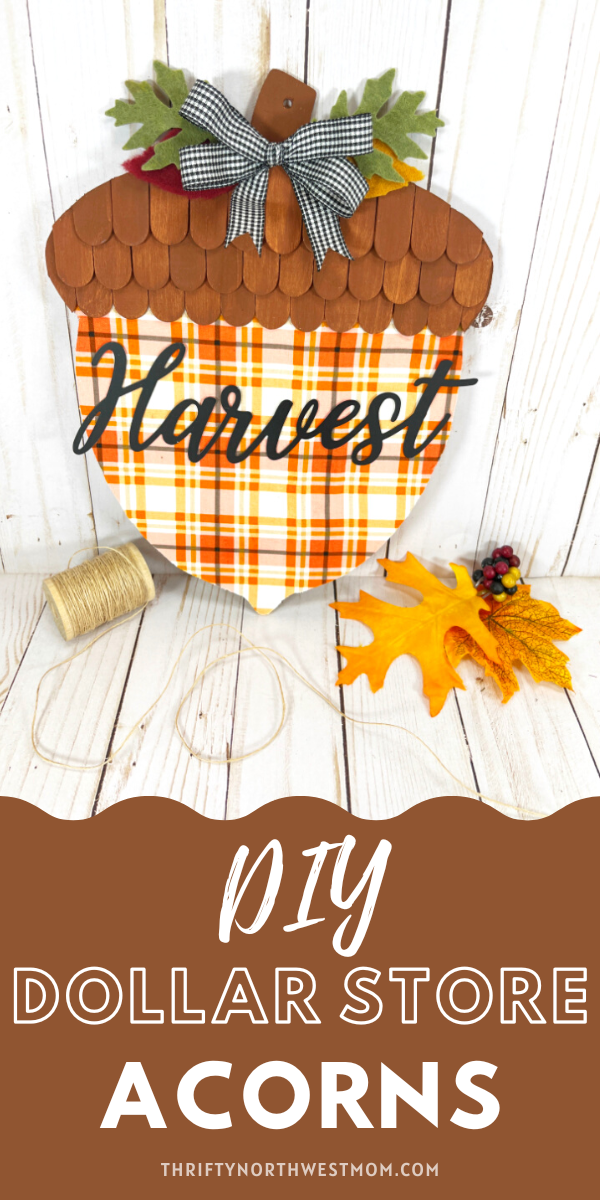
If you’d like to add to your fall decor on a budget, we love this Dollar Store Acorn Fall Decor project. You can whip this project together using very simple supplies from the Dollar Store in about an hour. The hardest part is waiting for the paint to dry! It’s just a simple project of cutting, painting, & glueing.
You can put this together in whatever style you love for your home & whatever patterns & colors, too, that are your favorite to use for your fall decor. And pull it out year after year to use.
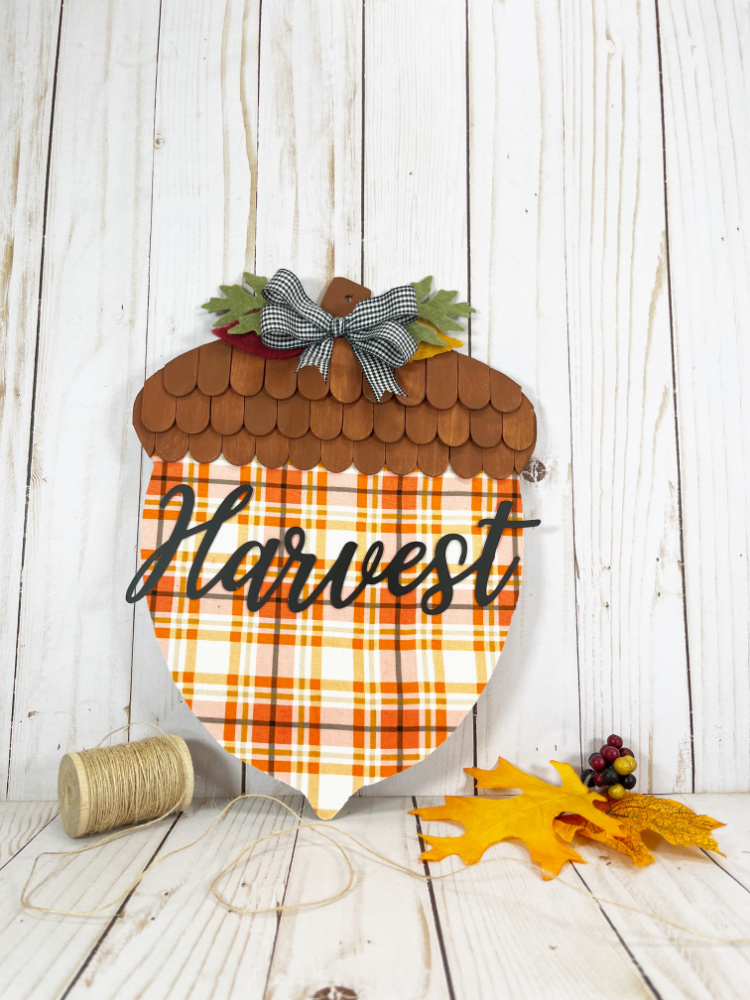
You could use this as either a standing sign or add rope or ribbon at the top to the hole in the acorn & hang it on your wall for pretty autumn wall decor.
It will cost about $10 – $15 (depending on how much your dollar store is charging these days), but you may already have the paint, craft sticks, ribbon/rope, fabric & more craft supplies on hand, so in that case, this will be even less cost if you are just buying the acorn & words pieces! Such a frugal fall decor piece!
Plus, check out lots more year round DIY Dollar Tree Craft Ideas too!
Dollar Store Acorn Fall Decor:
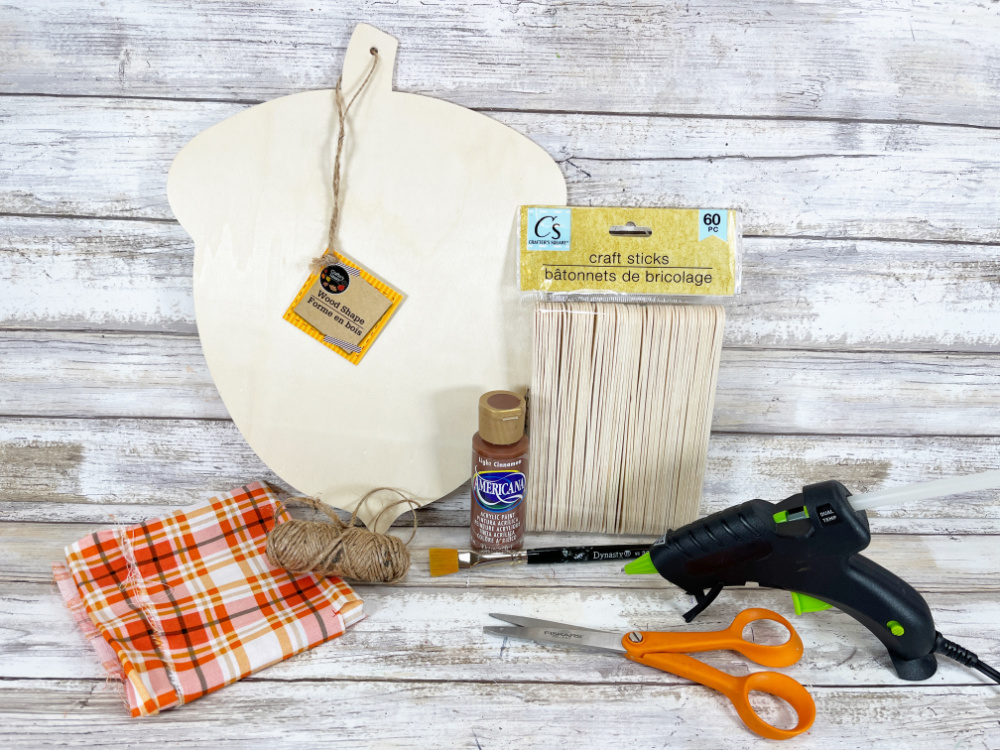
Materials:
- Wooden Acorn Wall Décor – Dollar Store
- Wooden Jumbo Craft Sticks, 20 – Dollar Store
- Fat Quarter Fabric – Dollar Store
- Gingham Ribbon, Black and White – Dollar Store
- Metal Words, Three Pack – Dollar Store
- Felt Leaves – Dollar Store
- Glue Gun and Glue Sticks – Dollar Store
- Acrylic Craft Paint – Dark Brown, Black
- Decoupage Medium
- Paintbrush
- Self-Healing Mat
- Craft Knife
- Scissors
- Ruler
Instructions:
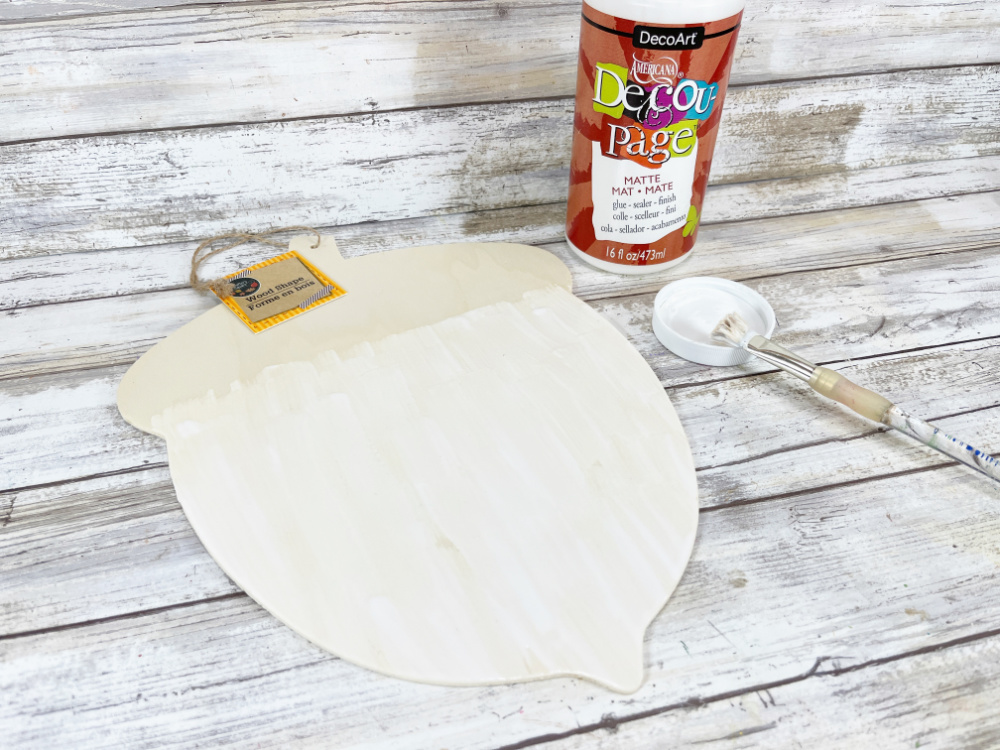
Gather all supplies. Remove tags and packaging from all materials. Using a paintbrush, apply a basecoat of decoupage medium to the bottom 2/3 of the wooden acorn.
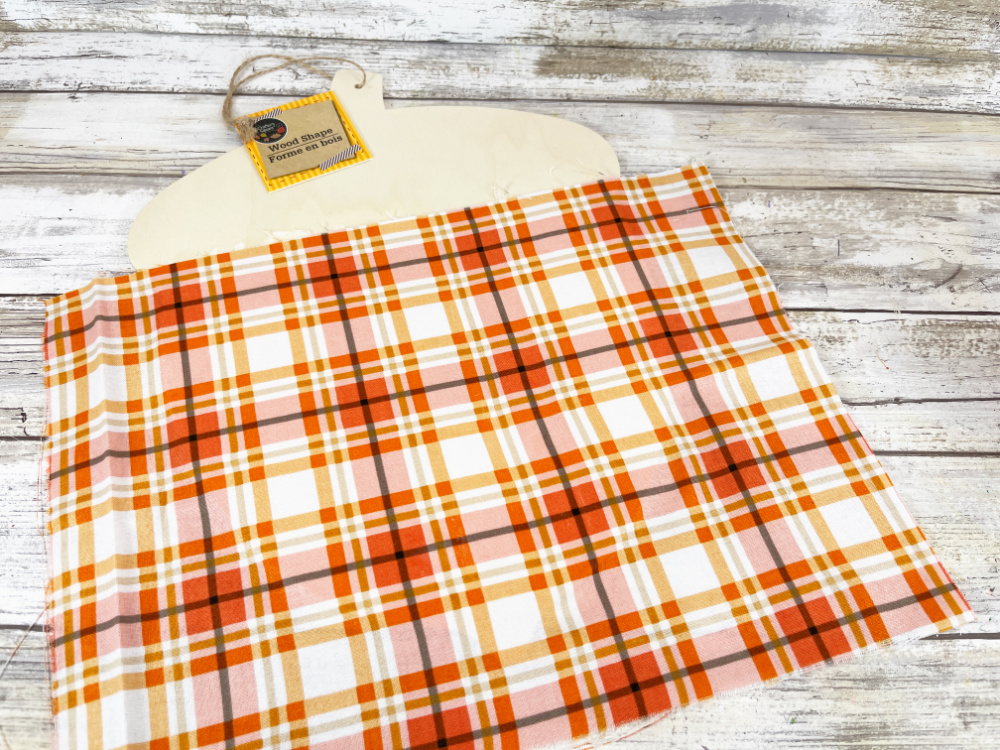
Place fat quarter fabric on top, overlapping the acorn cap section slightly, and smooth out any wrinkles with your hands. Apply a topcoat of decoupage medium, and then trim any excess fabric from the edges with scissors.
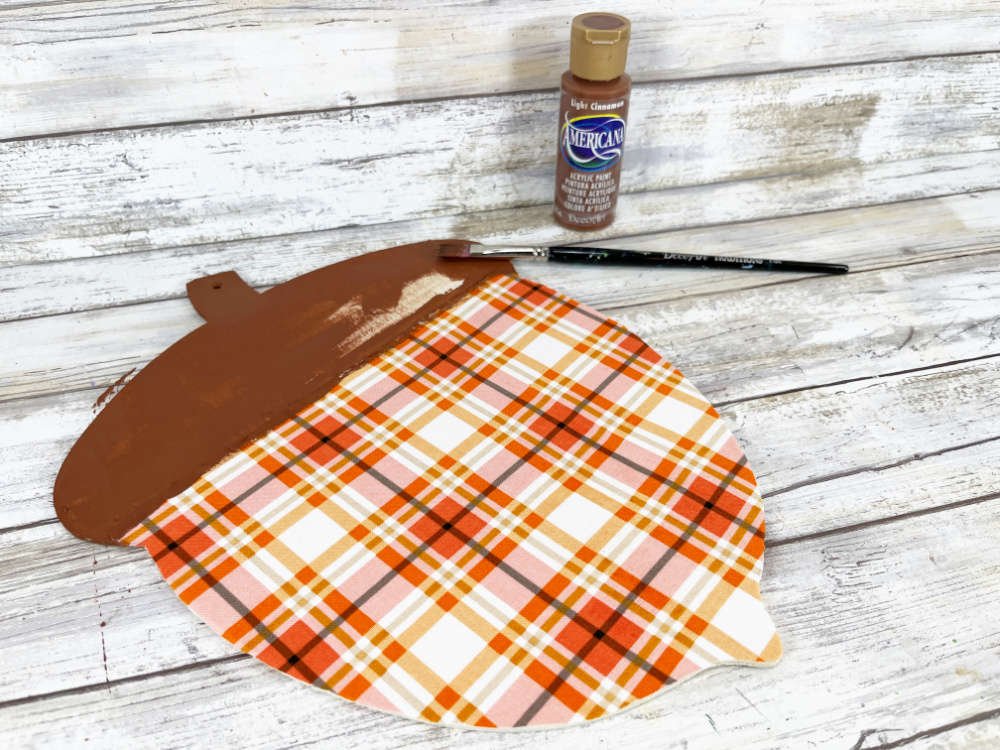
Basecoat the top cap portion of the acorn with dark brown acrylic craft paint.
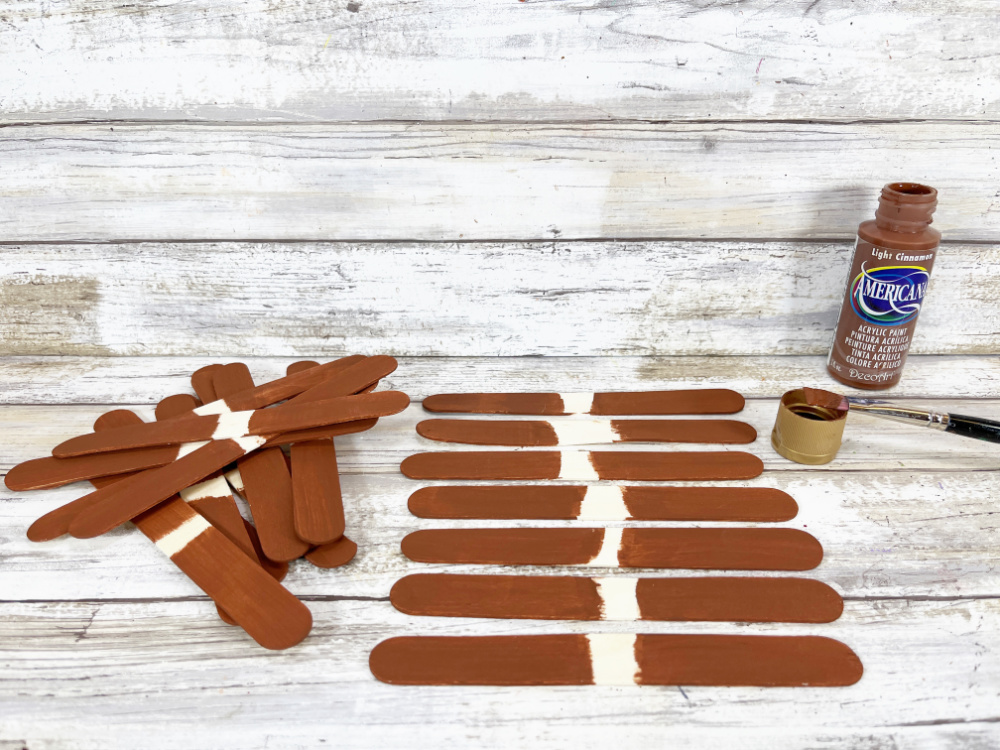
Then basecoat each end of 20 jumbo craft sticks with dark brown acrylic craft paint. Let dry and apply a second coat, if necessary.
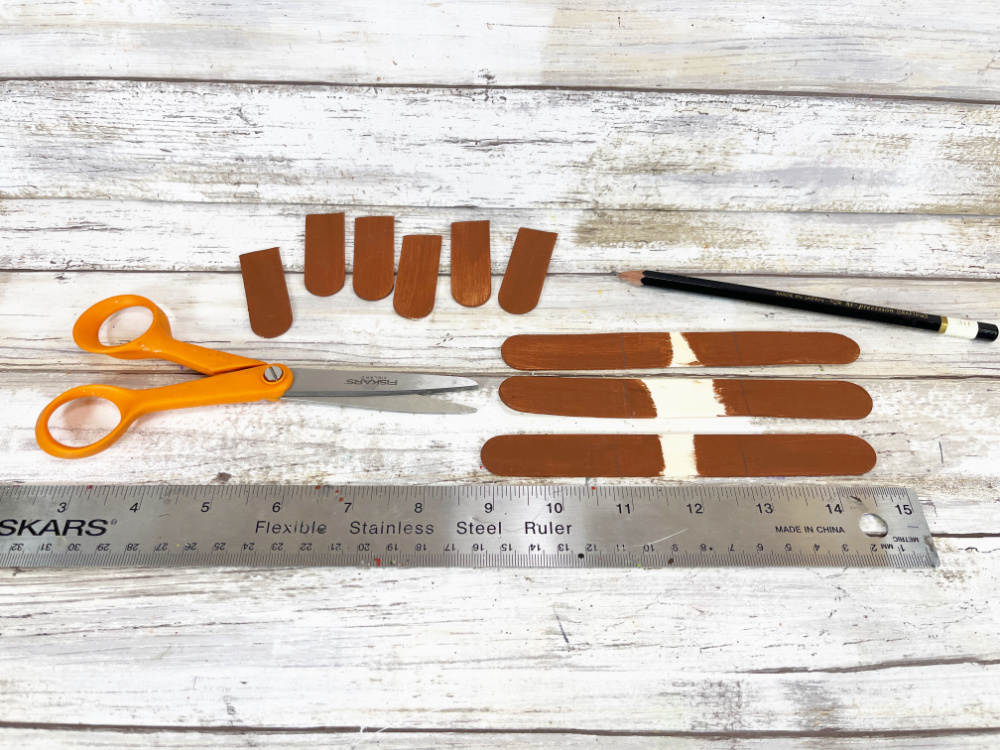
Measure and mark a line 2” in from the end of each craft stick with a ruler and pencil. Then cut the 20 jumbo craft sticks into 40 pieces, keeping the rounded ends intact.
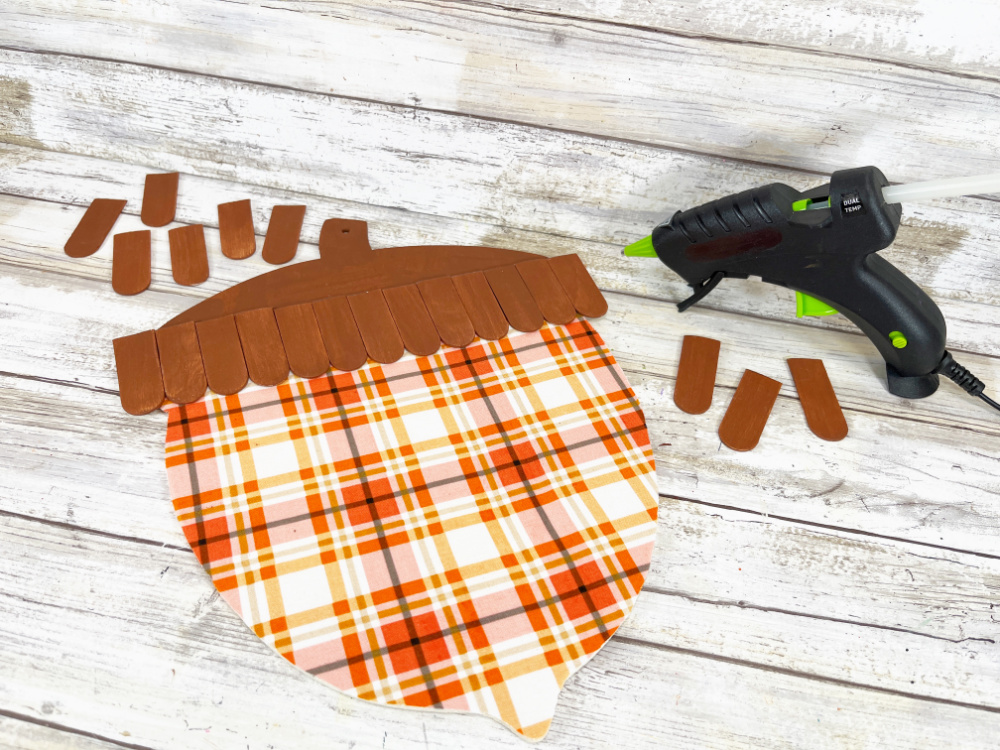
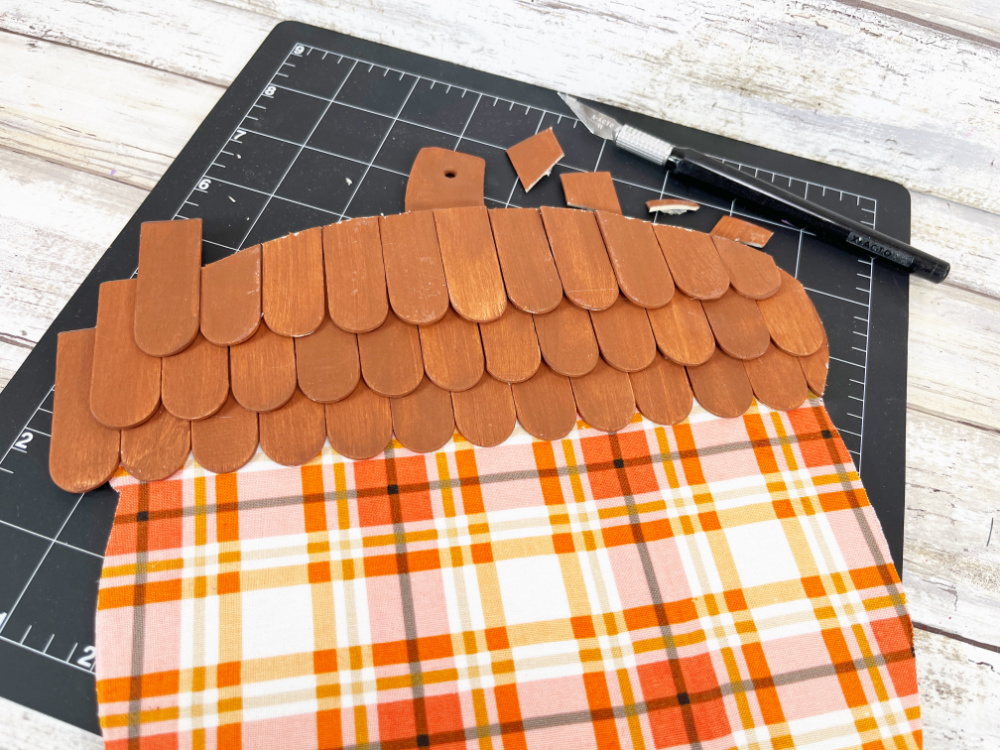
Starting along the bottom edge of the acorn cap, line up 13 of the craft stick pieces with the rounded end pointing down. Attach using a glue gun and glue sticks.
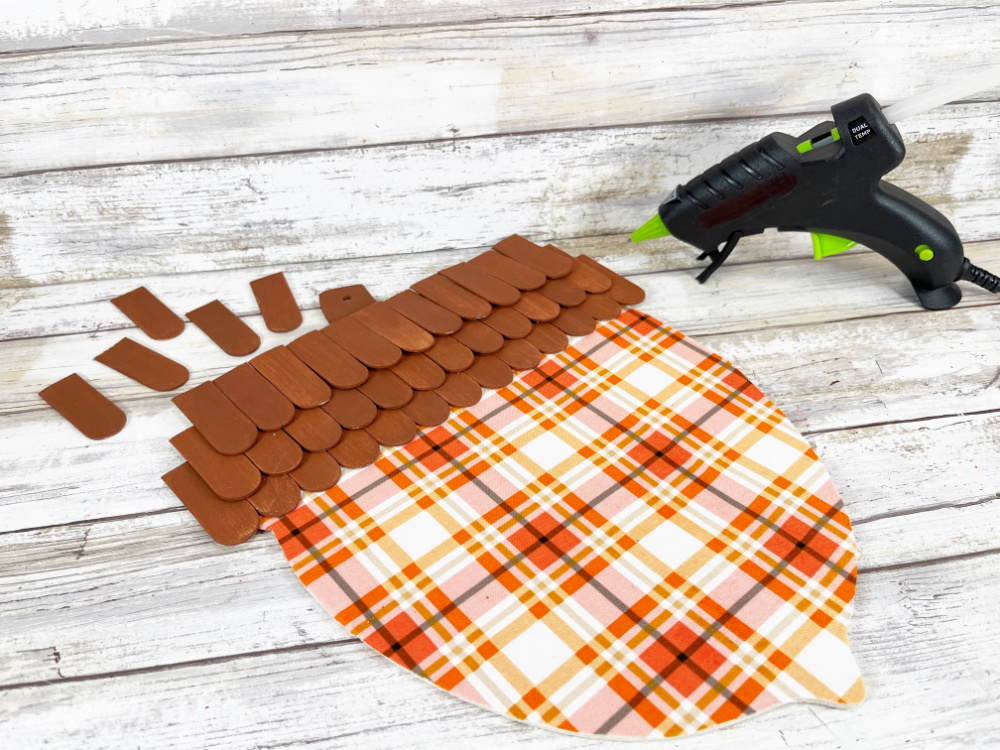
Layer on a second row of 12 craft stick pieces, and then the third and final row of 11 craft stick pieces.
NOTE: You can use liquid craft glue for this project, but you would have to wait for it to dry.
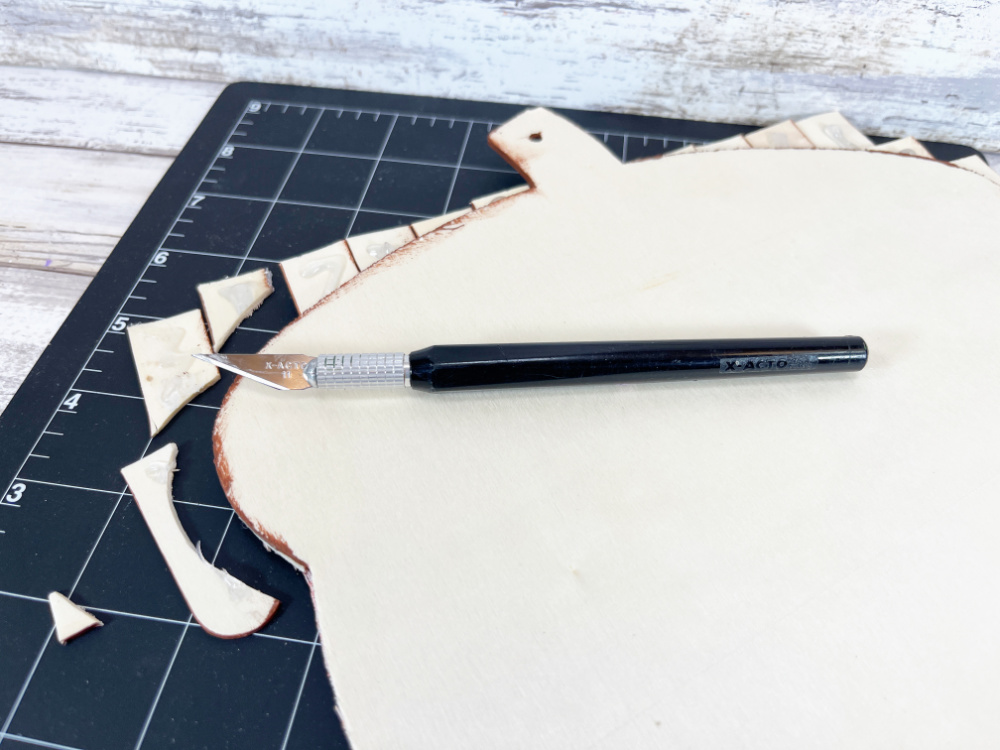
Flip the acorn over onto a self-healing craft mat and carefully trim the excess craft stick pieces with a craft knife, following the shape of the acorn.
Turn the acorn back over to the front side and clean up any rough edges using the craft knife and/or scissors.
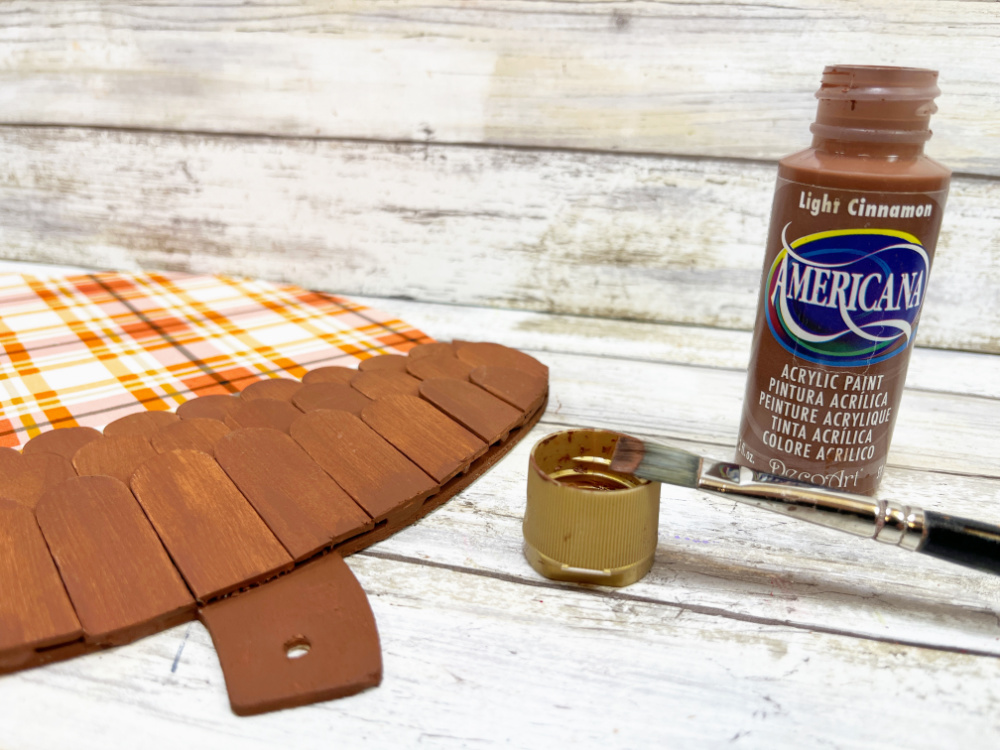
Paint the cut edges of the craft stick pieces with dark brown acrylic craft paint.
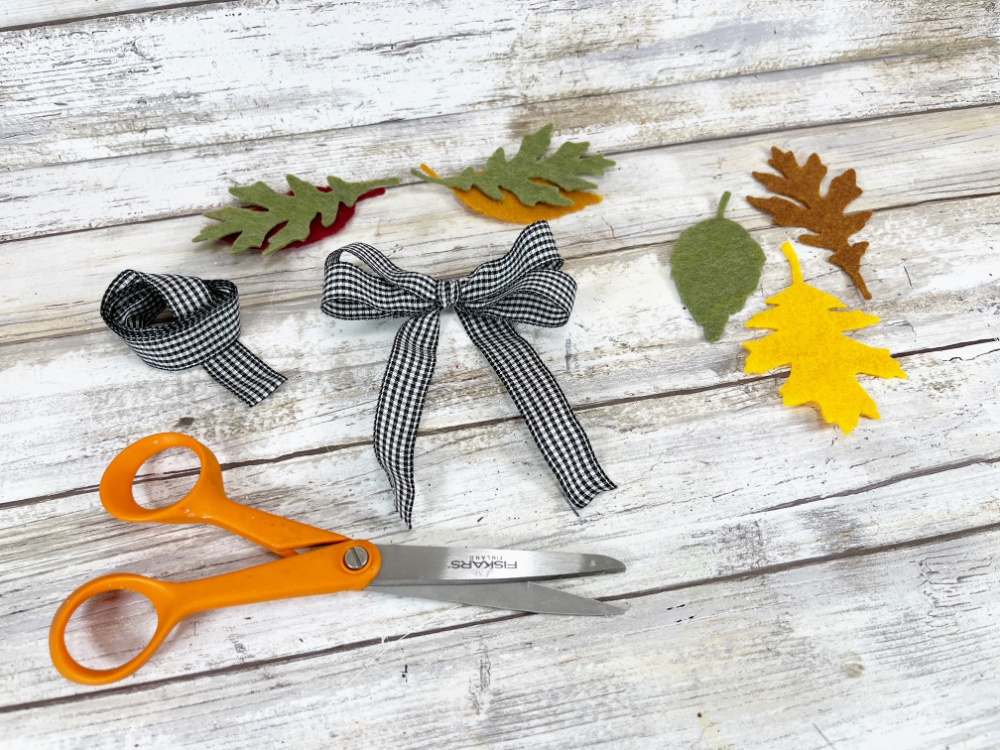
Measure and cut 12” of black and white gingham ribbon with scissors. Tie the ribbon in a bow and trim any long ends with scissors.
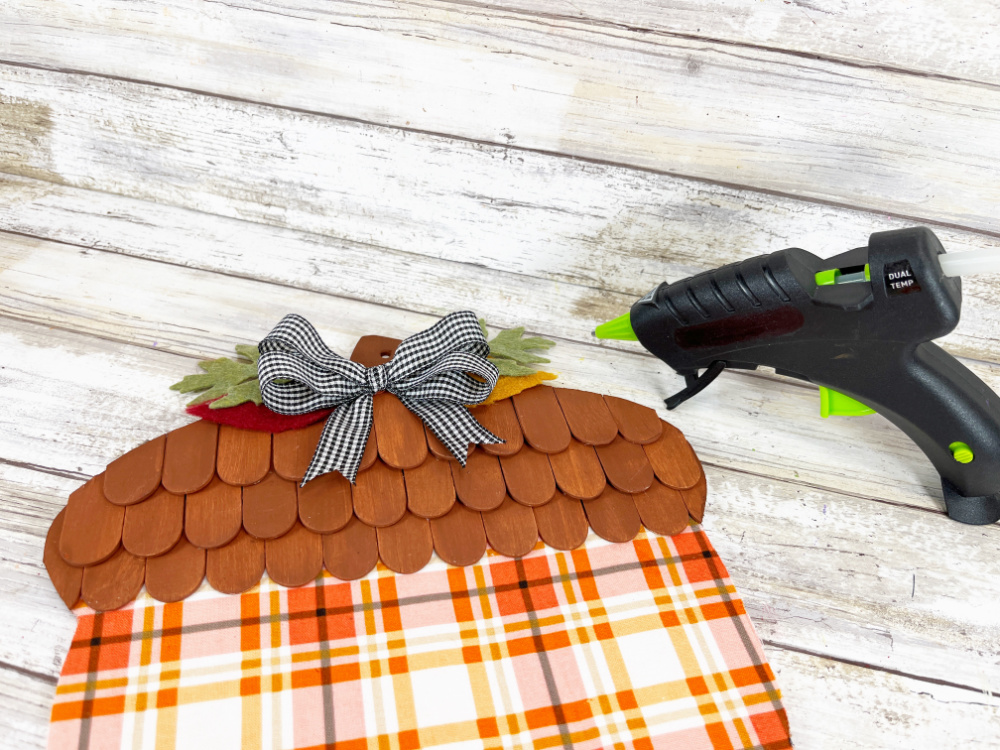
Gather a variety of felt leaves and attach to either side of the acorn stem with a glue gun and glue sticks. Secure the bow to the center.
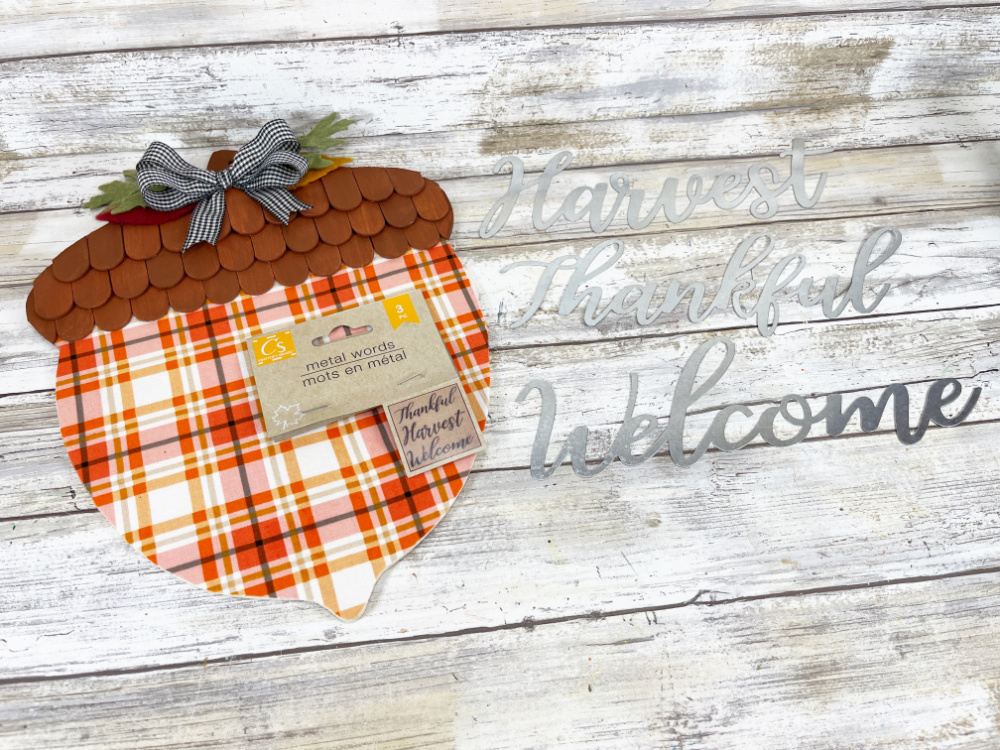
Remove the metal words from the packaging. The set we used includes WELCOME, THANKFUL, and HARVEST.
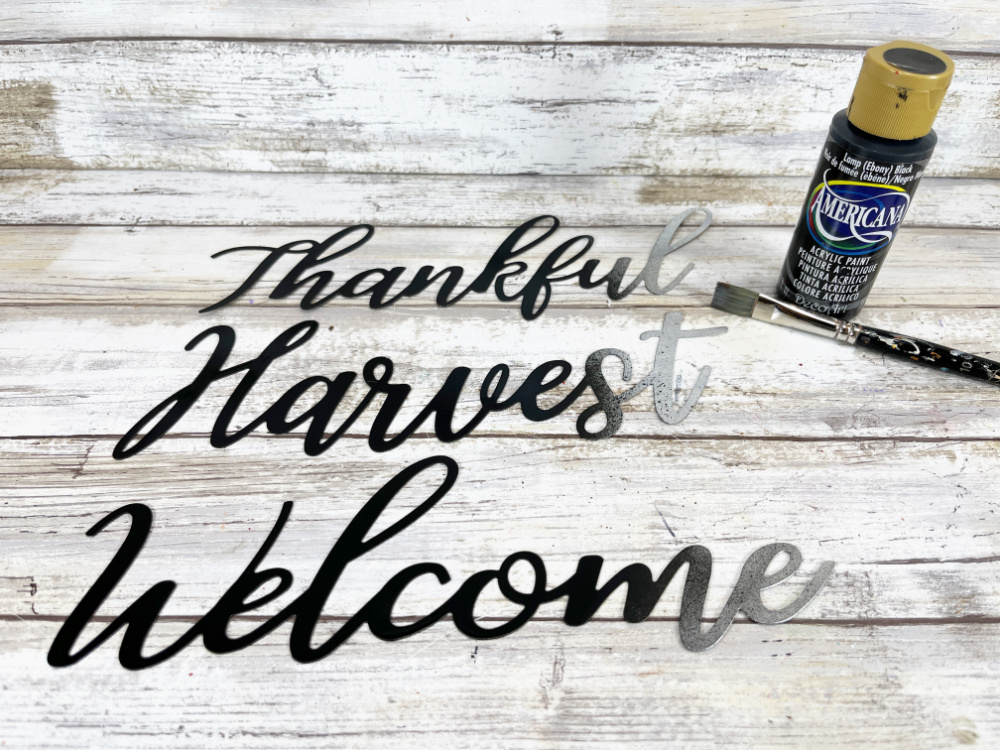
Basecoat the metal with black acrylic craft paint, let dry and apply a second coat, if necessary.
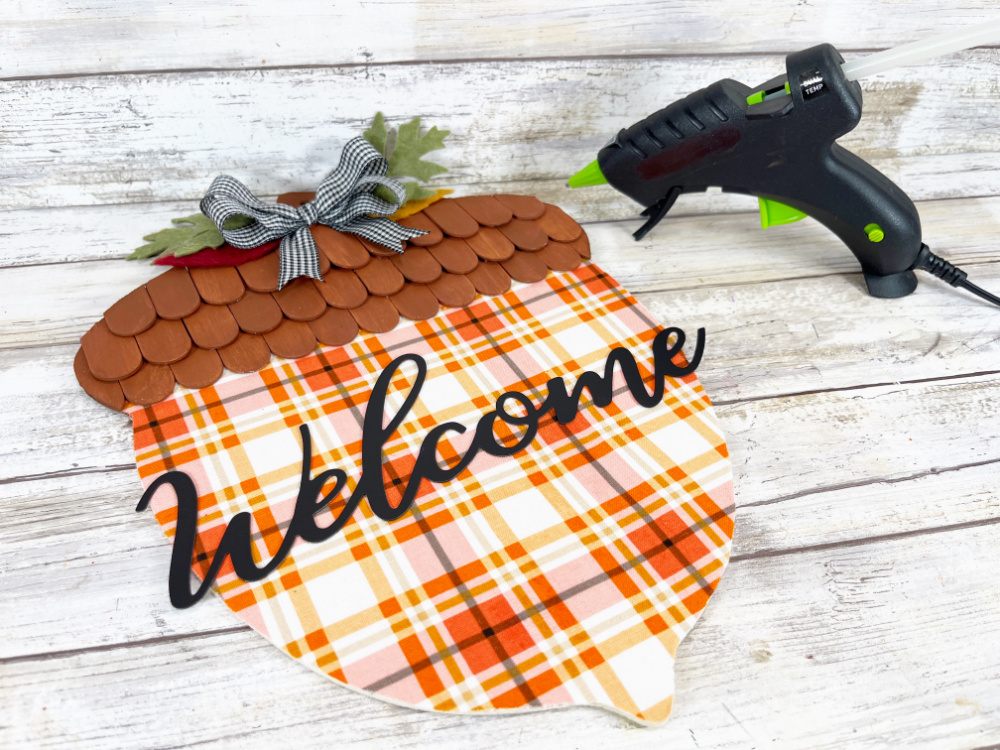
Attach the greeting of choice to the acorn using a glue gun and glue sticks.
Printable Instructions for Dollar Store Acorn Fall Decor:
Here are printable instructions for the Dollar Store Acorn Fall Decor – make sure to print them off here so it’s easier to follow when putting it all together!
Dollar Store Acorn Fall Decor
Description
This quick and easy Dollar Store Acorn Fall Decor is perfect for your door or gate all Autumn long.
Ingredients
- Wooden Acorn Wall Décor – Dollar Store
- Wooden Jumbo Craft Sticks, 20 – Dollar Store
- Fat Quarter Fabric – Dollar Store
- Gingham Ribbon, Black and White – Dollar Store
- Metal Words, Three Pack – Dollar Store
- Felt Leaves – Dollar Store
- Glue Gun and Glue Sticks – Dollar Store
- Acrylic Craft Paint – Dark Brown, Black
- Decoupage Medium
- Paintbrush
- Self-Healing Mat
- Craft Knife
- Scissors
- Ruler
Instructions
Gather all supplies. Remove tags and packaging from all materials. Using a paintbrush, apply a basecoat of decoupage medium to the bottom 2/3 of the wooden acorn.
Place fat quarter fabric on top, overlapping the acorn cap section slightly, and smooth out any wrinkles with your hands. Apply a topcoat of decoupage medium, and then trim any excess fabric from the edges with scissors.
Basecoat the top cap portion of the acorn with dark brown acrylic craft paint. Then basecoat each end of 20 jumbo craft sticks with dark brown acrylic craft paint. Let dry and apply a second coat, if necessary.
Measure and mark a line 2” in from the end of each craft stick with a ruler and pencil. Then cut the 20 jumbo craft sticks into 40 pieces, keeping the rounded ends intact.
Starting along the bottom edge of the acorn cap, line up 13 of the craft stick pieces with the rounded end pointing down. Attach using a glue gun and glue sticks.
Layer on a second row of 12 craft stick pieces, and then the third and final row of 11 craft stick pieces.
NOTE: You can use liquid craft glue for this project, but you would have to wait for it to dry.
Flip the acorn over onto a self-healing craft mat and carefully trim the excess craft stick pieces with a craft knife, following the shape of the acorn.
Turn the acorn back over to the front side and clean up any rough edges using the craft knife and/or scissors.
Paint the cut edges of the craft stick pieces with dark brown acrylic craft paint.
Measure and cut 12” of black and white gingham ribbon with scissors. Tie the ribbon in a bow and trim any long ends with scissors. Gather a variety of felt leaves and attach to either side of the acorn stem with a glue gun and glue sticks. Secure the bow to the center.
Remove the metal words from the packaging. This set includes WELCOME, THANKFUL, and HARVEST. Basecoat the metal with black acrylic craft paint, let dry and apply a second coat, if necessary.
Attach the greeting of choice to the acorn using a glue gun and glue sticks.
More Dollar Store Projects to Try:
Fall
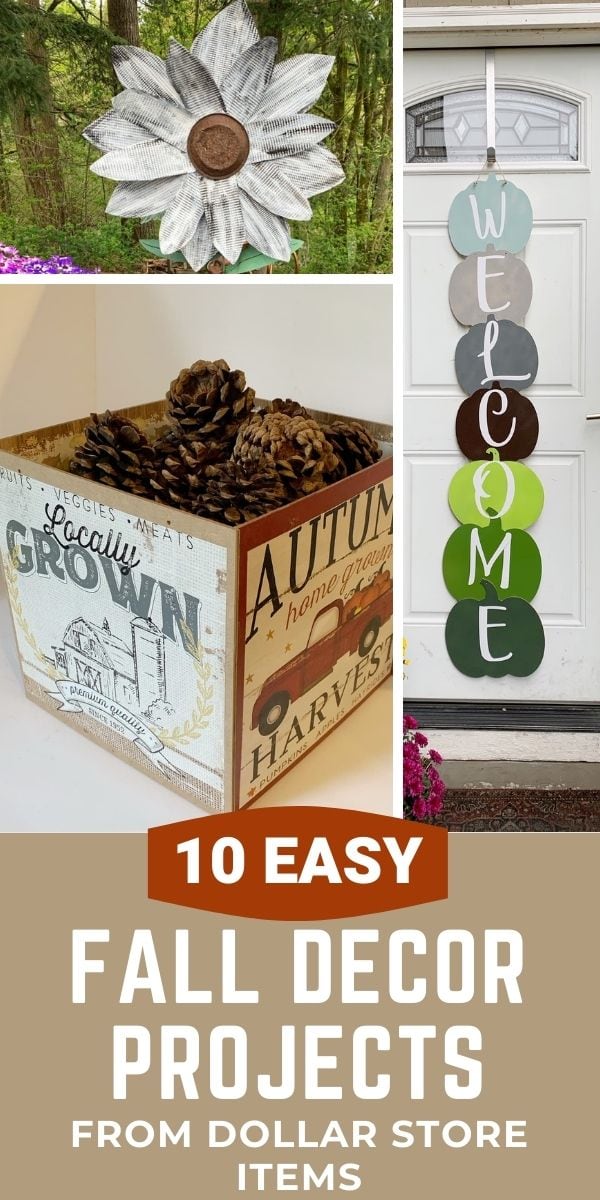
10 Fall Decor Items you can make with Dollar Store Items
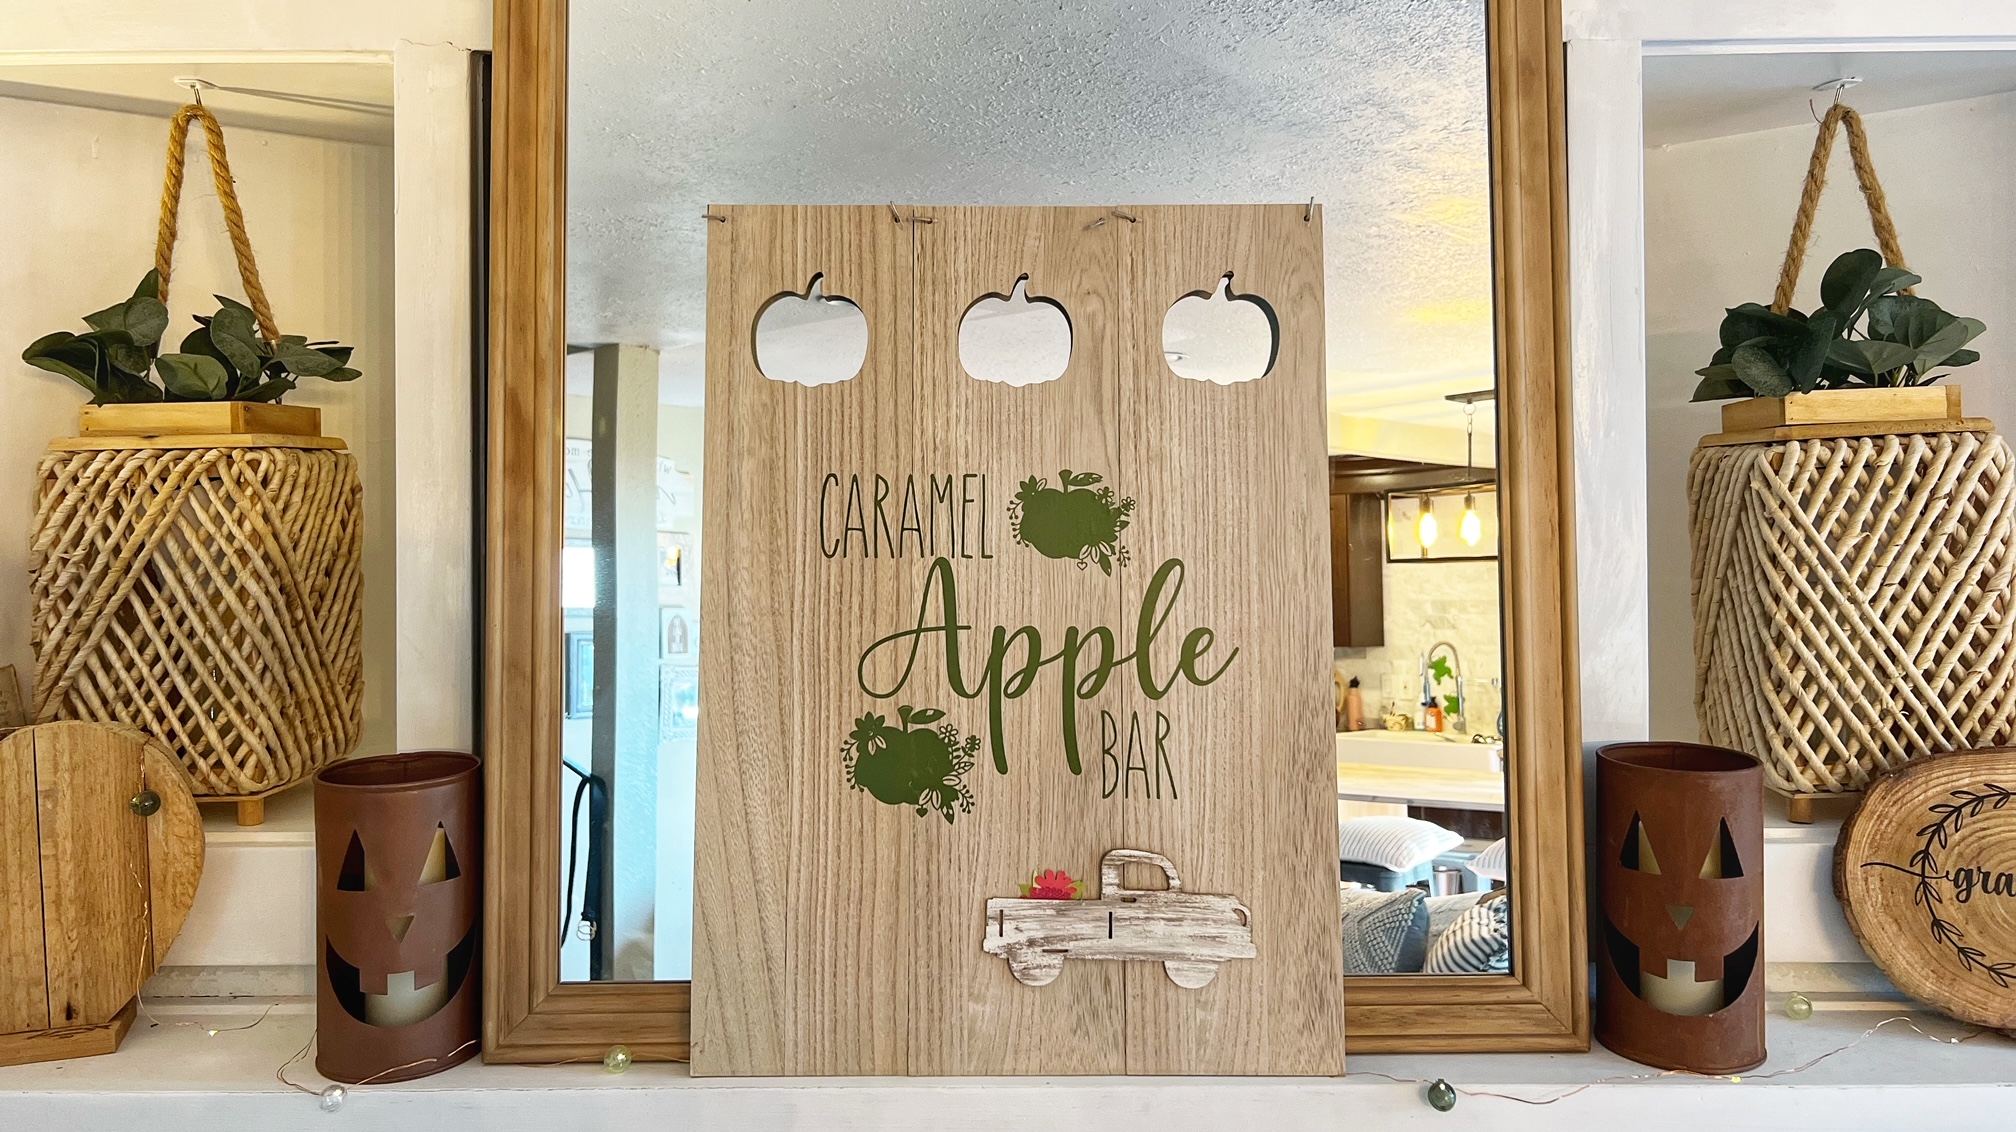
Fall Signs made with Dollar Store Items
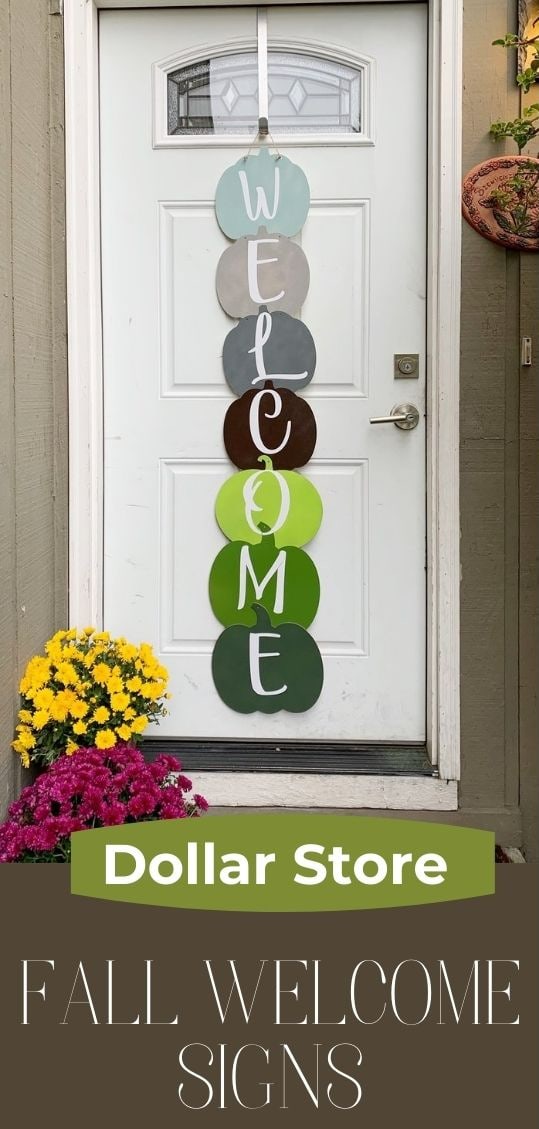
Fall Porch Signs made with Dollar Store Pumpkins
Christmas:
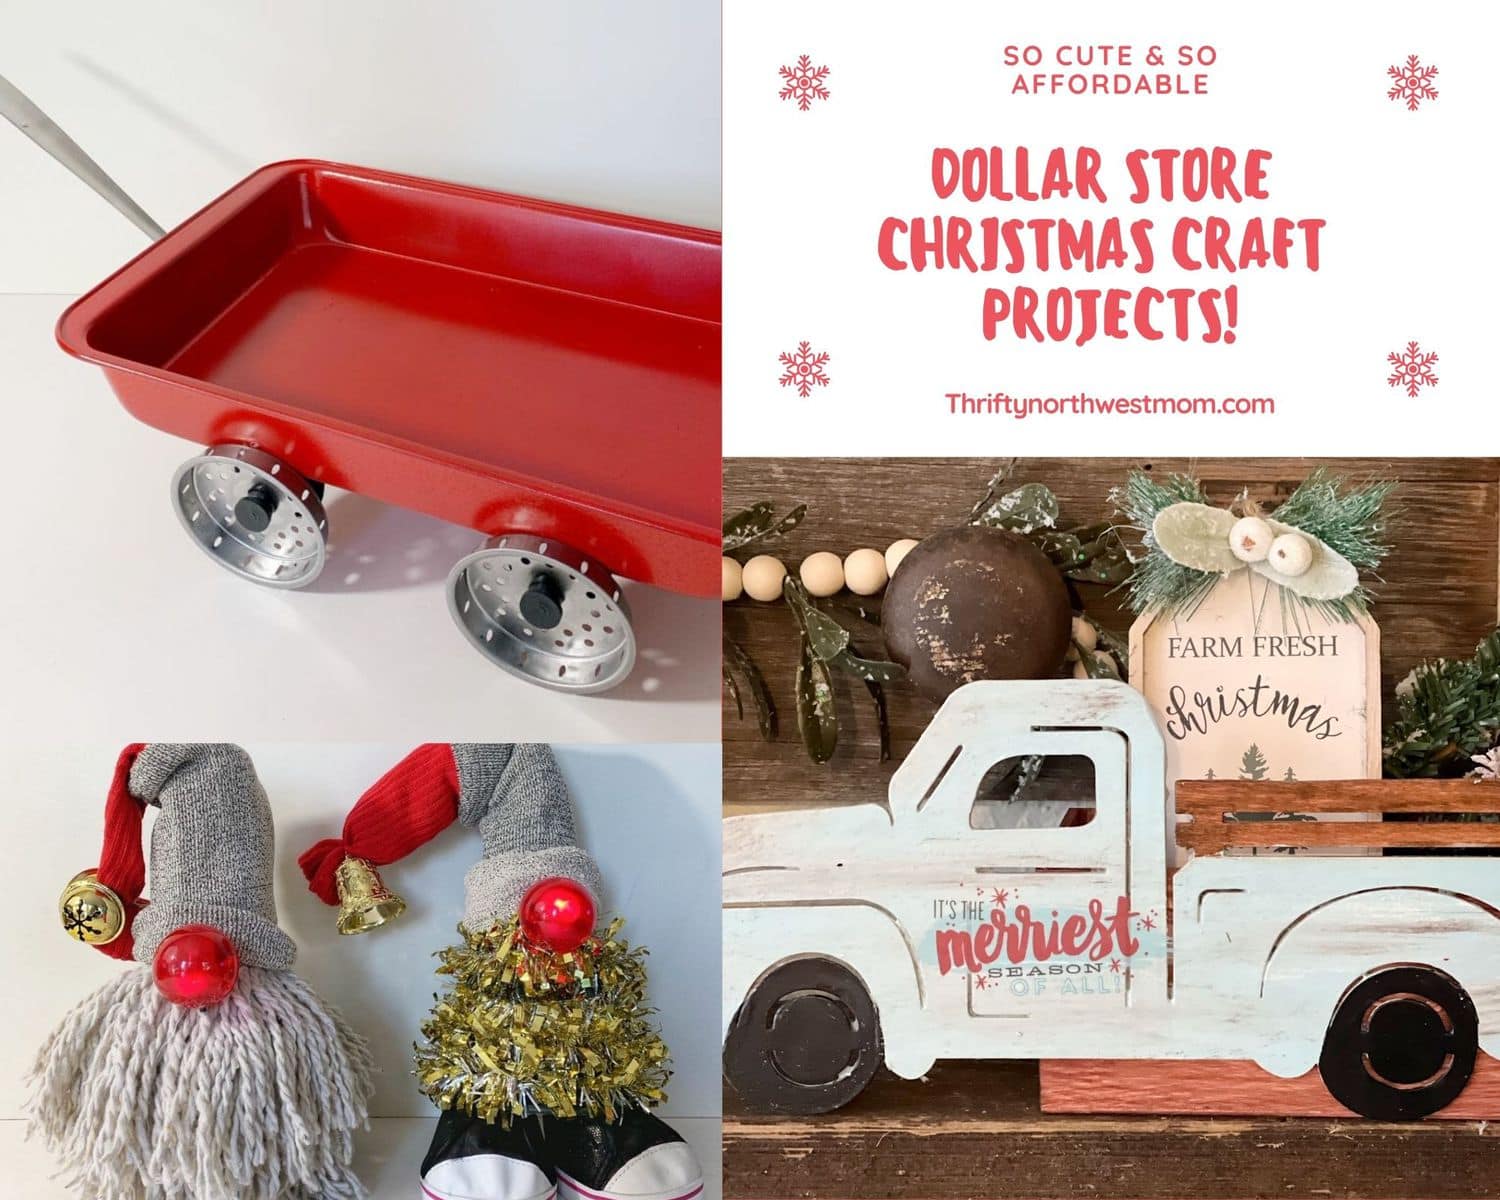
DIY Holiday Decor made with Dollar Store items
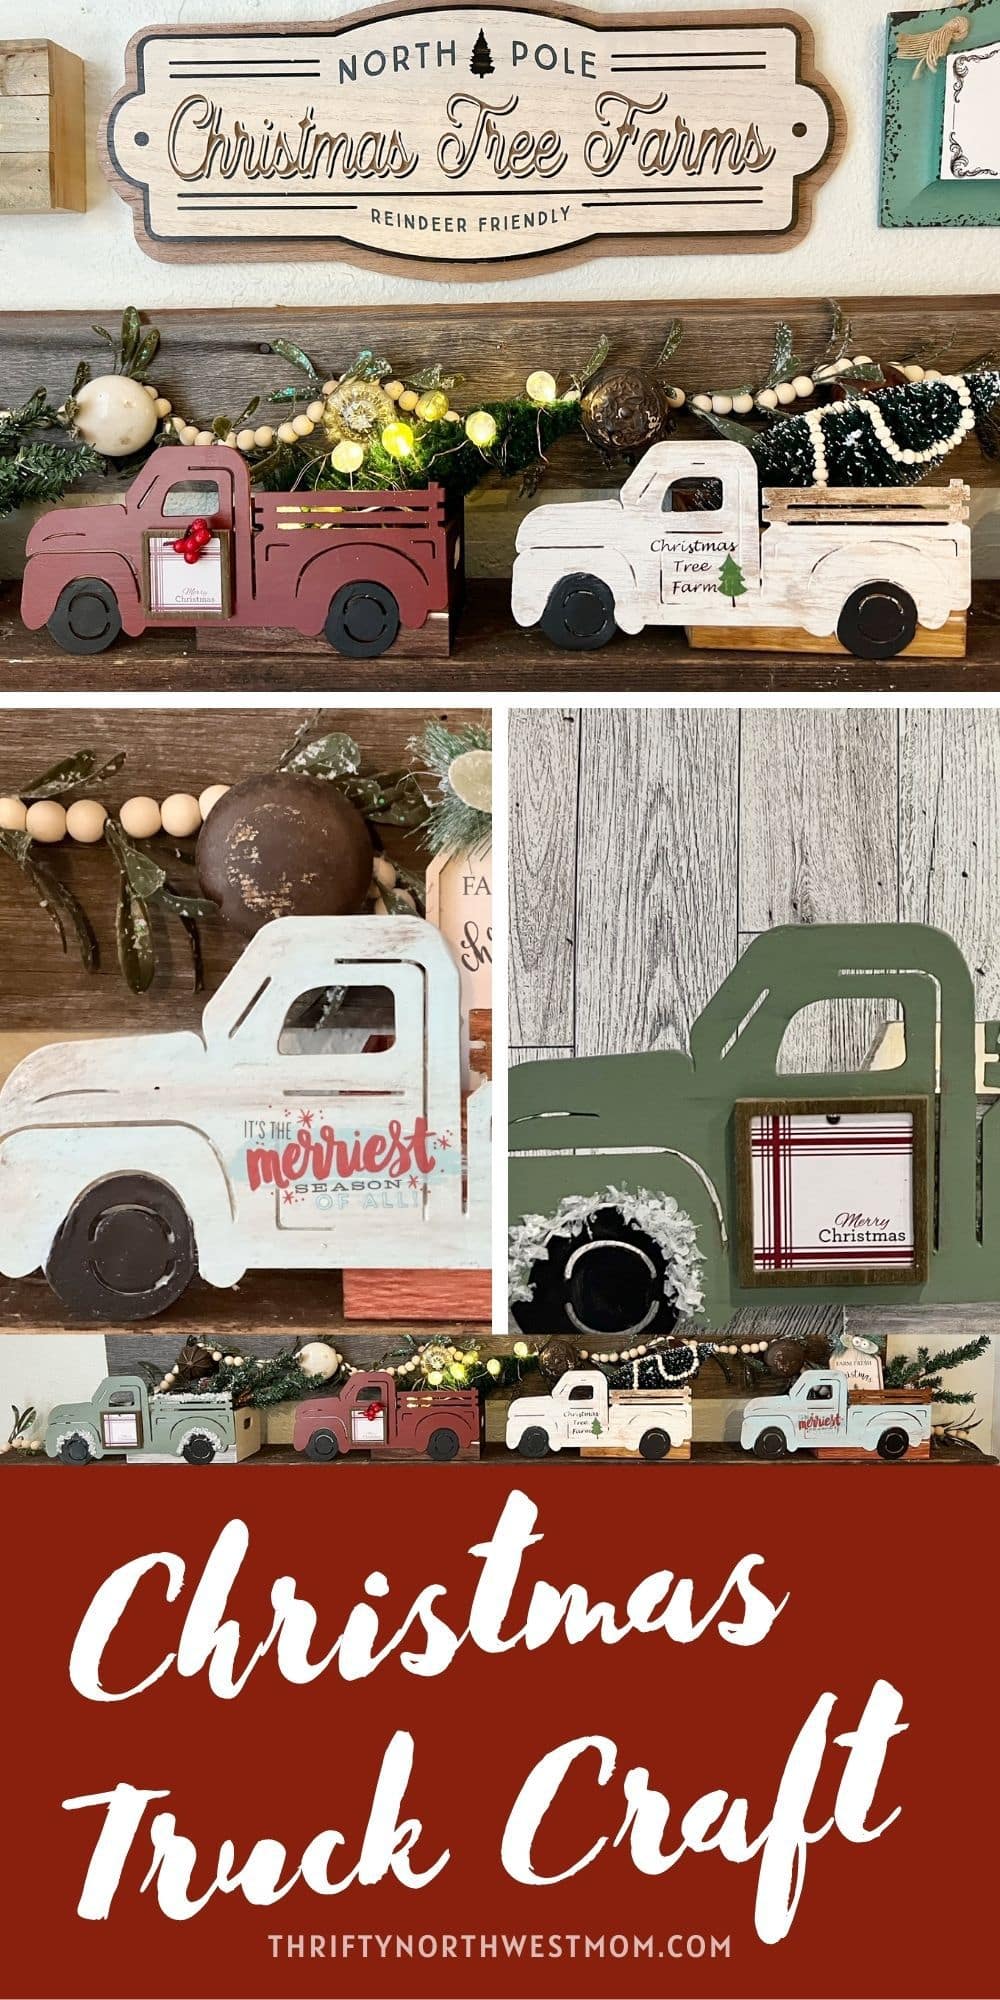
Dollar Store Red Truck Christmas Craft
