
Cheesecake in a Jar Recipe – A Crowd Pleaser & Perfect for any Party!
This post may contain affiliate links and I may be compensated for this post. Please read our disclosure policy here.

Cheesecake In a Jar Recipe
This is a mini cheesecake recipe I have used for years. In fact, I’m sure this recipe is well over 50 years old. If I can bake a recipe like this you can too, I promise! Most of the ingredients you may already have in your fridge!
Cheesecake in a Jar:

Ingredients:
- 1 ½ cups of Crushed Graham Crackers
- 1/4 cup of Sugar
- ¼ cup of Butter, Melted
- 3 pkgs of 8oz Cream Cheese, Softened
- 1 can of 14oz Sweetened Condensed Milk (NOT evaporated milk )
- 3 Eggs
- 2 Tsp Vanilla
- 12 Half Pint Jars (I found these at Fred Meyer, but you could also find at Safeway, Lowe’s, Home Depot, Amazon, etc) I paid around $10 for the dozen)
Directions:
For the Crust:
Crush your graham crackers {If your kids want to get involved, now is the time!}
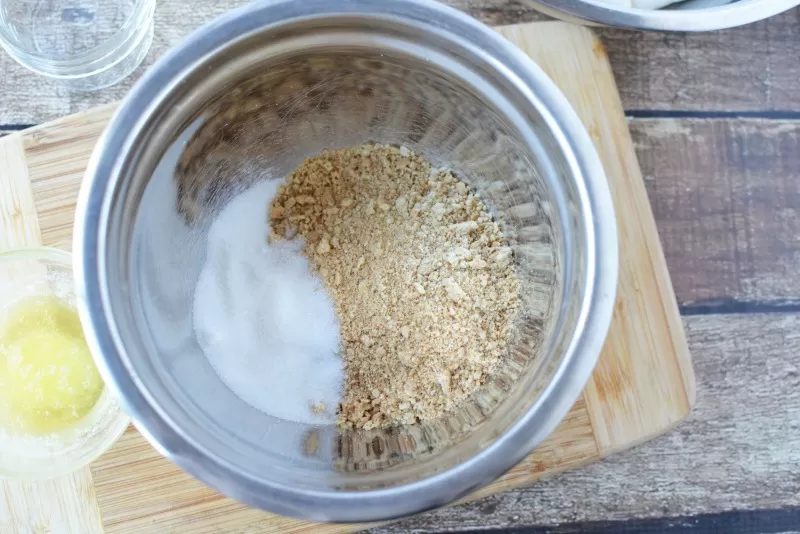
Combine the crushed crackers with the sugar and butter.
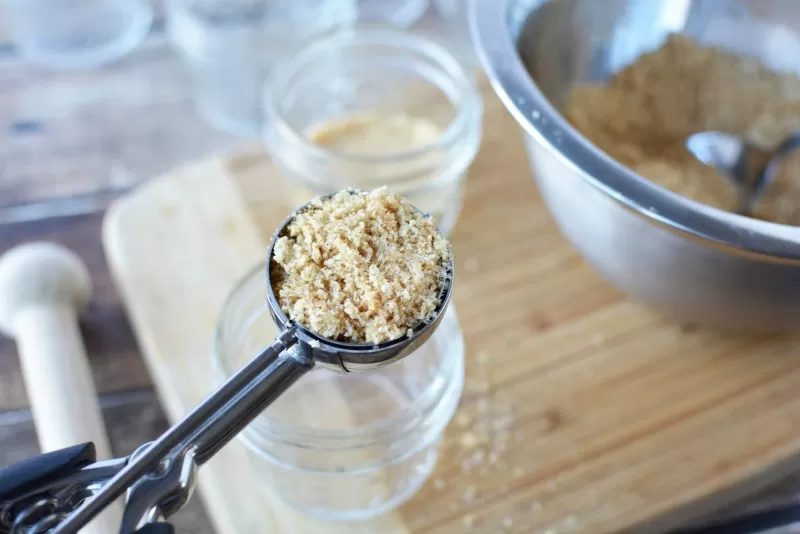
Spoon 2 tablespoons of graham crackers into the jars. I used a 2 tablespoon portion scoop to measure the graham crackers for the jars.
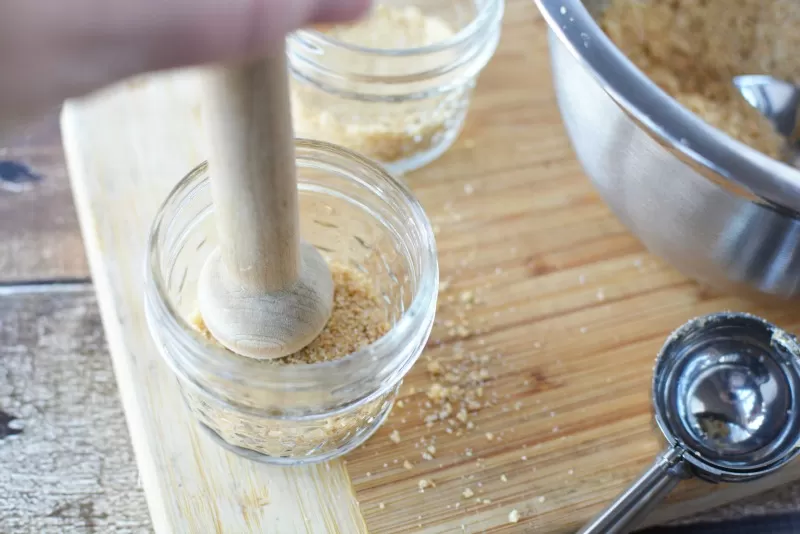
I also used a tart shaper to push the graham cracker down into the jars.
Filling:
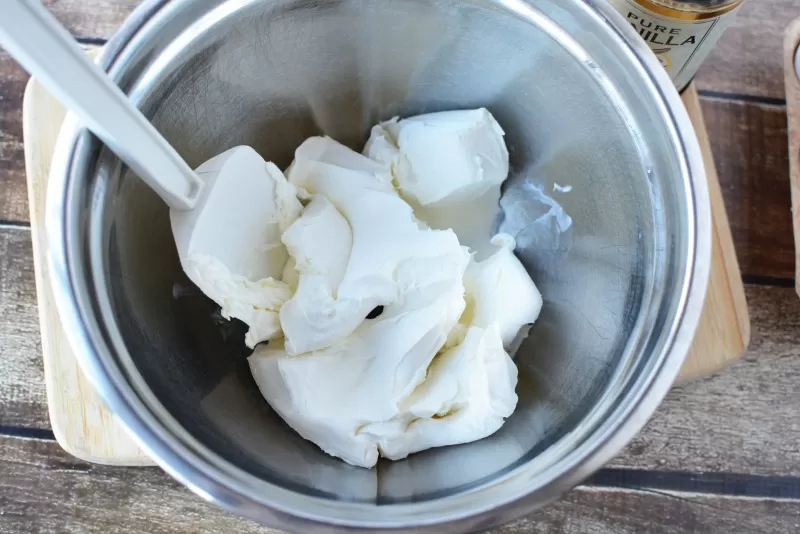
In a large bowl, beat the cream cheese until it’s fluffy.
Slowly add the condensed milk until it’s smooth. No lumps!
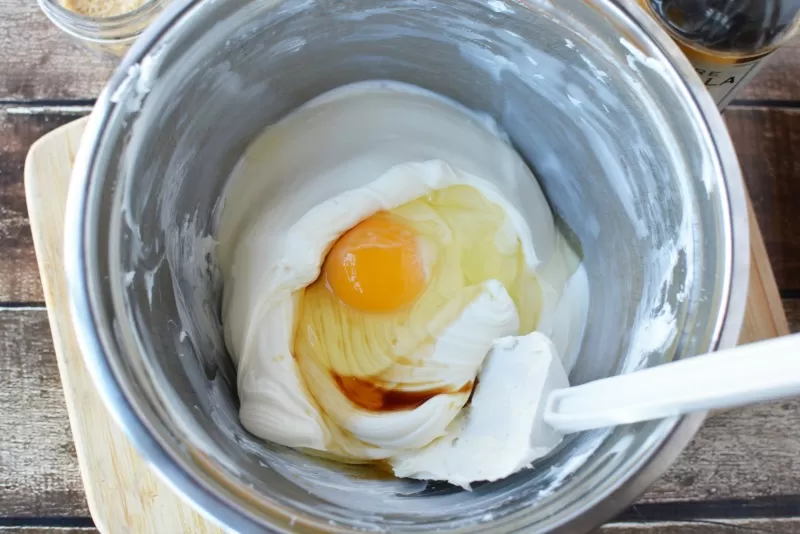
Now add the eggs and vanilla, and mix it well. {At this point I indulge myself and taste the batter, and I almost always add a touch more vanilla!}
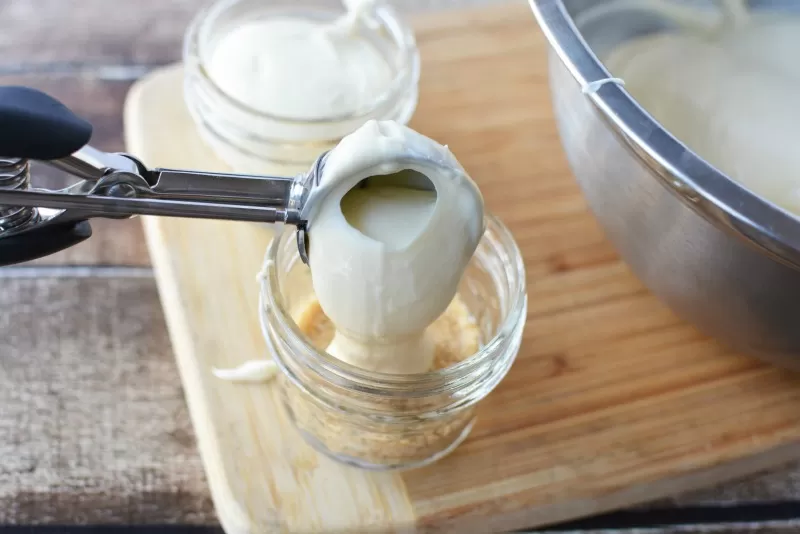
Scoop the batter into the jars, trying to equally distribute it. It came out to about 4-6 tablespoons of cheesecake batter for each jar, don’t fill to the top.
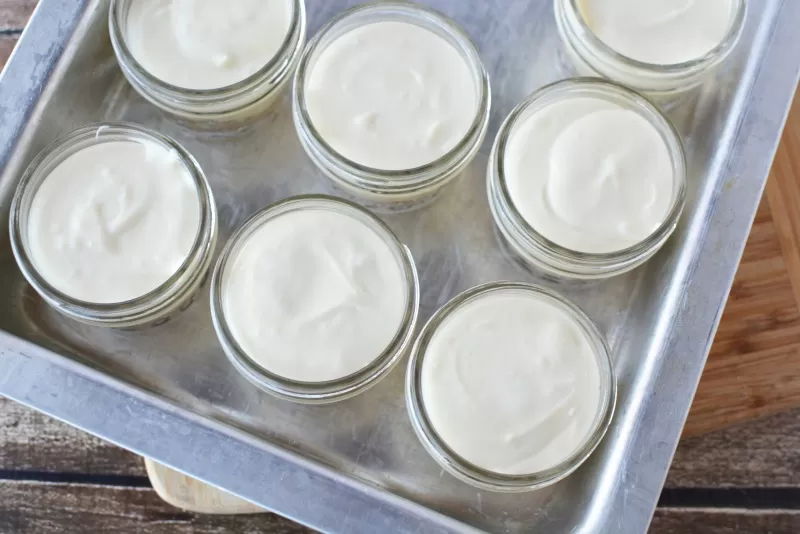
Now get out a deep baking pan or casserole dish, and fill with boiling water, you’re going to give these filled jars a bath in the oven. The water should be covering about half of the jar.
Bake them at 350 degrees for 25 minutes. You want them to still jiggle, but begin to pucker a bit. Dont look for a golden color, you shouldn’t find it.
This is the hardest part of the whole recipe. Please, please be careful. Carefully take the pans out of the oven. The water is boiling hot and it IS a balancing act.
Still with me? Hands intact? Ok good.
Take the jars out of the water right away and set them out to cool. I just put mine directly in the fridge, where they cooled overnight.

Once cooled, add any topping you like. I chose raspberries, strawberries and cherry pie filling. Other ideas are mini chocolate chips, oreos or really anything.
You can also use baking cups instead of jars, and it would make 24 mini cheesecakes. Enjoy!
Printable Recipe for Cheesecake in a Jar:

Here’s a printable version of the Cheesecake in a Jar recipe for you to print off to put in your recipe binder or notebook.
Print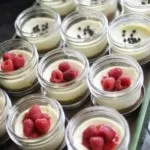
Cheesecake in a Jar Recipe
Ingredients
- 1 ½ cups of Crushed Graham Crackers
- 1/4 cup of Sugar
- ¼ cup of Butter, Melted
- 3 pkgs of 8oz Cream Cheese, Softened
- 1 can of 14oz Sweetened Condensed Milk (NOT evaporated milk )
- 3 Eggs
- 2 Tsp Vanilla
- 12 Half Pint Jars (I found these at Fred Meyer, but you could also find at Safeway, Lowe’s, Home Depot, Amazon, etc) I paid around $10 for the dozen)
Instructions
- For the Crust:
- Crush your graham crackers {If your kids want to get involved, now is the time!}
- Combine the crushed crackers with the sugar and butter.
- Spoon 2 tablespoons of graham crackers into the jars. I used a 2 tablespoon portion scoop to measure the graham crackers for the jars.
- I also used a tart shaper to push the graham cracker down into the jars.
- Filling:
- In a large bowl, beat the cream cheese until it’s fluffy.
- Slowly add the condensed milk until it’s smooth. No lumps!
- Now add the eggs and vanilla, and mix it well.
- Scoop the batter into the jars, trying to equally distribute it. It came out to about 4-6 tablespoons of cheesecake batter for each jar, don’t fill to the top.
- Now get out a deep baking pan or casserole dish, and fill with boiling water, you’re going to give these filled jars a bath in the oven. The water should be covering about half of the jar.
- Bake them at 350 degrees for 25 minutes. You want them to still jiggle, but begin to pucker a bit. Dont look for a golden color, you shouldn’t find it.
- This is the hardest part of the whole recipe. The water is boiling hot so be careful.
- Take the jars out of the water right away and set them out to cool. I just put mine directly in the fridge, where they cooled overnight.
- Once cooled, add any topping you like. I chose raspberries, strawberries and cherry pie filling. Other ideas are mini chocolate chips, oreos or really anything.

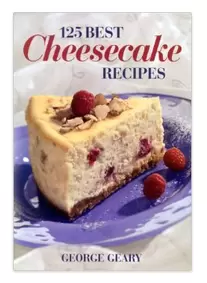
For more cheesecake recipes, check out this cookbook, 125 Best Cheesecake Recipes which gets 4 1/2 out of 5 stars.
More Delicious Dessert Recipes:
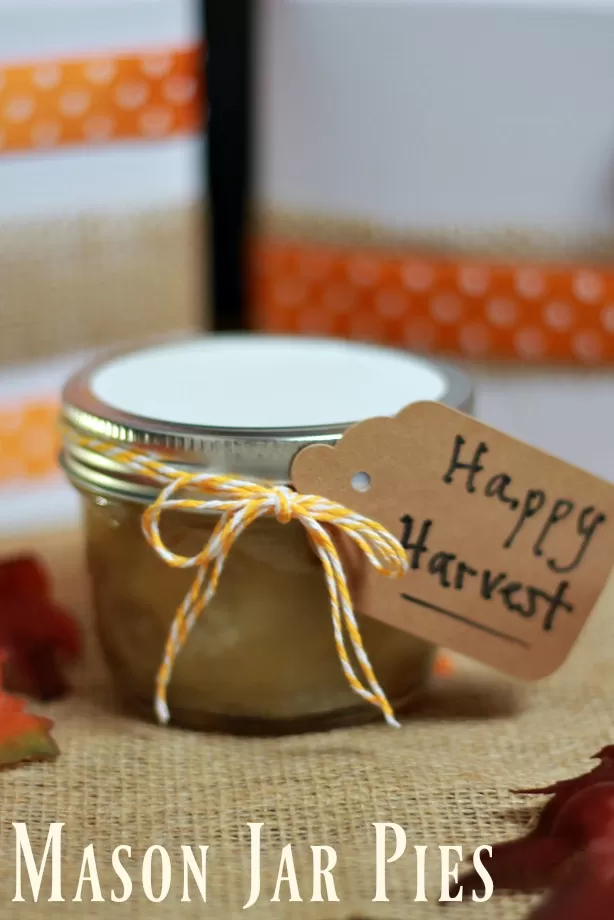
Mason Jar Pies – These make great gift ideas for teacher or hostess gifts
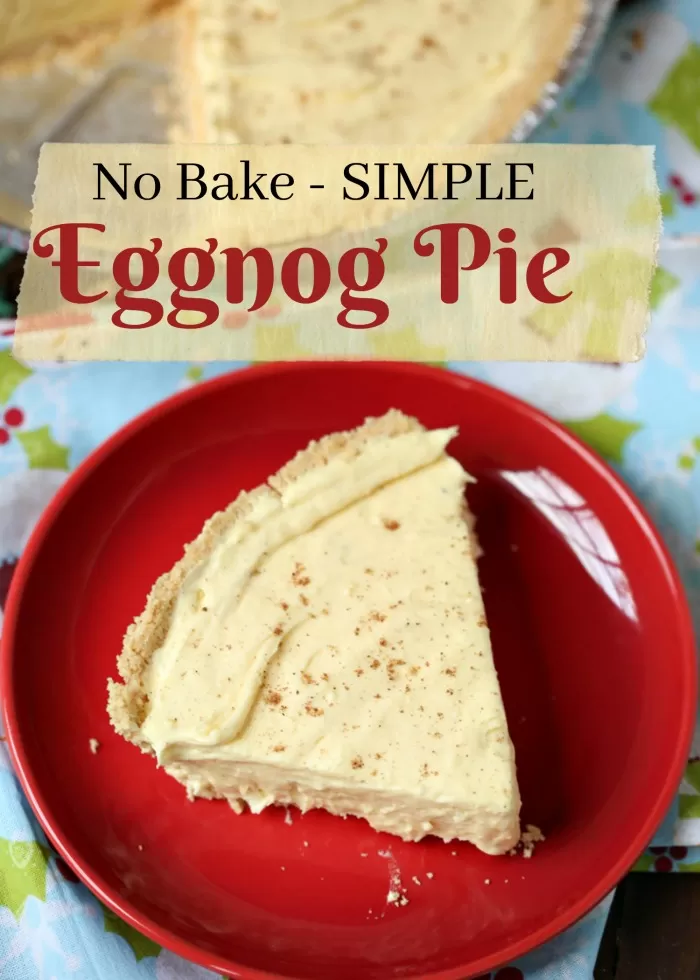
Eggnog Pie – a quick, affordable no bake Christmas pie
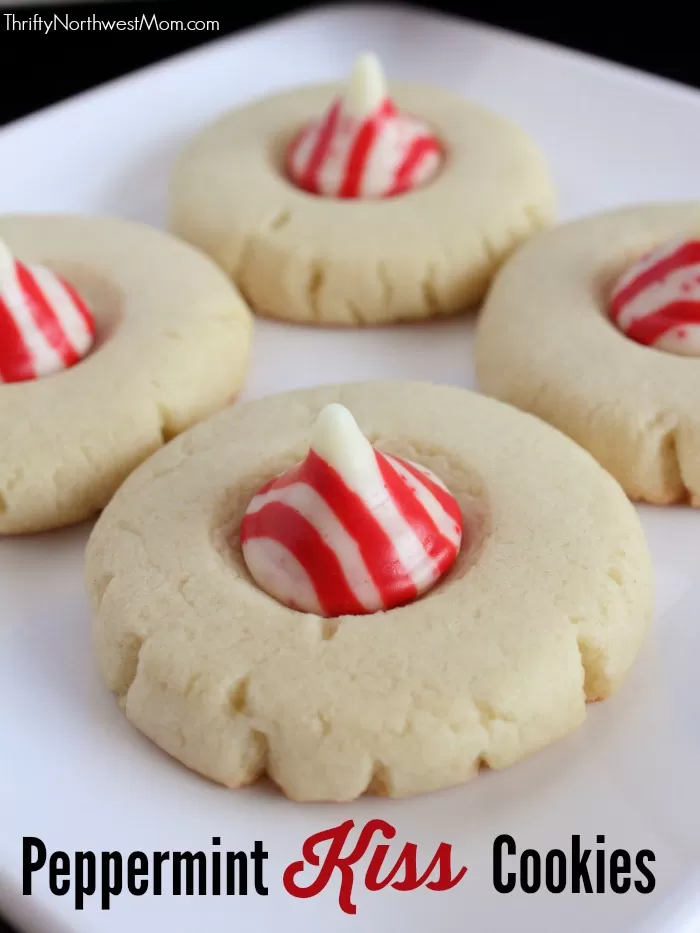
Peppermint Kiss Cookies – a fun Christmas treat for class parties, cookie exchanges or parties
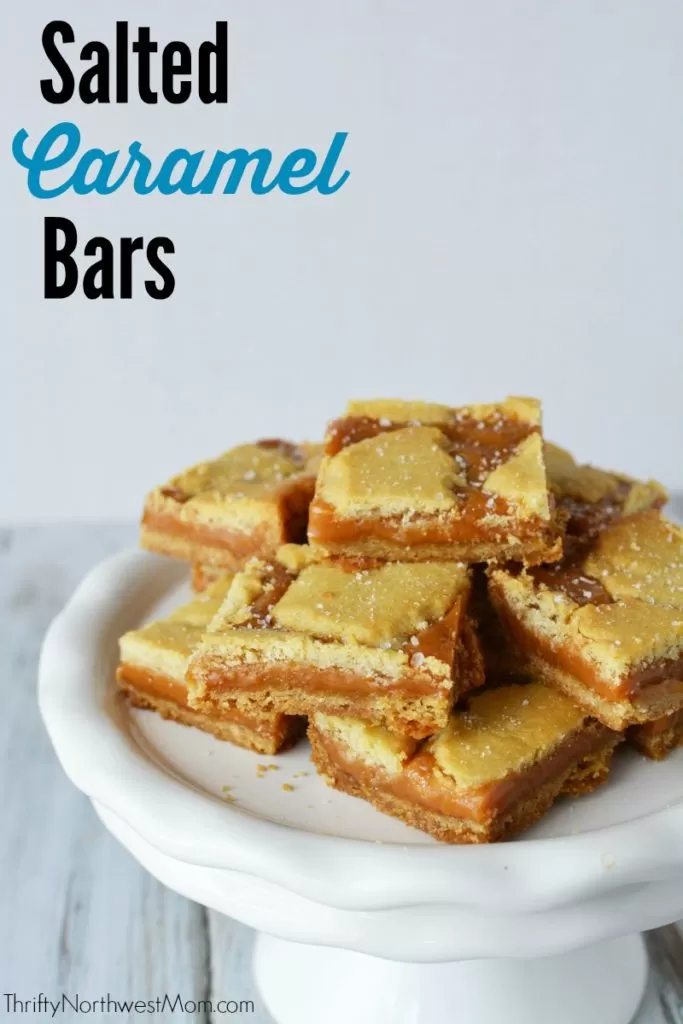
Salted Caramel Bars – perfect for a holiday party


When do I put the cover on? before Baking? after baking? once cooled? …