
Mexican Layered Dip in Tortilla Bowls for Game Day Snack!
This post may contain affiliate links and I may be compensated for this post. Please read our disclosure policy here.
This is a sponsored conversation written by me on behalf of Albertsons. The opinions and text are all mine.
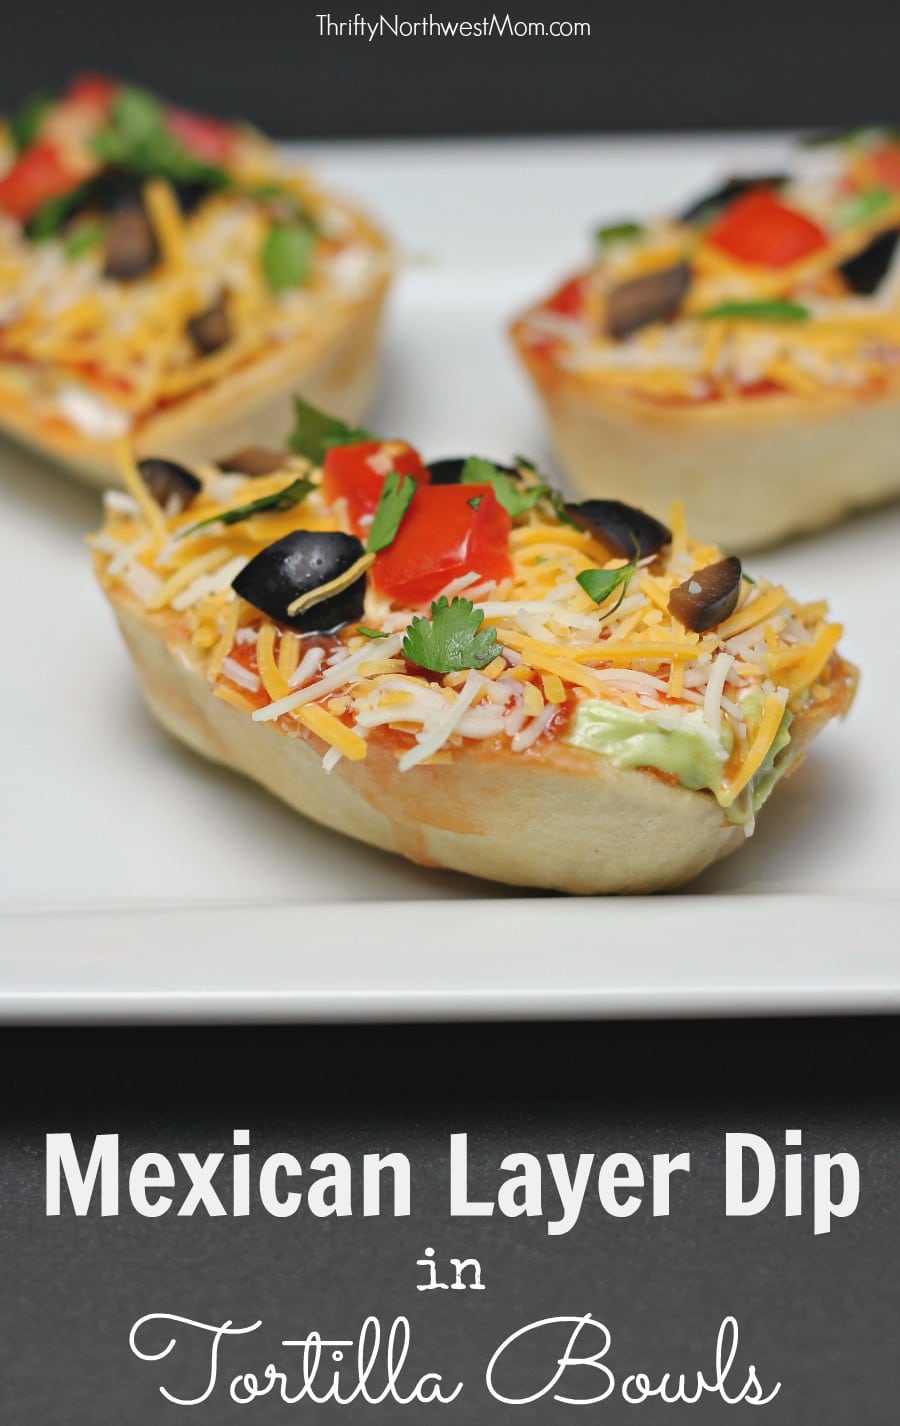
If you’re looking for a fun & unique idea for the big game, I came up with this idea to make individual servings of a classic, all-time favorite for your party-goers – the layered Mexican Dip, but with a twist using these fun, new tortilla bowls I found. Everyone loves a good layered Mexican Dip for game day, but it’s fun to change things up to something new & different, especially when you find something that is even football shaped for the big game!
It seems like the new trend with parties these days is to make individual servings of party foods for several reasons. It’s nice for folks to have everything all together in one place making it so easy & eliminating extra trips to the table, it keeps a big dip from getting to be a mess with everyone coming at it from different sides and they just look super cute to have on hand for parties, too. The only downside is that those individual servings can take awhile to put together and can be more time intensive to create. That’s what I love about these tortilla taco bowls – they were so simple & fast to use as a fun way to dress up a classic game day recipe!
I found the tortilla bowls at Safeway when I was gathering ingredients to try out some game day recipes and saw that Old El Paso has this new product, Mini Soft Tortilla Taco Boats. They actually have two sizes for the tortilla taco boats – regular & mini, and either size would work well & they are both oval shaped, which I thought was perfect to look like footballs for game day. I used the Mini Taco Boats as they seemed like just the right amount of food & you could pick them up easily in your hands or use a fork, but if you have a lot people with hungry appetites who love their Mexican dip, then the regular size might work better.
Since these tortilla taco bowls do come soft, I thought it would hold up better to fry them up so they were a harder shell & a bit crunchy. You don’t have to fry them but could still fill them with the dip & use them soft – I just thought the crunch was a nice addition with the flavors. The hard shell bowls also seemed to hold the dip better so the bowls didn’t get soggy or lose their shape throughout the party.
Mexican Layer Dip::
Since you will be making individual layered Mexican dips – the amount you use for the recipe will totally vary depending on how many of these individual servings you are making. So, these are very rough estimates on how much you need as you’ll just need to adjust it with how many people you want to serve. You will only be using a little bit of each ingredient in each serving.
Ingredients::

1 16 oz can of refried beans
1 oz package taco seasoning
1 cup guacamole (or make your own quick & easy guacamole)
1 8 oz container of sour cream
1 cup of salsa or pico de gallo (check out our yummy recipe for homemade pico de gallo
1 cup shredded Mexican blend cheese
2 Roma tomatoes, diced
1 can of olives, sliced up
Cilantro or green onion (for garnish)
Directions for Frying Tortilla Bowls:
Tips for Frying the Tortilla Bowls::
I took my inspiration for frying the bowls from the recipe for Fried Ice Cream Bowls on the Old El Paso website (doesn’t that look so yummy – you might want to save some of those taco bowls for a sweet treat for later). I will say that it was a bit tricky with the smaller, mini size, for some reason, to keep them from getting big bubbles as you fry them, but I just kept turning them over continually with a slotted spoon which seemed to help. Even if you do end up with some bubbles, you’ll be filling them up with the Mexican dip, so no one will be able to see or taste the difference.
This was actually my first time frying up something like this, but it was much easier than I thought it would be. I used my heavy dutch oven as it works better to use a heavier saucepan or Dutch oven to keep the temperature from changing too quickly.
I’d also strongly recommend using a candy thermometer so you can measure the temperature & keep it as close to the recommended temperature as you can. I just clipped my candy thermometer to the side before I started frying the oil. I also kept a pan with paper towels off to the side of the stove, so I could drop each bowl on there & let the oil dry up & the bowl harden.
Directions for frying tortilla bowls::
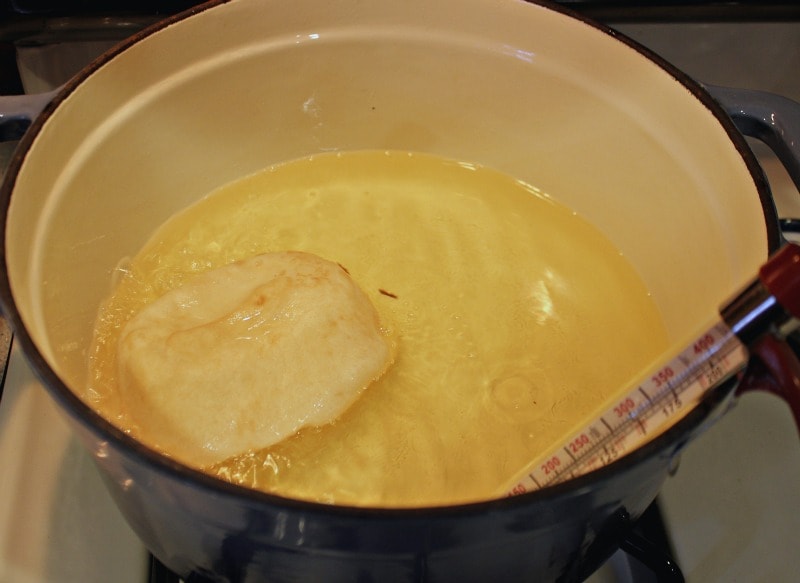
- Use a heavy saucepan or dutch oven to heat the oil. If you’re using a candy thermometer, clip it on the side with the gauge as far in the middle as possible
- Use 3 -4 cups of oil (vegetable, coconut oil, etc – whatever your preference is) and heat it up on the stove till it reaches 340 – 350 degrees F. Try to keep the oil cooking around this temperature by adjusting your burner.
- Drop the taco boats in the oil, one or two at a time, and use a slotted spoon or tongs to turn them over and over & keep them down under the oil. It should take about a minute for them to get golden brown (if you want them softer, you can cook them for a shorter time; crunchier & cook them for a little longer).
- Once it’s golden brown, take the taco shell out of the oil & let it drain on the paper towels (on top of a pan/cookie sheet). Let them cool completely.
- Then, they are ready to fill! Make sure to fill them up right before the party starts just because all of those layered ingredients will make them go a bit softer depending on how much you fill them and you want them to stay crunchy.
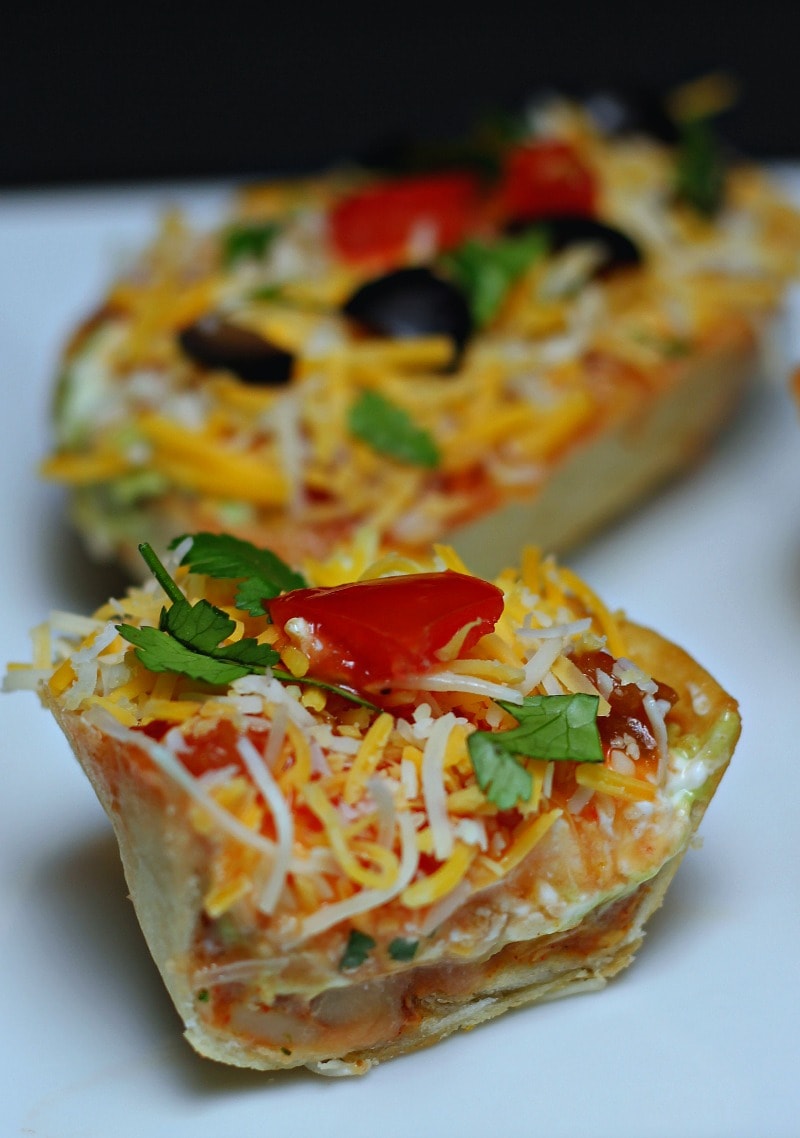
Filling the Taco Bowls with Layered Mexican Dip::
- Mix up the can of refried beans with a package of taco seasoning. This will be the base layer of your dip to put on the taco bowls when they are cool.
- Add guacamole
- Add sour cream
- Add salsa or pico de gallo
- Top with shredded cheese
- Add olives, if desired
- Add diced tomatoes, chopped green onion and/or chopped cilantro for garnish (if desired)

As you can see, this recipe is pretty easy and doesn’t take a lot of time to put it all together, even having these cute, individual little taco bowl servings for everyone of the Mexican dip. I love shortcuts like using the Old El Paso soft tortilla taco bowls to speed up the process and give you an option to change up your classic, favorite dips. You could use these taco bowls for all sorts of yummy dips, as well as mini tacos for your game day parties.
Or switch it up & dip them in cinnamon & sugar after you fry them to make them sweet dessert bowls to fill with ice cream & toppings or maybe warm fruit with the cinnamon & sugar flaky crust. I love that there are a lot of different possibilities you can create with these fun tortilla bowls.
Old El Paso has a lot of fun & unique game day recipes on their website to give you more inspiration, including using the tortilla taco bowls to make Mini Pepperoni Pizza Boats (those would be awesome for game days, too!) or Easy Taco Queso Dip (another yummy one that would be great in the tortilla taco bowls). You can also find a coupon at the Old El Paso website or Albertsons.com for $1 off 1 package of Old El Paso Dinner Kit, Tortillas, or Taco Shells and TWO Avocados from Mexico. You’ll also find this in your Safeway Just 4 U account, too. The coupon is valid through 2/9/16.
Mexican Layer Dip in Tortilla Bowls for Game Day Snack!
Ingredients
- 1 16 oz can of refried beans
- 1 oz package taco seasoning
- 1 cup guacamole (or make your own quick & easy guacamole)
- 1 8 oz container of sour cream
- 1 cup of salsa or pico de gallo (check out our yummy recipe for homemade pico de gallo
- 1 cup shredded Mexican blend cheese
- 2 Roma tomatoes, diced
- 1 can of olives, sliced up
- Cilantro or green onion (for garnish)
Instructions
- Directions for Frying the Taco Bowls::
- Use a heavy saucepan or dutch oven to heat the oil. If you’re using a candy thermometer, clip it on the side with the gauge as far in the middle as possible
- Use 3 -4 cups of oil (vegetable, coconut oil, etc – whatever your preference is) and heat it up on the stove till it reaches 340 – 350 degrees F. Try to keep the oil cooking around this temperature by adjusting your burner.
- Drop the taco boats in the oil, one or two at a time, and use a slotted spoon or tongs to turn them over and over & keep them down under the oil. It should take about a minute for them to get golden brown (if you want them softer, you can cook them for a shorter time; crunchier & cook them for a little longer).
- Once it’s golden brown, take the taco shell out of the oil & let it drain on the paper towels (on top of a pan/cookie sheet). Let them cool completely.
- Then, they are ready to fill! Make sure to fill them up right before the party starts just because all of those layered ingredients will make them go a bit softer depending on how much you fill them and you want them to stay crunchy.
- Filling the Taco Bowls with Layered Mexican Dip::
- Mix up the can of refried beans with a package of taco seasoning. This will be the base layer of your dip to put on the taco bowls when they are cool.
- Add guacamole
- Add sour cream
- Add salsa or pico de gallo
- Top with shredded cheese
- Add olives, if desired
- Add diced tomatoes, chopped green onion and/or chopped cilantro for garnish (if desired)
This is a sponsored conversation written by me on behalf of Albertsons. The opinions and text are all mine.

One Comment