Frugal Tips for Organizing Kids Rooms
This post may contain affiliate links and I may be compensated for this post. Please read our disclosure policy here.
Update: Originally published a few years ago, however, we are still using these same organization ideas, just in a different house.
******************
With both of my girls sharing a small bedroom, we have to get pretty creative with our limited space and find ways to organize all their clothes, toys & books within that one room. It was quite chaotic and causing a lot of stress in finding items easily, so I spent time decluttering it & putting systems into place to maximize the space we had. The result is a mix of function & organization while still keeping their room fun & girly just like they like it!
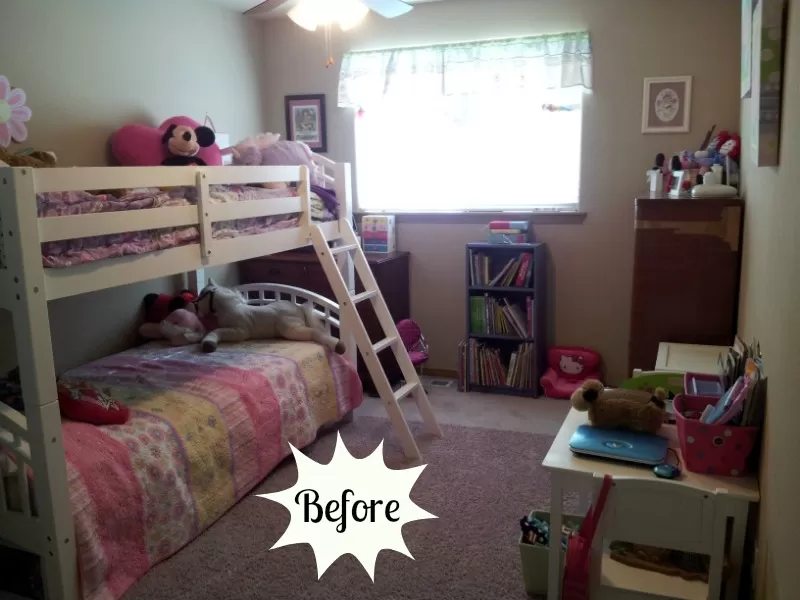
Here is a “before” picture of my girls’ shared bedroom. You can tell that we really struggle with all the clutter and too much stuff and not enough room to put it all! Both of my girls, ages 6 1/2 and 4 1/2 are sharing this small room, and there is a small closet, so it’s just been a struggle to keep it organized.
My main issue in organizing was how to control the clutter, yet still find more creative ways to utilize the space in this room. My older daughter is also becoming more independent and likes to have her own areas and space, so we’re trying to give her more freedom & areas to keep her own special items.
Here are the main issues we tackled in the bedroom:
De-clutter:
Dressers
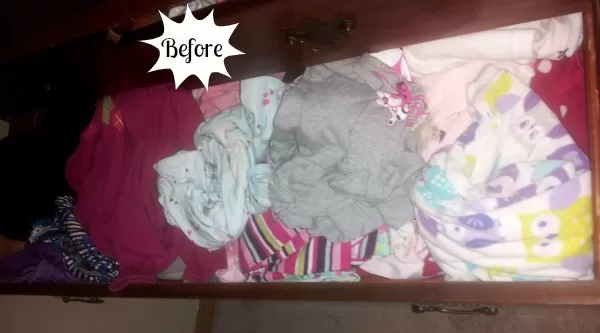
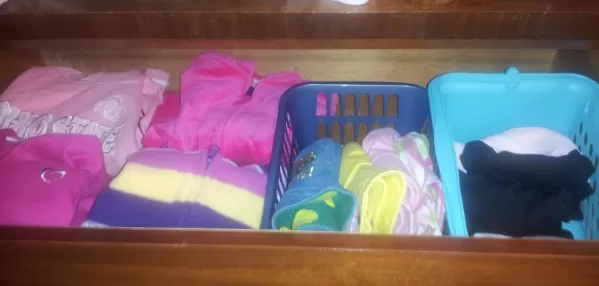
This area had gotten to be such a mess that doing laundry was a real chore. The main problem was just that I had too many clothes in there – winter clothes, spring clothes & then clothes that really didn’t fit them anymore. I also was trying to teach my girls to put their own laundry away, which is why it was looking like the picture above.
Here are the steps I went through de-cluttering the drawers:
- Emptied all the drawers to sort them and put them into stacks – give away (to friends or donation), sell or keep
- Stacked the items we were keeping to put back into dresser.
- Utilized baskets I found around the house in various sizes/colors to control the smaller items in many of the drawers (underwear, socks, tights, leotards, etc) – I had bought these over the years at the dollar store & they didn’t match, so perfect for drawers. I also used shoe boxes in the deeper dressers as they work as great organizers and they’re free!
- Rolled the tights & underwear to be able to fit more in & it looked neater & more organized
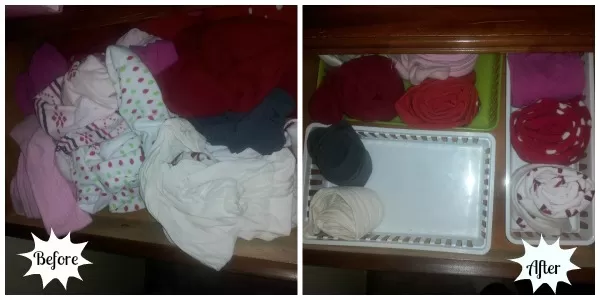
What a difference it makes rolling the tights & keeping them contained in small baskets in the drawers. This has worked so well for us to find the tights easily.
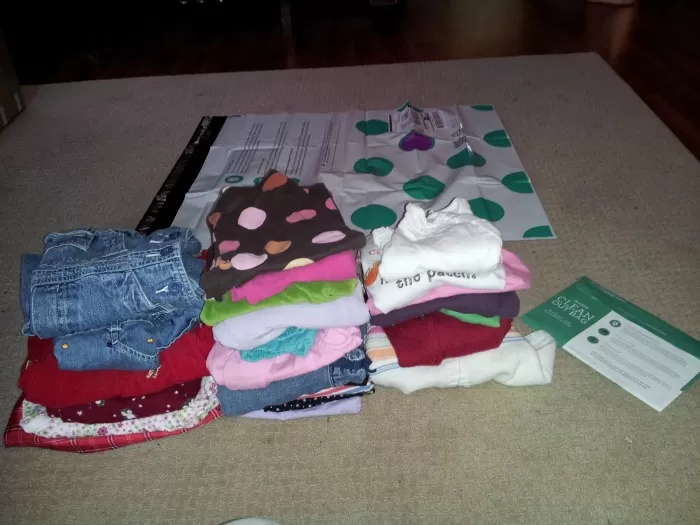
After going thru all the clothes to find items to donate and give to friends, I also had some clothes to sell. So, I decided to give Thred Up a try. Thred Up is an online children’s consignment site. All you have to do is request a bag to be sent to you (you pay a deposit of $5.95 which is returned to you when you return the bag) or you will receive a bag if you buy any clothes from Thred Up. I found all the clothes that were in great condition (no tears, stains, etc), made sure they were all clean & dumped them in the bag. I then brought it to my local UPS store & they charged just $1 handling fee (you could drop it off at the post office for no fee) – Thred Up pays the postage. For me, it is a way I can earn some cash back to help pay for the room makeover without having to do more than stuff the clothes in a bag & mail it.
Creating more storage areas
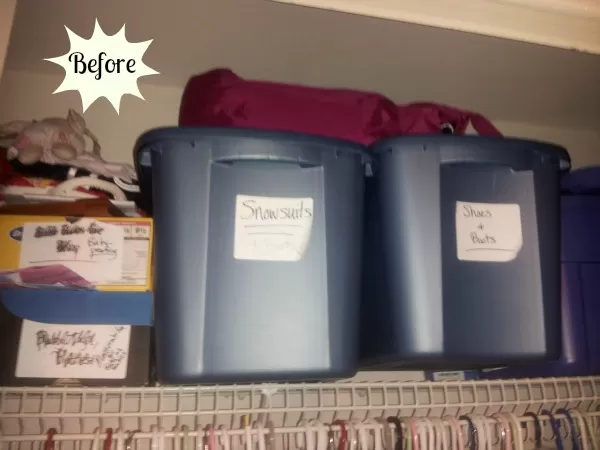
Having two girls share a room, we really needed more creative storage options. I forgot to take a full picture of the closet beforehand, but it was basically filled with large totes on the top shelf and all along the floor of the closet (you can see the top shelf below). Unfortunately this did not leave too many options for reducing the clutter & increasing space in the room.
Under the Bed Storage:
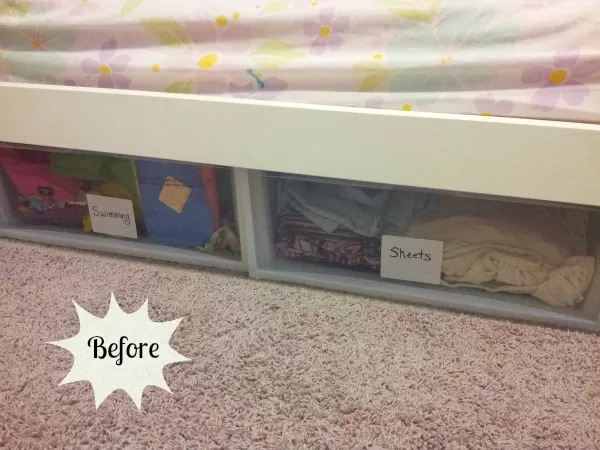
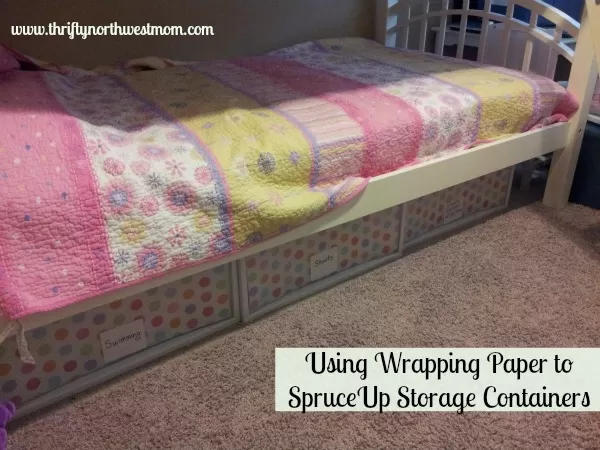
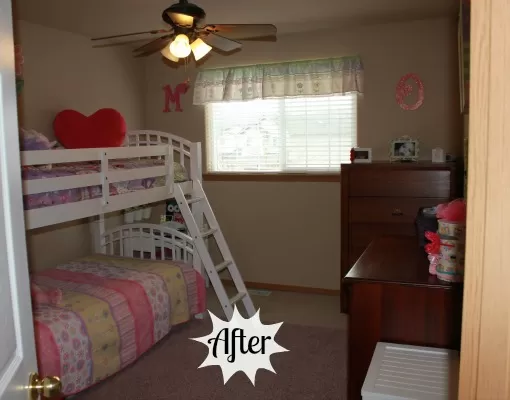
Our first goal about a month ago was to utilize the storage space under the bed. I found the perfect size pull-out plastic drawer at Walmart from Sterilite and was able to fit 3 drawers under the bottom bunkbed. In those drawers we have swimming gear, sheets, pillow cases, blankets and more. However, I had my friend, Sarah, come over to give me her suggestions for creative organization and she came up with the idea to use the back half of under the bed for storage as well. So, we went from 3 drawers under the bed to 6 drawers. It is harder to get into the back drawers, so we used that for items that we wouldn’t need to access but once or twice a year. In the back drawers, we have winter boots/snowsuits, shoes to grow into, and some of the in-between sizes for clothes.
Sarah also suggested a way to jazz up the front drawers so that it blended better with the decor and I love this tip because it’s so simple & frugal yet can make things look a lot less messy & cluttered. All you need to do is find some cute wrapping paper that goes with the room and cut out paper to cover the front of the drawer so you can’t see inside. She recommended the heavier-duty wrapping paper like Hallmark, especially helpful since it has lines on the back to cut straight to fit it into your box. :) I love how simple this tip was, but it definitely made it less cluttered.
This was definitely our biggest expense, though, as each of these containers was about $13, so that was $78 for 6 of them. For me, it was worth it to be able to fully use ALL of the under-the-bed space. There is literally no space under there now – we used it all!
Closet Space:
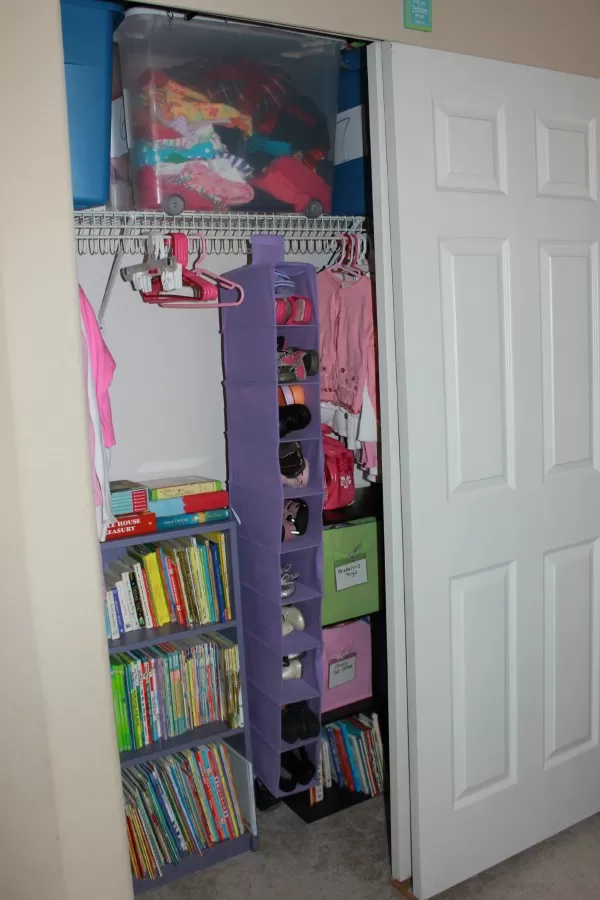
By utilizing the under the bed storage, we were then able to eliminate several big tubs that had been in the closet, giving us more opportunity to create more storage space in the closet. First, we moved the big 3 containers left to the top shelf to get them off the floor and create more space. I keep those tubs as a way to save money by buying ahead for my oldest when I find amazing clearance sales and saving the clothes for my youngest but needed to reduce the space they took up.
One of the areas in the room that was always cluttered was the bookshelf. I love books and my girls truly love books as well, but we always had too many books than would fit into the shelves. First we sorted through the books to give to friends or donate and then also save some books for their baby mementos. Then we moved the bookshelf into the closet so they still had full access to it, but to keep the room from feeling cluttered.
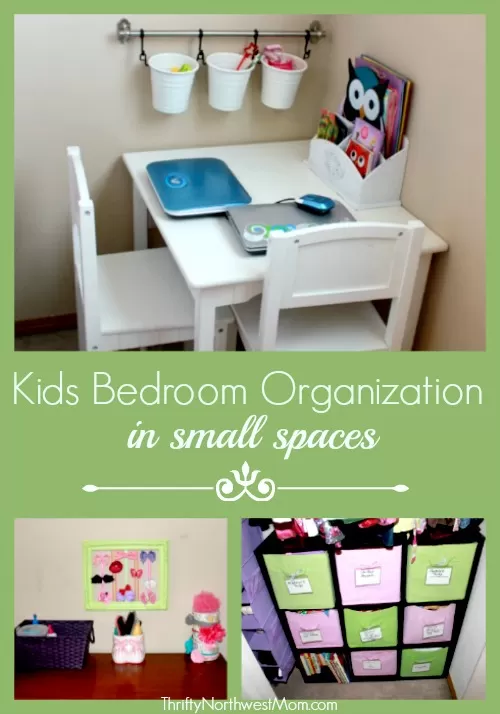
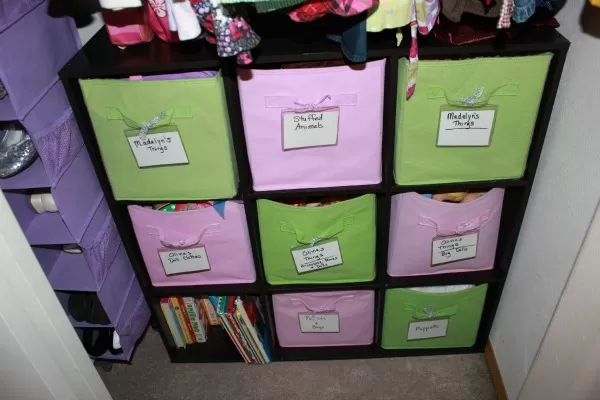
We also had some extra cubical shelves that we moved into the closet as well. This way we could give each girl baskets to organize how they wanted. I’ve used baskets for a little while, but have never had them labeled – let me tell you, just by having them labeled, my girls are doing a MUCH better job of putting their toys away. I used some old ribbon & horizontal nametag holders (you can find this in the office supply section of Walmart or Target) to label them. Super fast & easy!
Another addition to the closet is a shoe organizer in the middle. We keepour most used 2 pairs or so downstairs in the entry closet in bins, but the rest stay organized in this shoe organizer. I found this at Walmart for around $6.
Dresser Space:
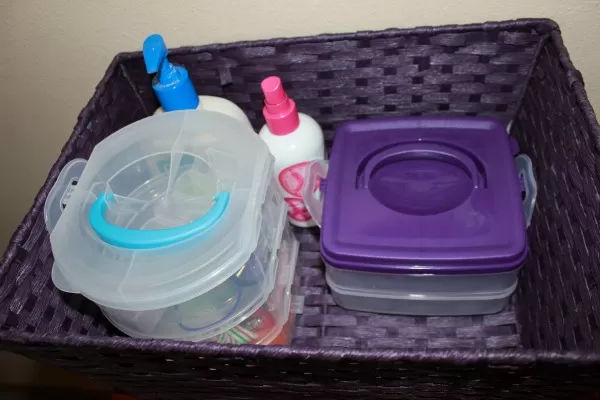
The dressers were another area that was looking really cluttered, but more than that, it was difficult to keep track of all of their hair items (bows, headbands, elastic bands, clips, etc). I had all of the hair items stuffed into a big purple basket – at times, I’ve tried keeping different containers, little baggies of the elastic bands, etc) but it had all become a jumbled mess. So, I needed a better system to keep track of it all.
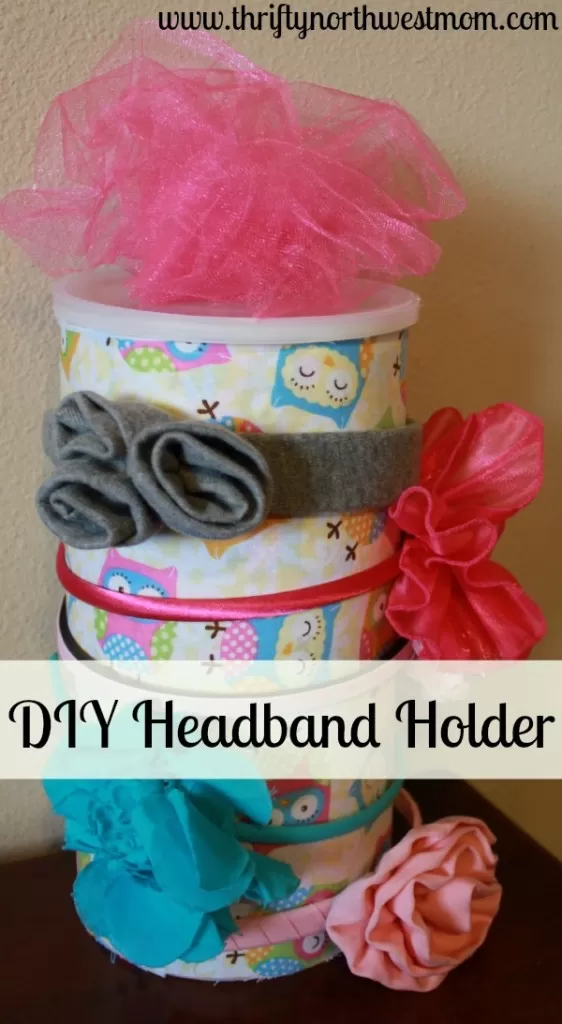
DIY Headband Holder:
Head on over & find the supplies & directions on how to assemble this DIY Headband Holder made out of an empty oatmeal container, fabric or scrapbook paper & spray adhesive or a glue gun. It’s so simple & would take you about 10-15 minutes to put this together!
This works so well for keeping my daughter’s headband collection organized & easy for them to access & keep clean!
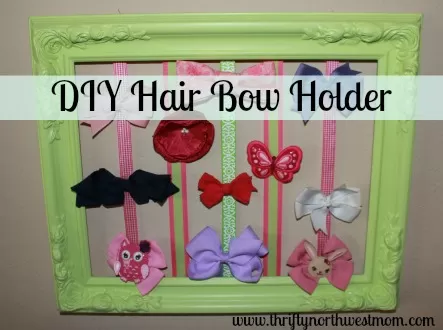
DIY Hair Bow Holder:
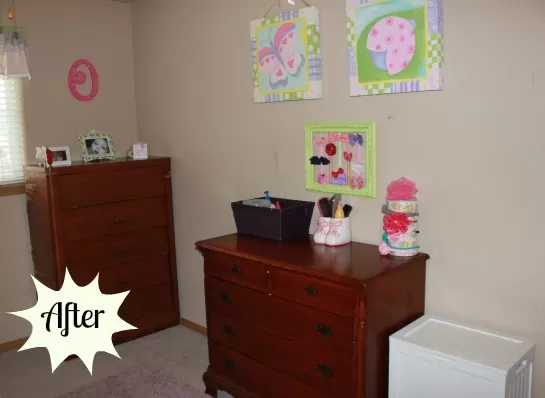
The other project I decided to try after seeing versions of it on Pinterest was to create a hair bow holder using a fun frame. My friend Sarah found this cool frame for me at Goodwill (it had a picture in it, so we just removed the picture and backing). We then sanded & painted it green. Then we just added some fun ribbons to the back to create this unique way to display bows so the girls can have an easier time picking out their own hair accessories.
In the purple basket, I added a few small stacking containers I found at Joann’s on sale with coupons to hold all the little elastic bands, clips, lip glosses, nail polish, sprays & more in the basket.
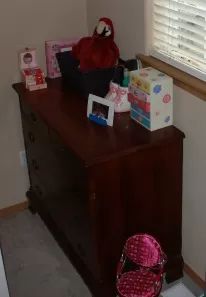
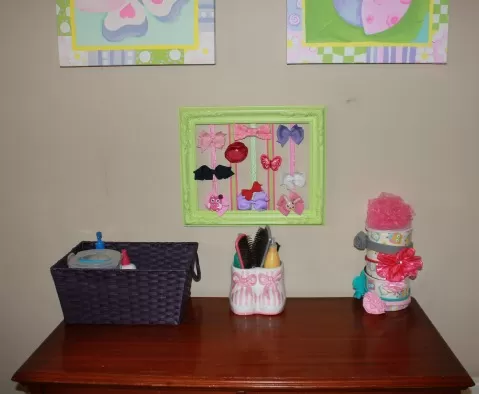
Here’s the finished look for the dresser – it’s basically a whole area just for all the hair & girly stuff! With two girls, you end up with a lot of this stuff, so I’m so glad it’s better organized now! Easier for my girls to find things so they can be in charge more of what they want to wear each day.
Art Corner:
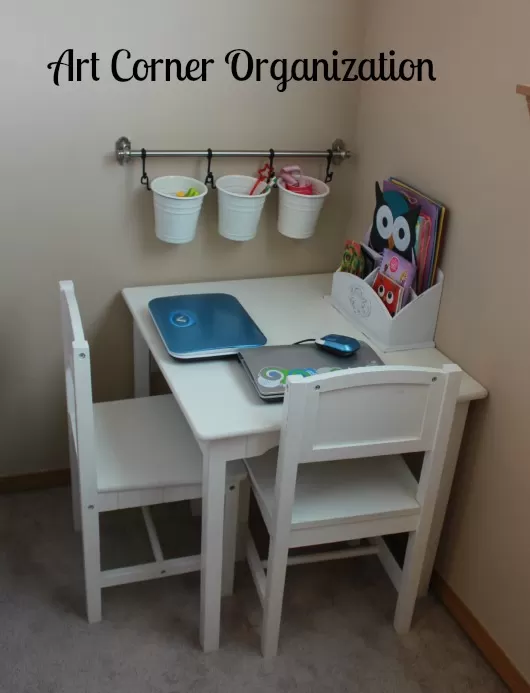
This last area is another area that would get so cluttered and messy, but my girls just love to draw, color and create, so this was something they really enjoyed having in their room. I really needed to find a way to better organize it, though, so we moved the table & chairs to the corner.
The buckets and rod are from Ikea – they have white or silver. These hold their scissors, pens & pencils. I also found the white bill holder at Home Goods to hold construction paper, notebooks, and art supplies.
Finished Room:
I’m very pleased with how the room organization project turned out as it’s so much cleaner and organized and the girls are excited as they can find everything they need much easier!
Room Makeover Expenses:
- Large under the bed storage containers – $78
- Supplies for Art Corner – $35 ($25 for Ikea buckets & $10 for bill holder)
- Supplies for the DIY hair bow holder – $8
- Supplies for DIY headband holder – $8
- Two fun letters I found for their initials (50% off at Hobby Lobby right now) – just $3/ea.
- Shoe Organizer – $5
- Total: $140
This summer we had found the bunkbed at Mor Furniture using a voucher from a daily deal site (we paid $49 for a $200 voucher, which was the price of the bunkbeds) – so just $49 for this awesome bunkbed set. Always make sure to check out daily deal vouchers for furniture stores, you never know if you might find the perfect piece of furniture for a steal of a deal!
For more organizing inspiration, check out this Kindle book: Organize your Home in 5 Days: Easy Hacks to Declutter your Space, Create a positive environment, and Get inspiration back to your life.
More organizing posts you might like::
- How to Organize your Home – 5 Budget Friendly Tips
- More Organizing Kids Rooms – including a DIY Playhouse Bed for under $200
- How to Make an American Girl Doll Closet using Dollar Store Items
- How to Organize your Garage on a Budget
- How to Organize your Master Bedroom & Make it more relaxing
- How to Organize your Pantry on a Budget
Make sure to check out our Home Organizing Board on Pinterest too!
Follow Jen & Sia | Thrifty NW Mom’s board Organize :: Home on Pinterest.
So, what are your best organizing tips for your kids’ rooms? We’d love to hear any tips you have to share!


Jen- it looks fantastic! I especially love the little art corner. One thing we use for our kids to display their art is a large oil pan (bought from Walmart for about $10) and attached to the wall with command picture hanging strips- add some cute magnets & it becomes a great art board and there’s no worrying about push pins falling on the floor and getting stepped on by little feet. My kids love it.
How awesome!! I love it all.
That art corner is just so darn cute. I want one! Great job Jen!
What about a pair of these “Art cabinets”?
https://www.amazon.com/Easy-Change-Artwork-Frame-Artwork/dp/B007FW119K/ref=sr_1_3?ie=UTF8&qid=1364448651&sr=8-3&keywords=art+cabinet
My parents gave me 4 (one for each kid) for Christmas… they didn’t come from Amazon, they came from one of those catalog places, for a much better price. I just can’t recall the catalog! (collections etc? that type) They’ve worked out so great!
Great job!! I love the wrapping paper in the underbed storage especially…what a huge difference from such a simple thing!
I have three kids in one room (ages 6, 4, 2.5). We don’t keep toys or books, so it’s just beds and clothing… but still it would get TERRIBLY messy. Recently I did an overhaul on the clothing organization and it has been so much better!
First I thinned out everyone’s clothing– making sure everything has coordinating items, everything fit and was in season, etc. And in some cases just getting rid of excess.
Next I put everything in the closet (We use some simple rubbermaid drawers for the two older kids and canvas bins on a shelf for the younger) and “lock” it using tension rods on the sliding closet doors.
My son’s clothes had been in a tall, narrow freestanding wardrobe. Now that it’s empty my husband is using castoff plywood pieces from work to build a 18 cubby organizer (similar to a wooden shoe cubby organizer) that slides inside of the large open space in the wardrobe (shelves were removed, so it’s just a big empty rectangle). Friday is laundry day, and Saturday is “pick out your outfits for the week” day. Sunday clothes are hung up separately, and six outfits for the rest of the week go into the wardrobe.
Anyhow, it’s been a huge improvement for us. Less laundry and mess, but they still get to pick out their outfits and get themselves dressed in the mornings.