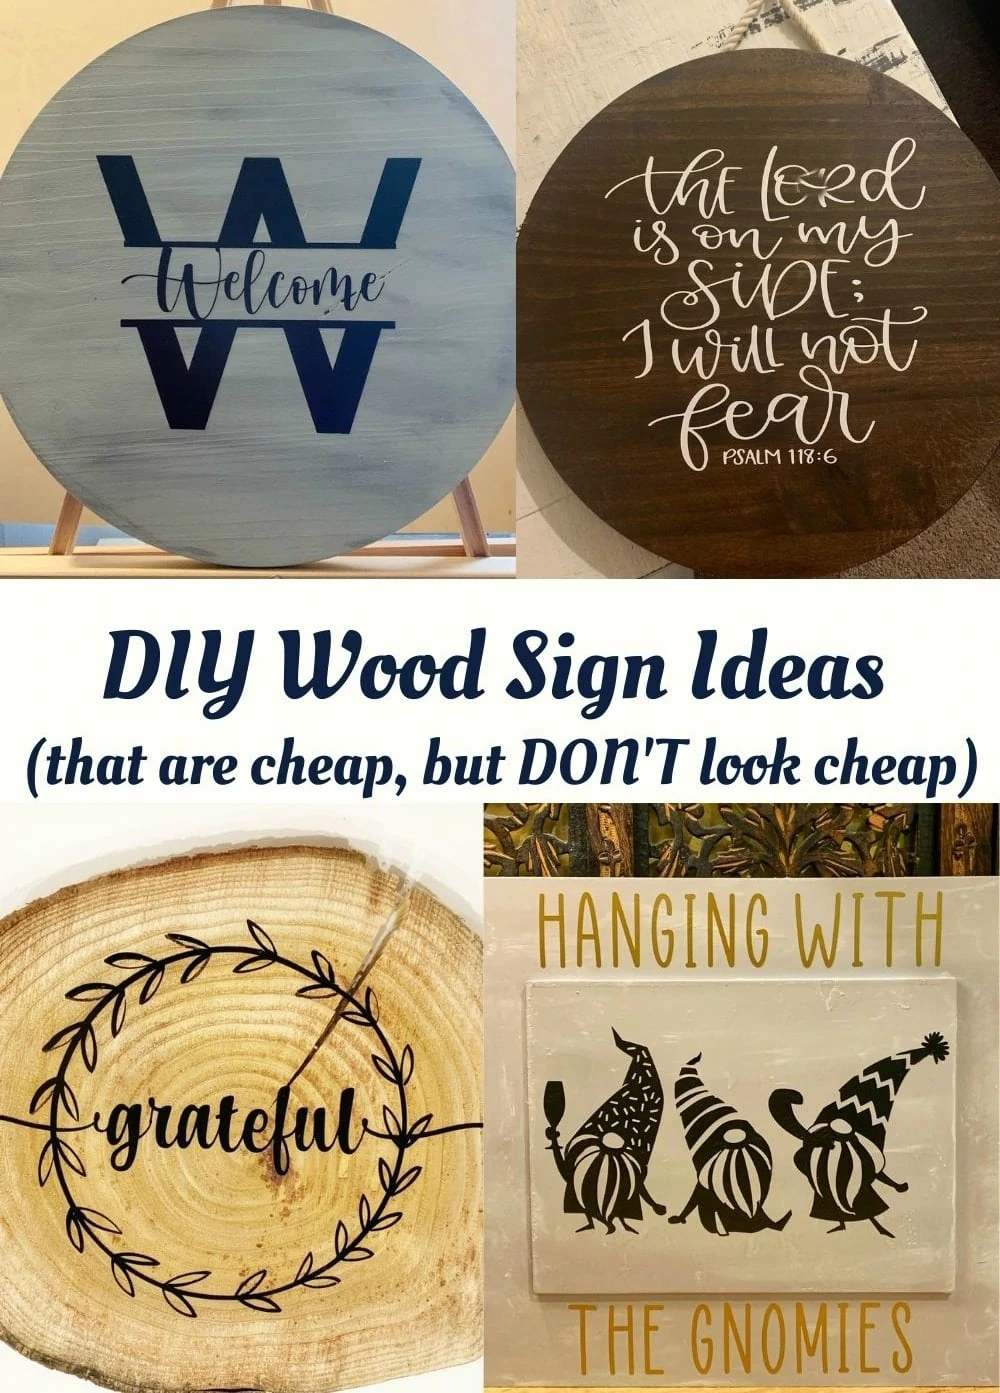
6 DIY Wood Sign Ideas + More That Are Cheap (But Do NOT Look Cheap)!
This post may contain affiliate links and I may be compensated for this post. Please read our disclosure policy here.
6 DIY Wood Sign Ideas To Make on the Cheap (That Do NOT Look Cheap)!
I love to make beautiful signs, but it can cost more than buying them sometimes, if you do not know where to find the materials at a great price. I have made a number of signs now for weddings, home decor, gifts and more, and learned some tricks along the way that I want to share with you. If you are going to places like craft stores, or Walmart, etc. to buy your wood, or frames for signs, it is going to add up. Here are some wood sign ideas and ways we have found to source materials for our signs, at much less then you will pay if you buy wood that was created for “sign making” most of the time.
I used my Cricut to make all of the sign cut outs. If you do not have a Cricut machine, and are interested in buying one, we share the best deals on the Cricut Maker and Maker bundles here, or the best deal on the Cricut Explorer machines here. We also share some tips on saving on vinyl to make the cut outs below too, or how you can make the signs without a Cricut as well.
One tip I want to mention about putting vinyl on wood, is that permanent vinyl usually works best (and I highly recommend using transfer tape to get your designs on there perfectly)! If you want to do a sealant on your wood first (like a mod podge for example) do it before putting the vinyl on. If you seal over the vinyl it can cause it to lift or warp sometimes. Now, here is where I find some of the best deals on supplies for my signs, so I am paying less to make them, not more than it would cost me to buy them.
Here are some of my favorite wood sign ideas, to make beautiful, and affordable signs!
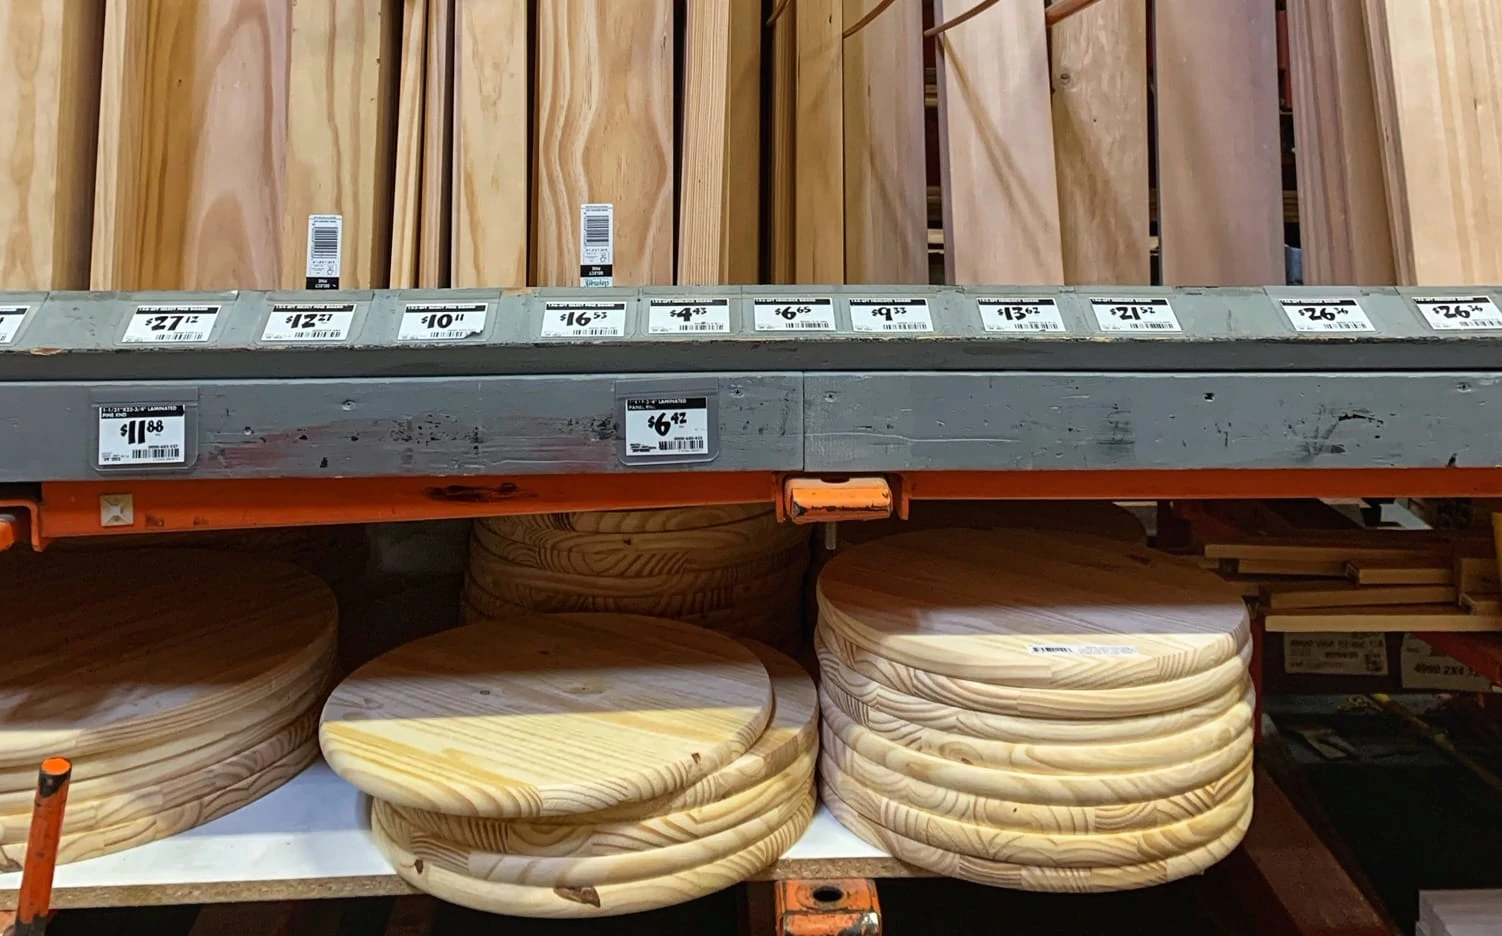
1 – Make Wooden Signs with These Rounds From Home Depot ($6.42)!
These round wood sign ideas, are some of my favorite. You get so much bang for your buck on these ones.
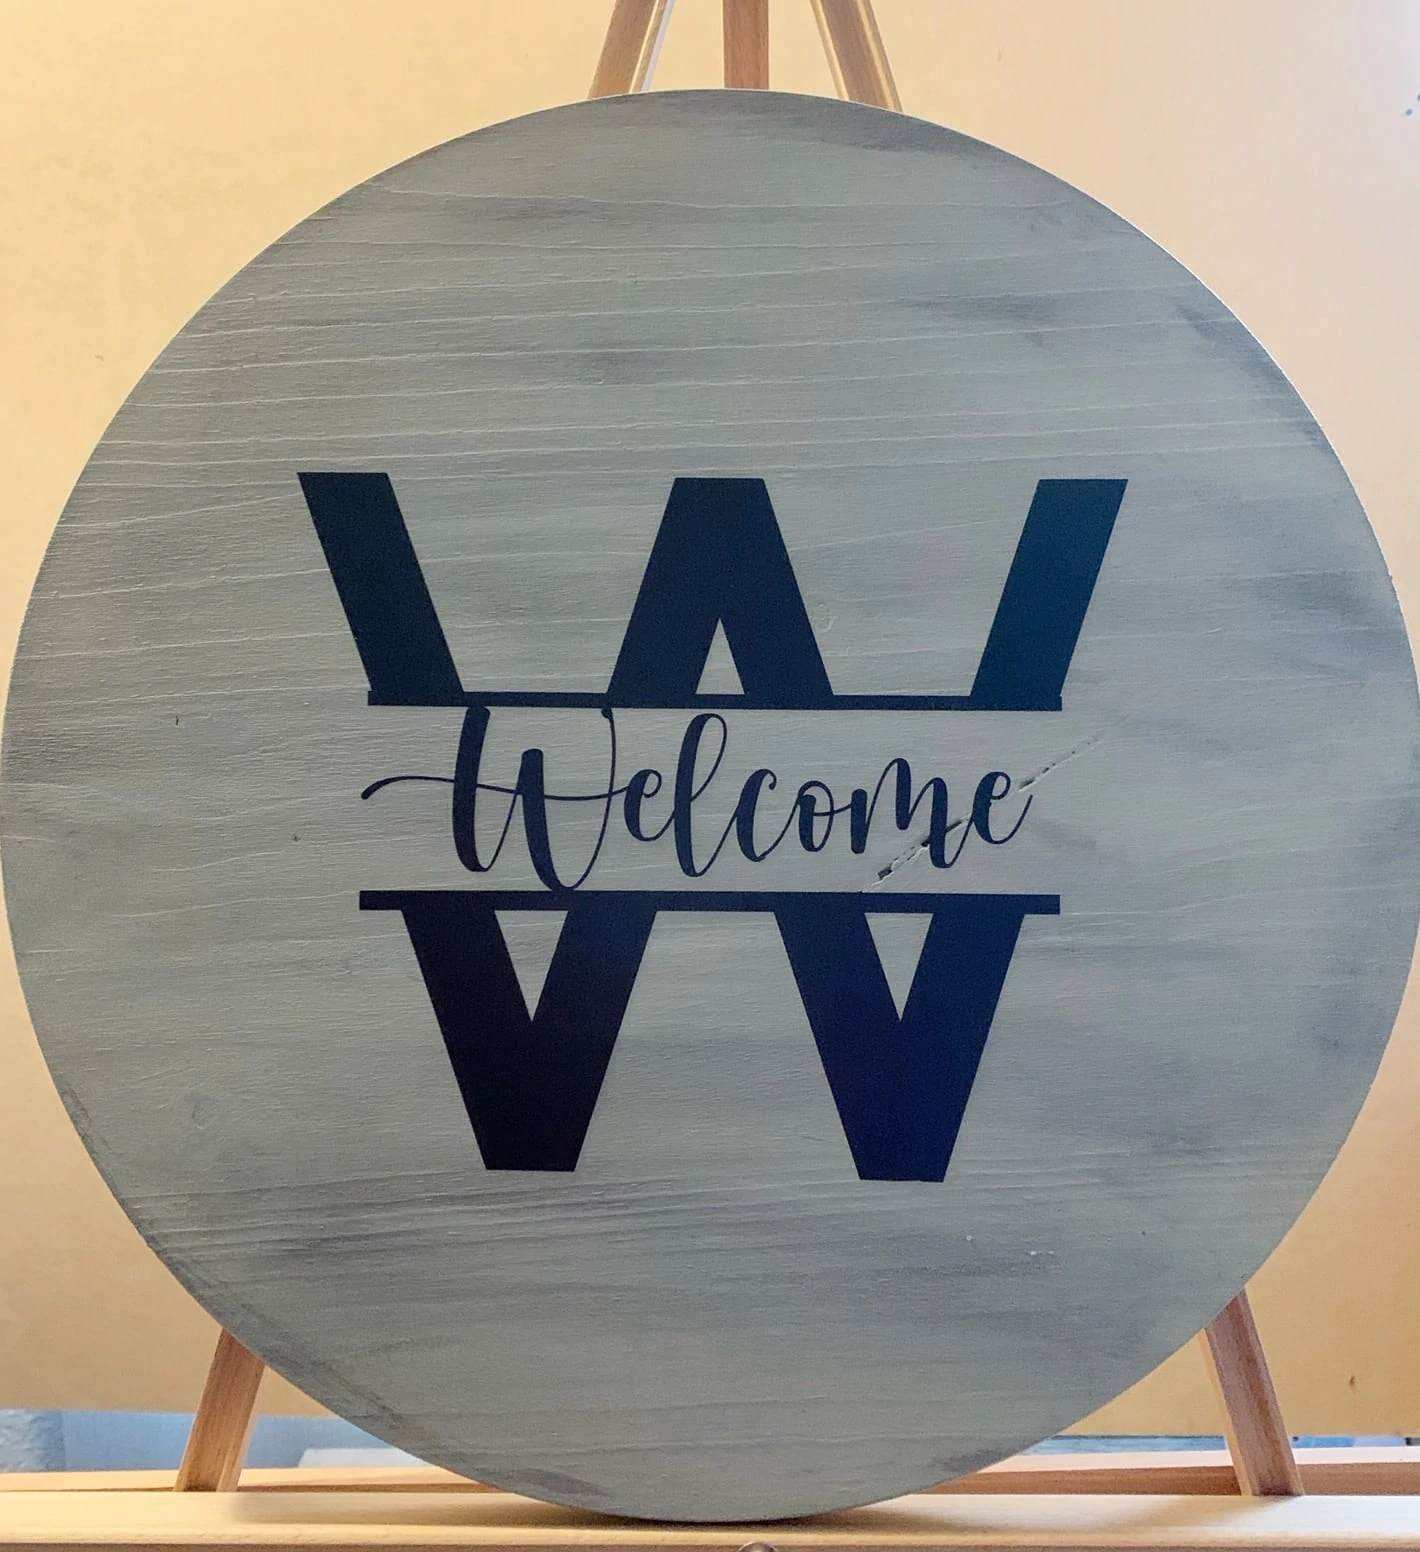
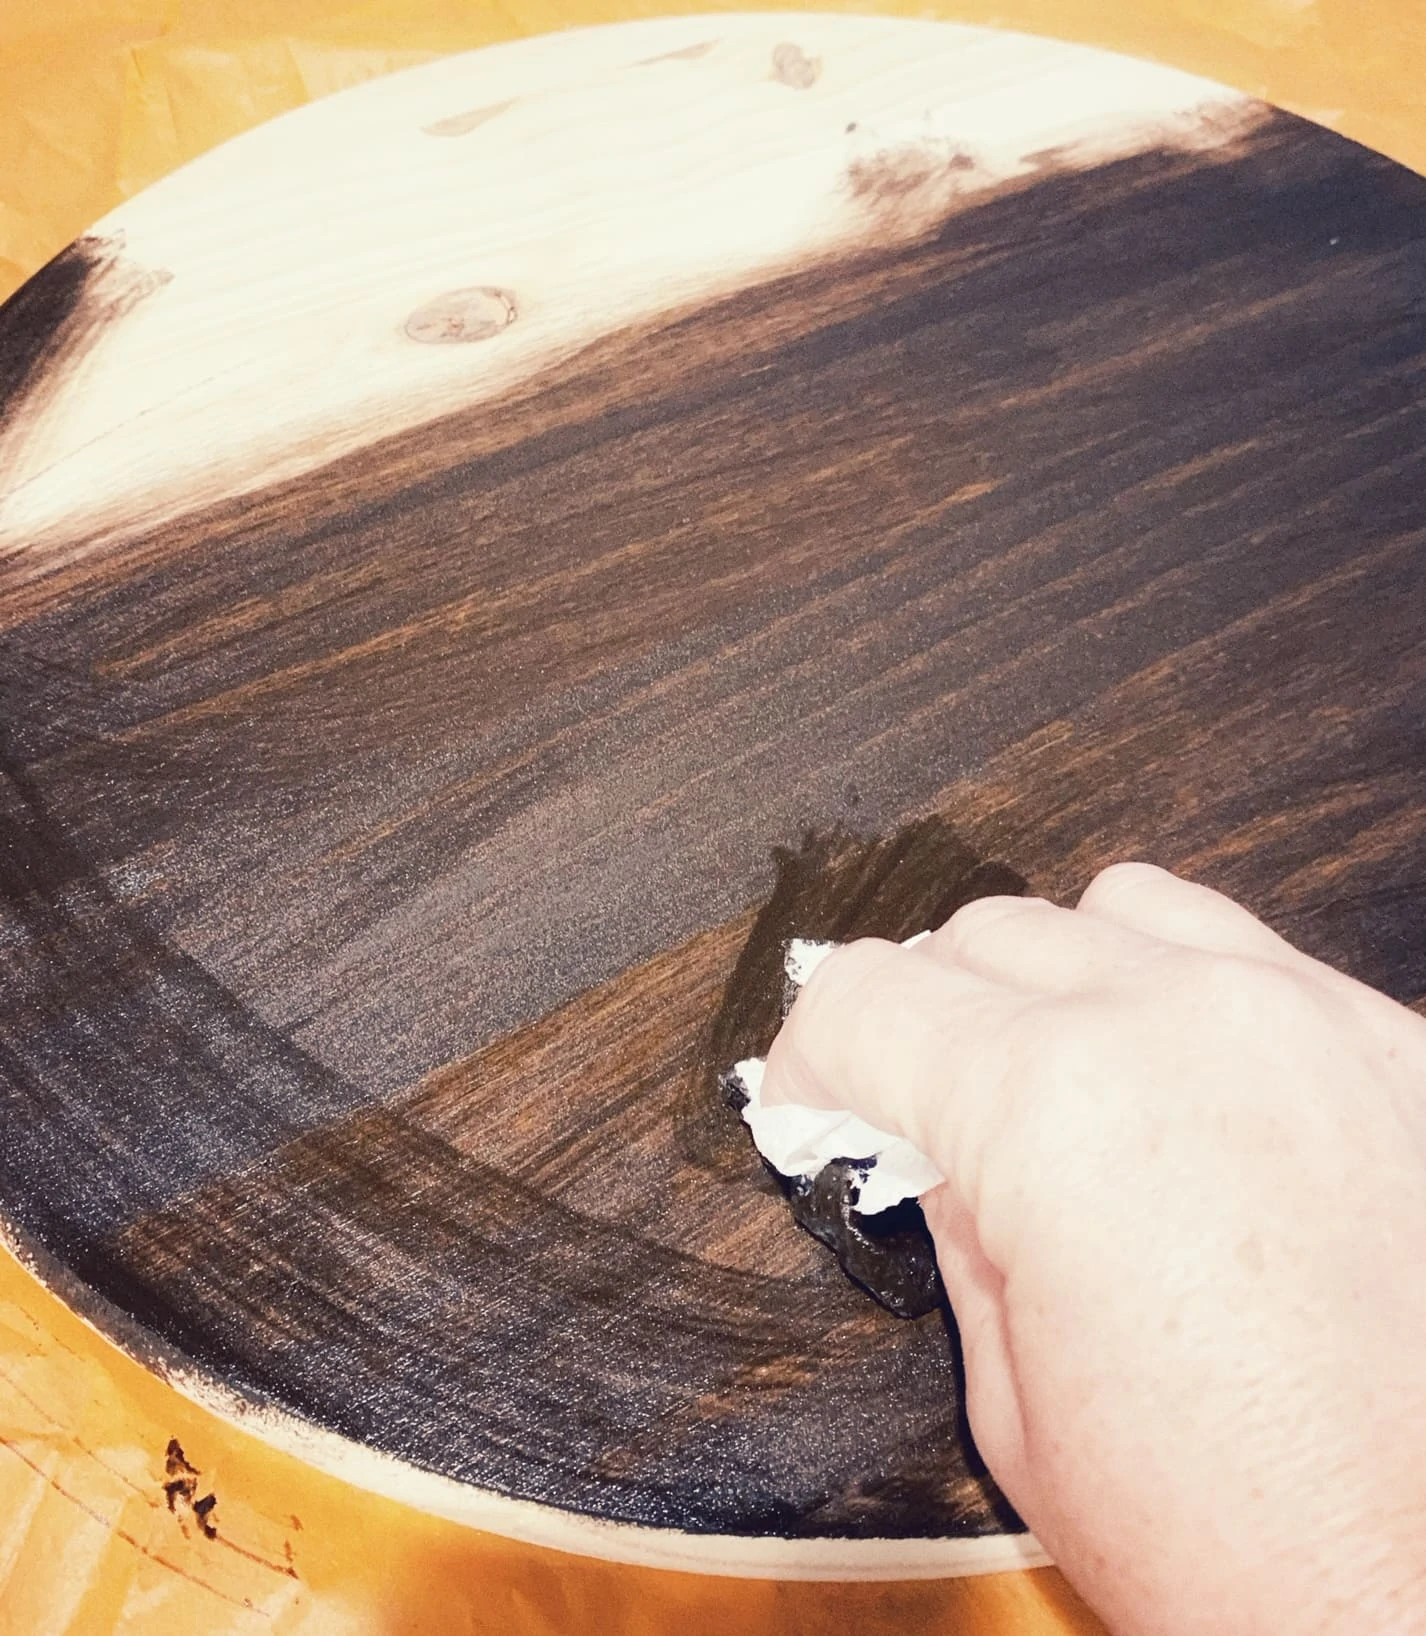
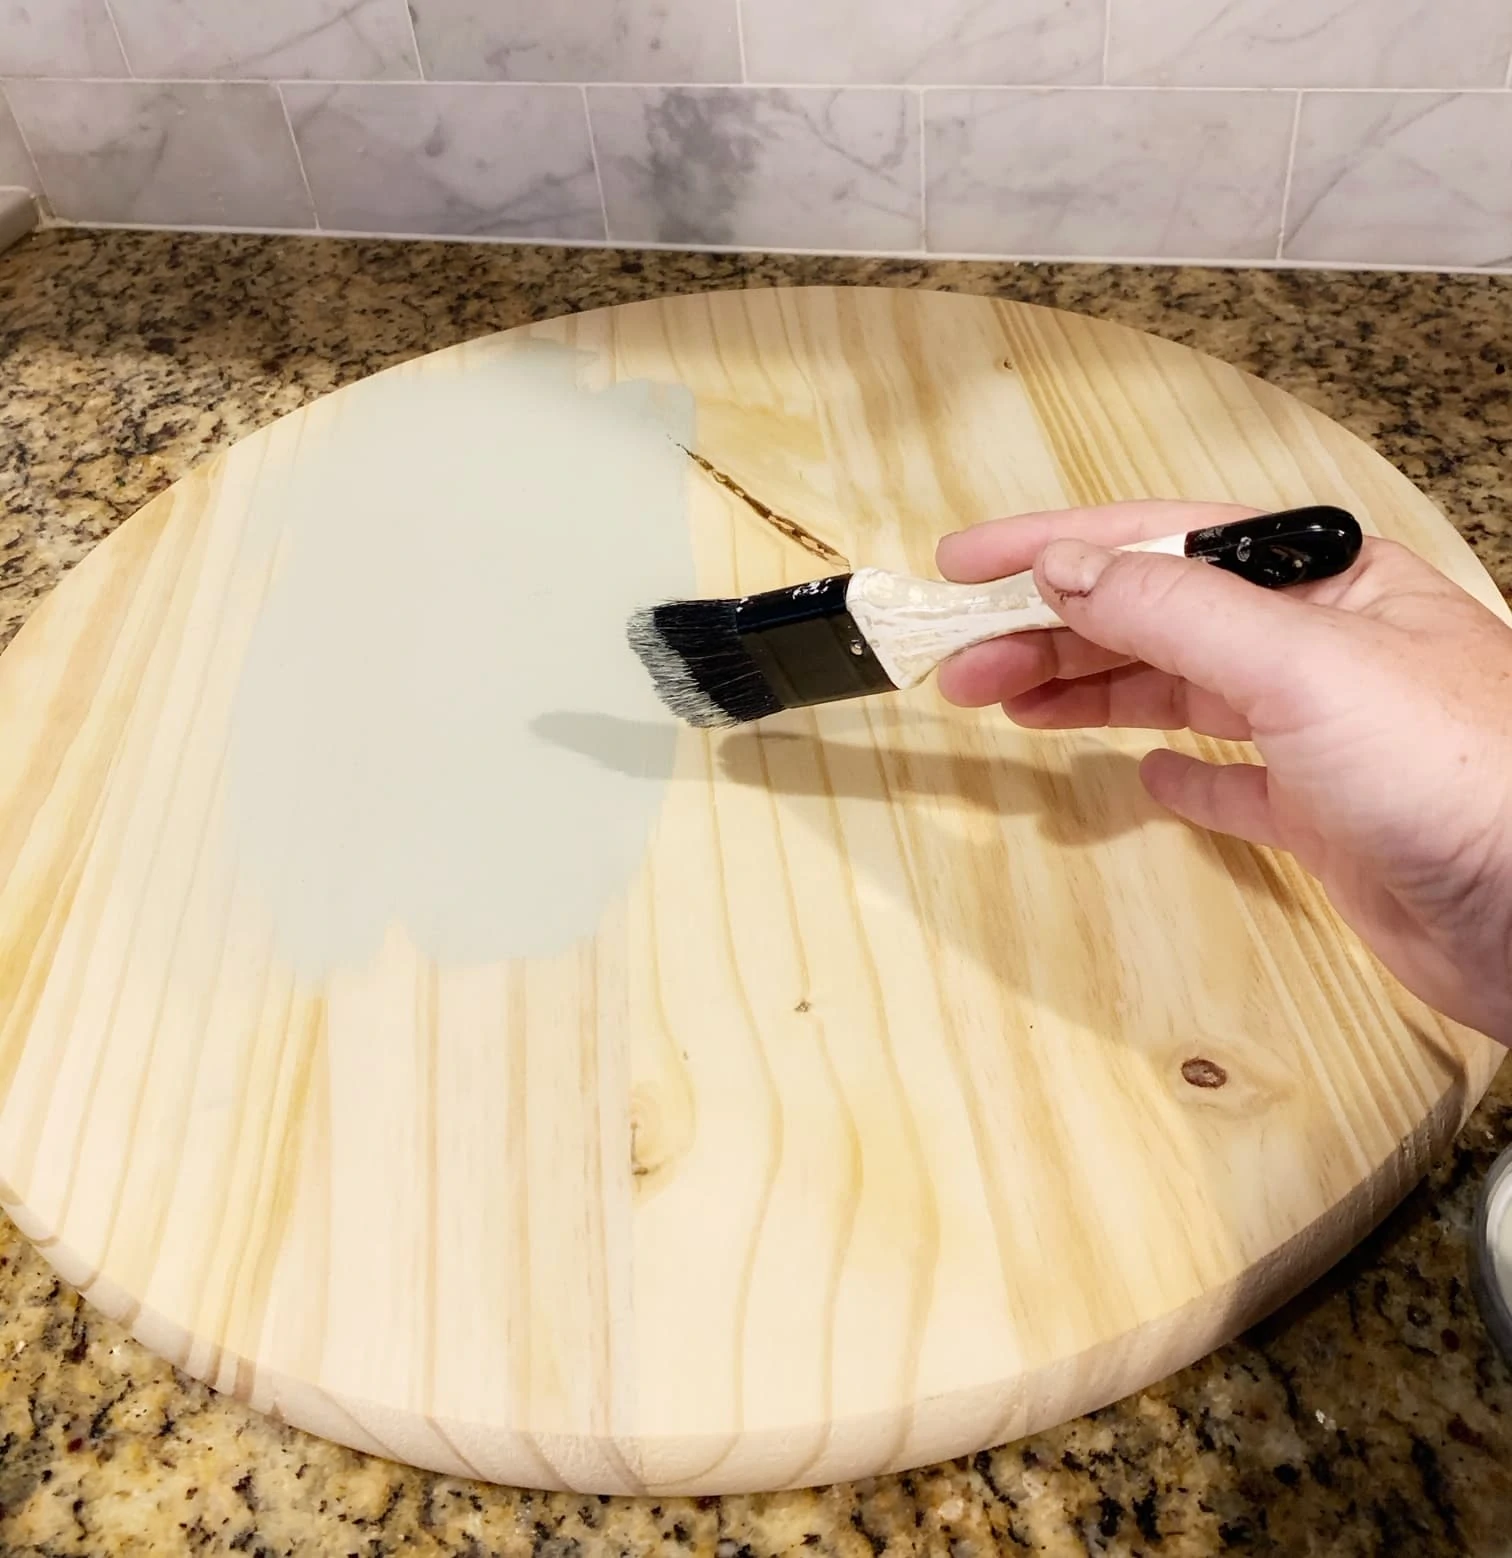
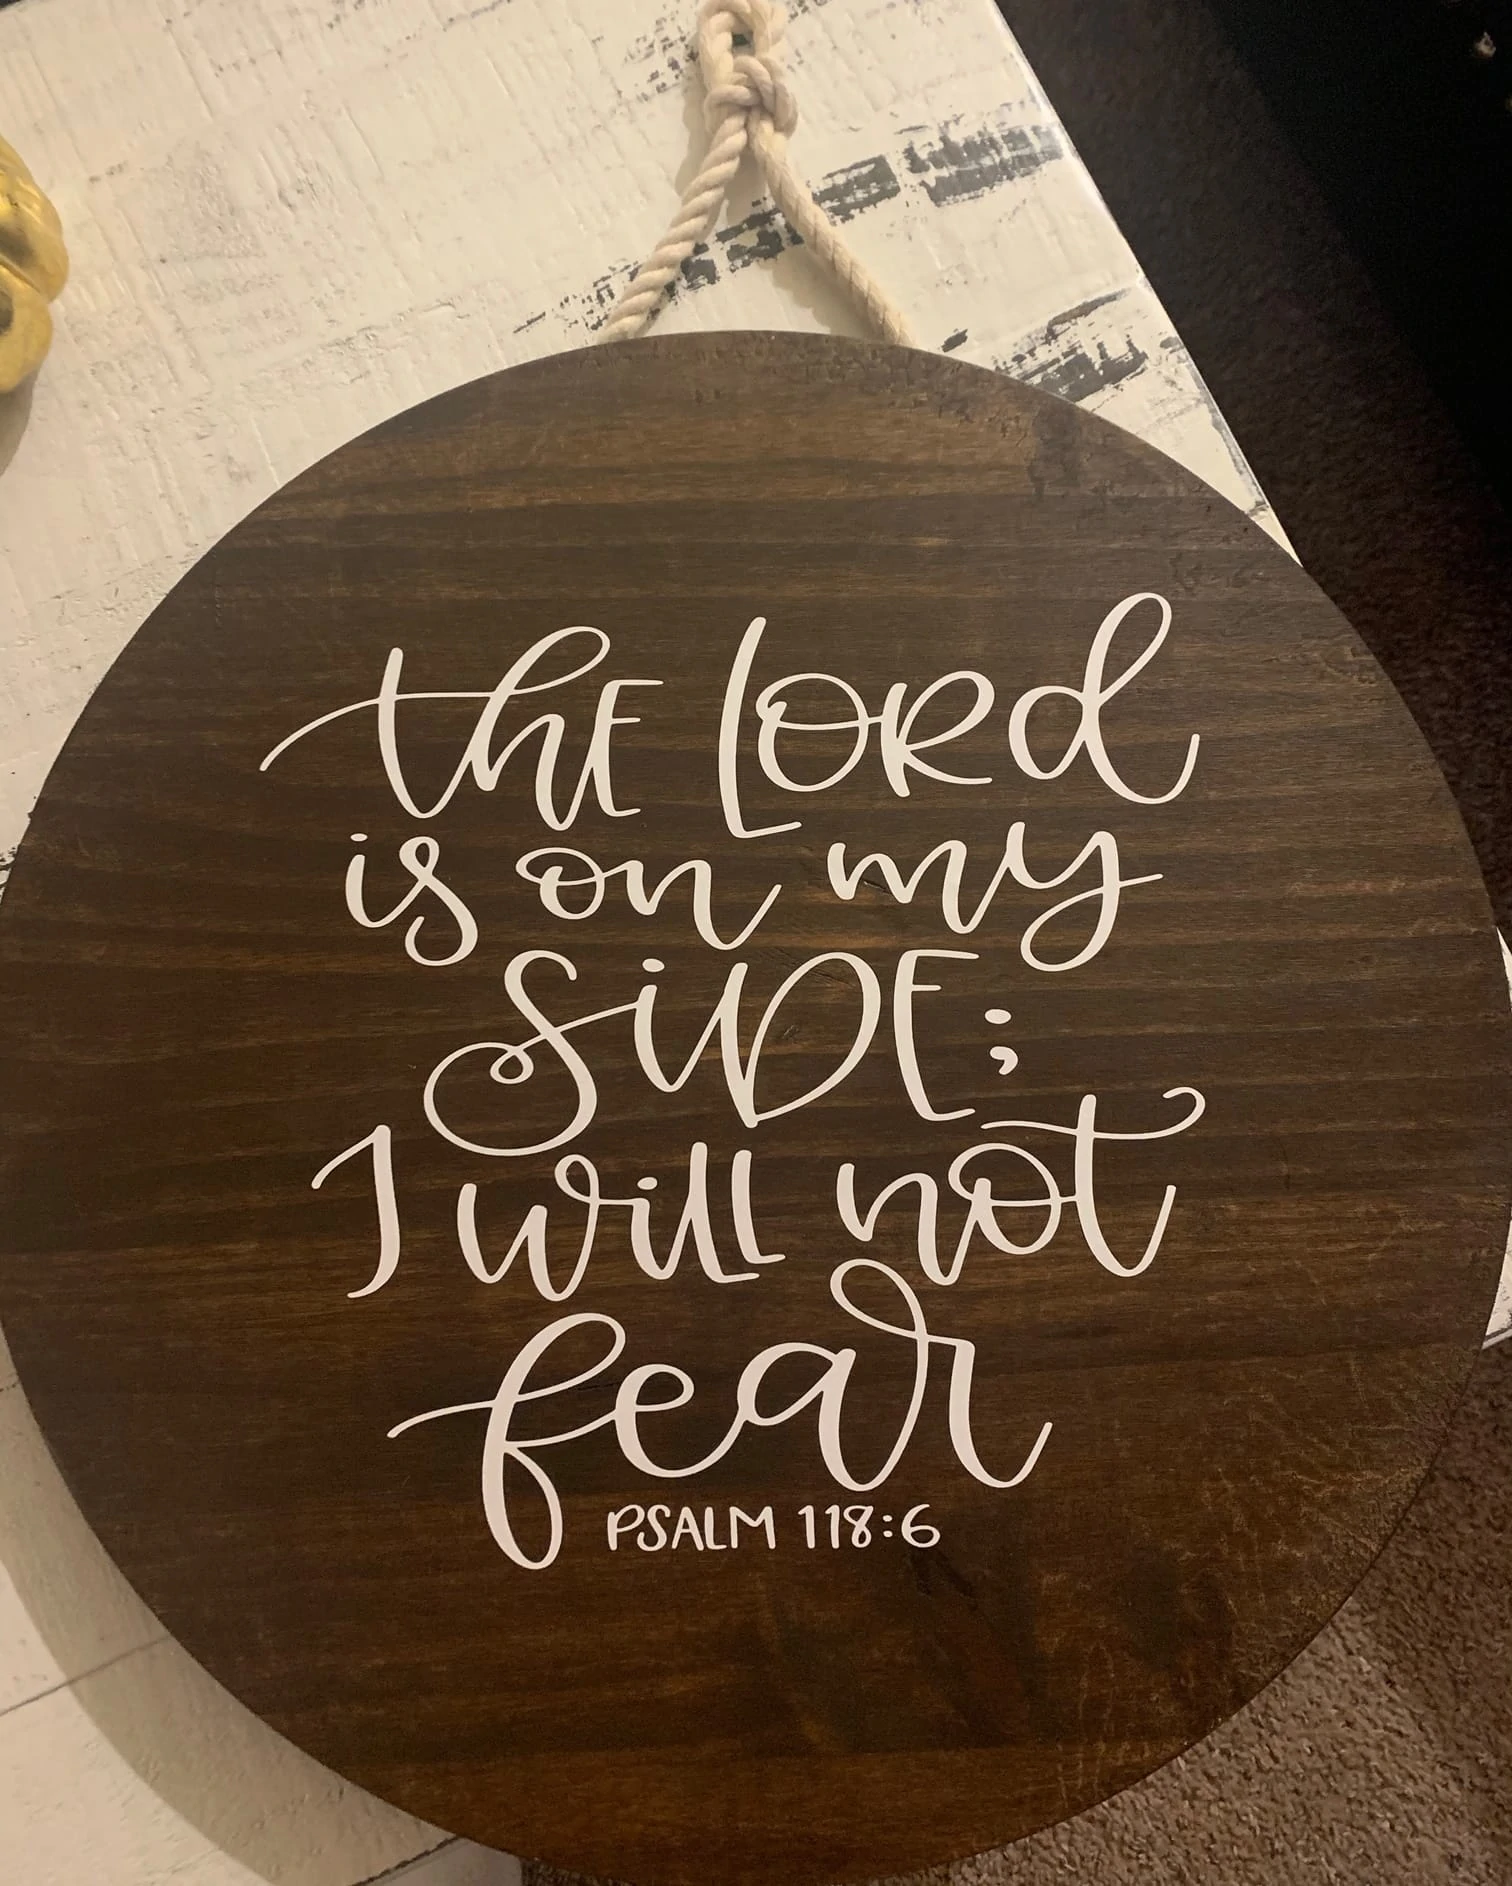
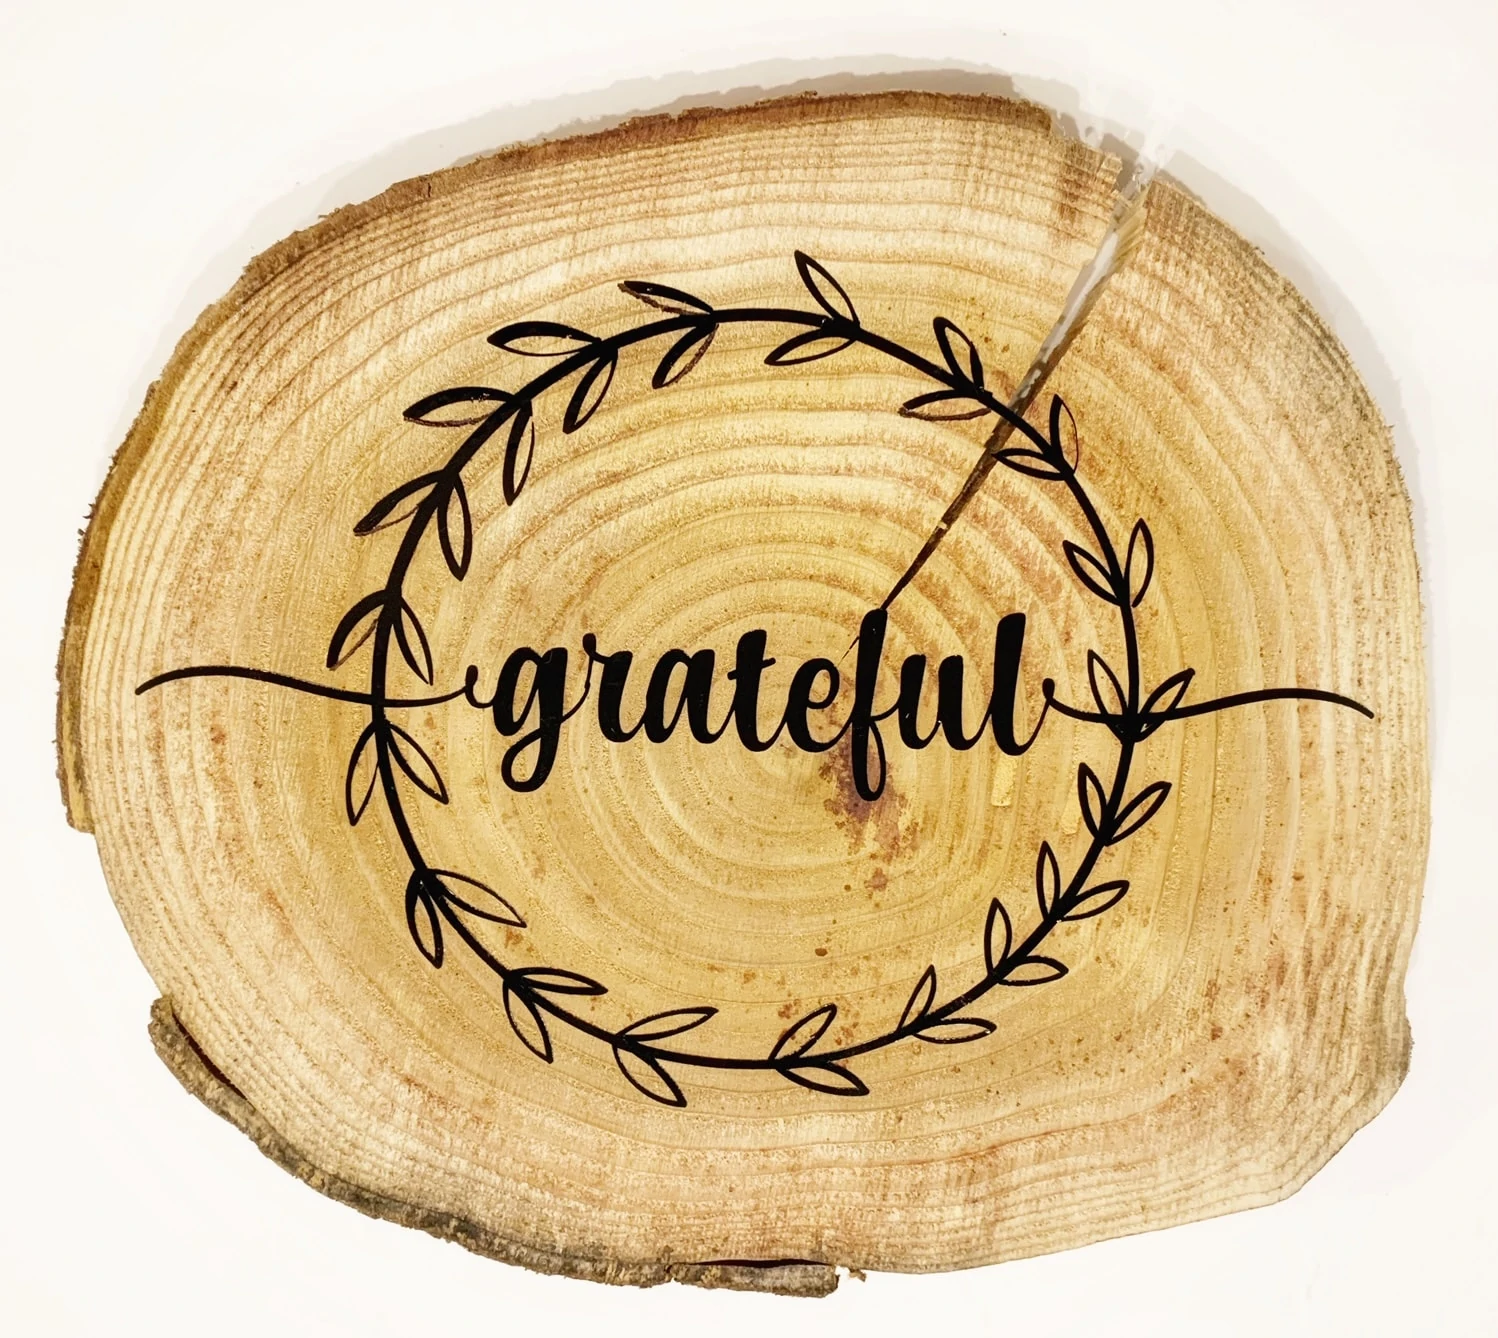
These wooden circles that I get at Home Depot here, are just $6.42 per wood round. They are thick, and actually meant to be used as small side table tops I believe, but they make a nice quality wood sign – and are so affordable. They are one of my favorite buys for sign making.
One thing I love about these, are that they come in raw wood finish, so you can stain them, paint them or leave them as is. It really provides so many options for great signs!
The one above is an example of one I did a simple paint treatment on, and the one below is a stain.
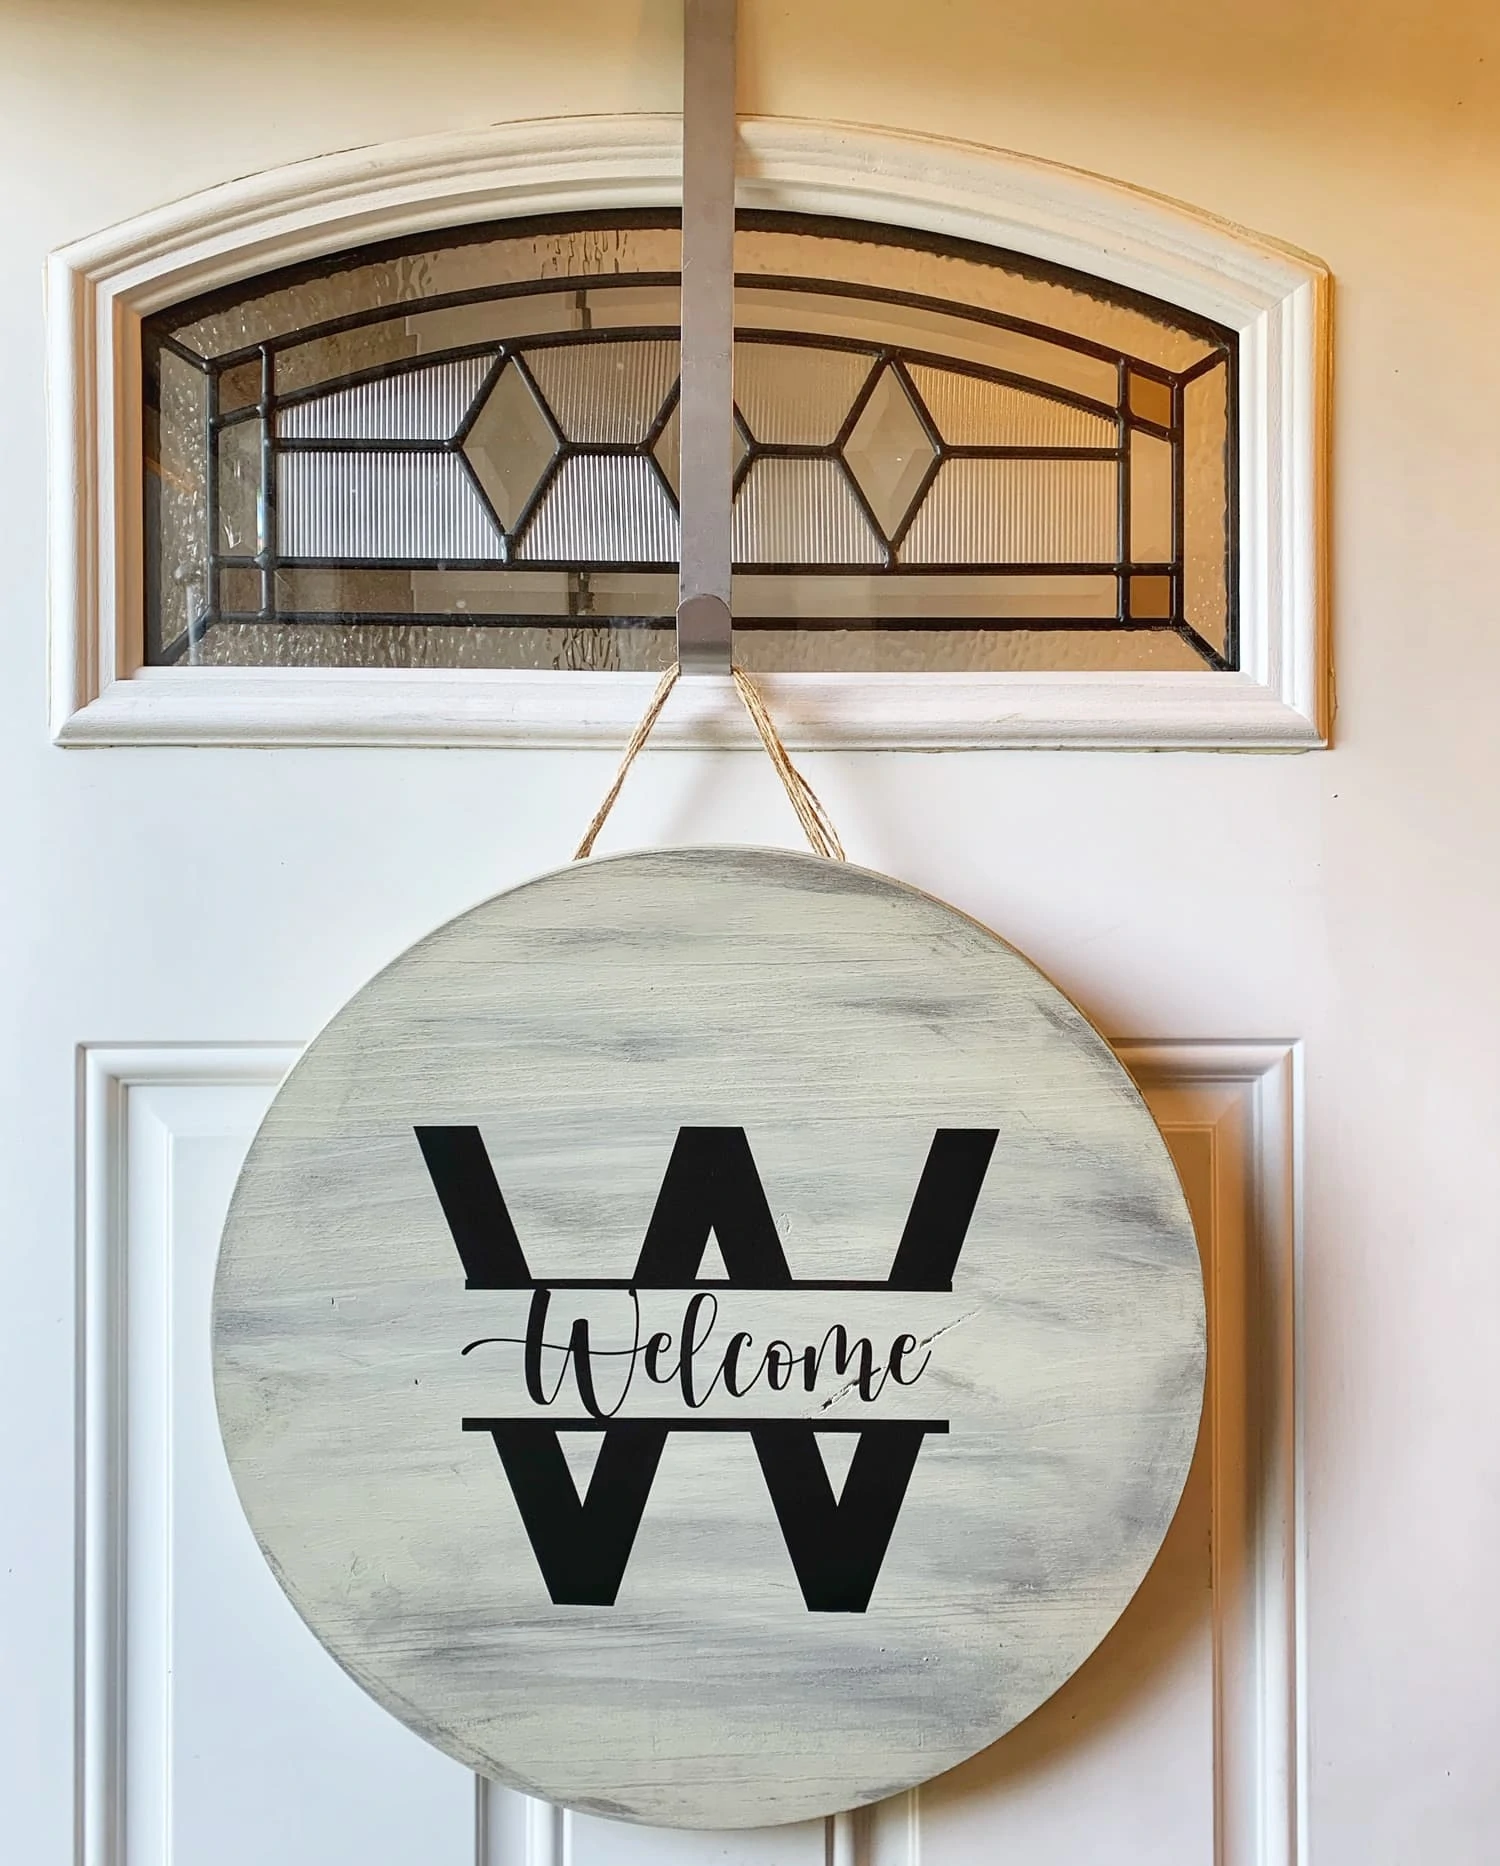
The only downfall of these, is that they are heavier, so you will need to be sure to hang it with something that can hold it (I staple rope or twine to the back of mine, and then make sure to hang it on something strong – i.e. a command hook is not going to work). I did hang one on my front door, and it would knock on the door each time I opened and closed it, so I added some felt to the back to make sure it was not clamoring each time the door moved.
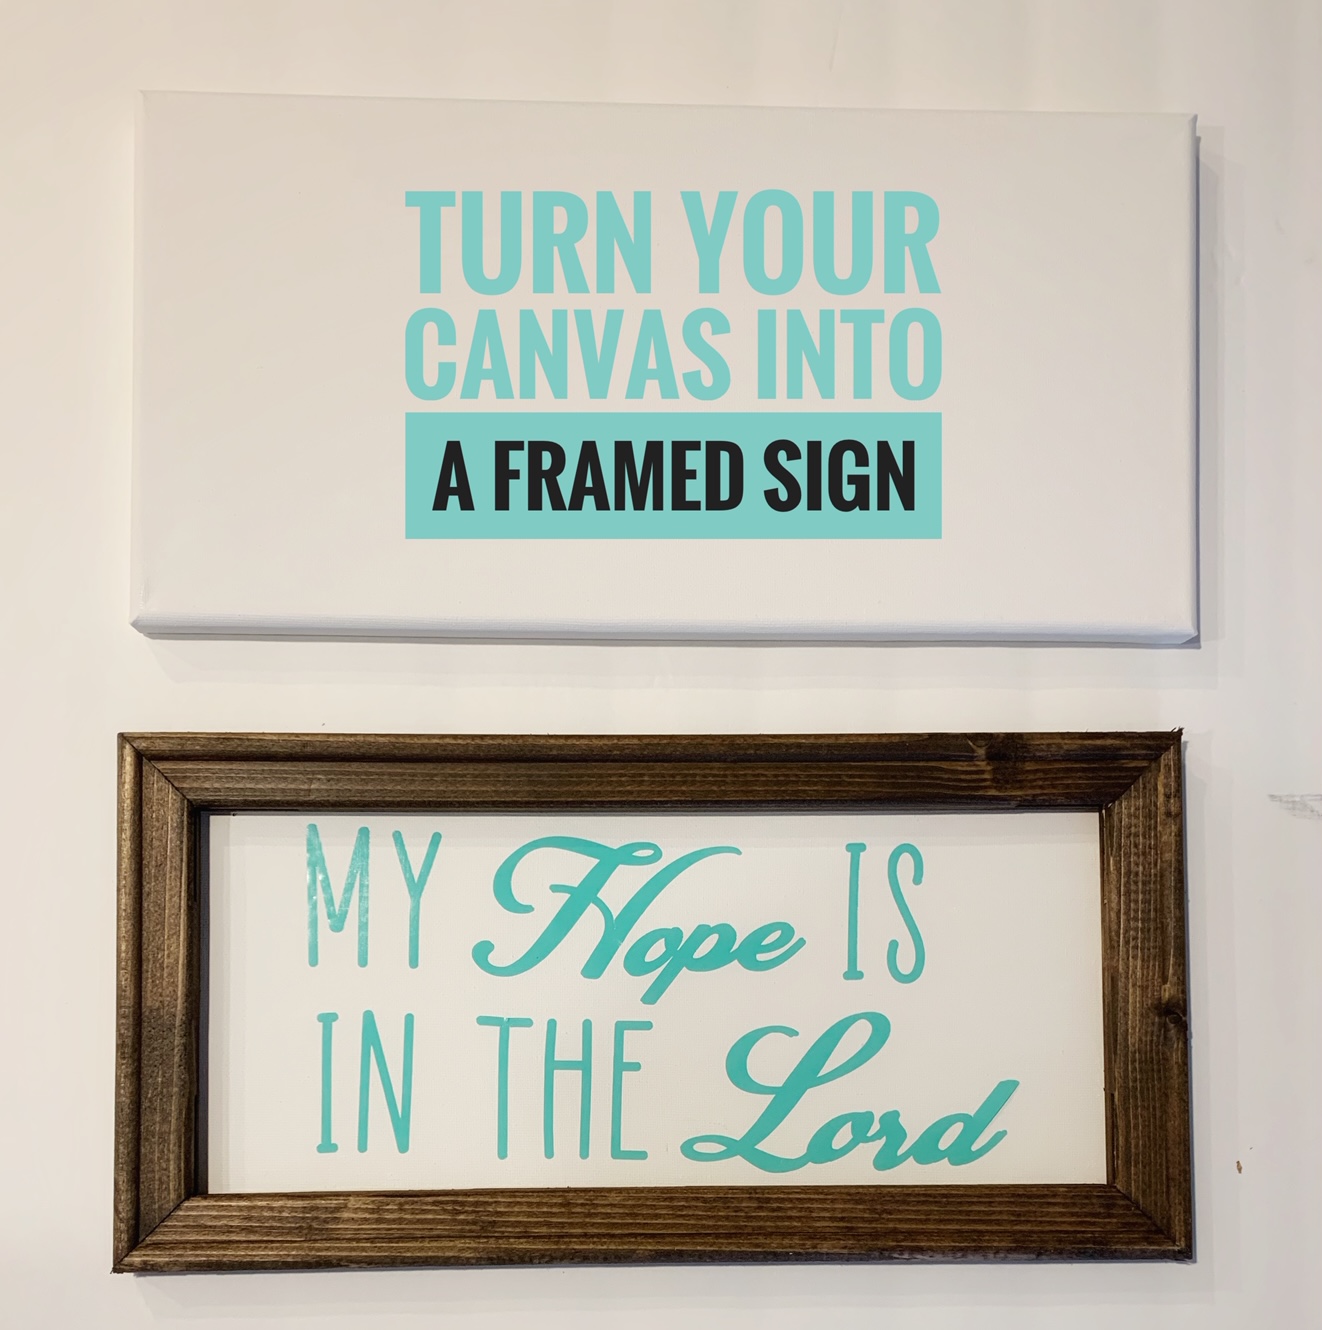
2 – Reverse Canvas Projects – This One Cost $2.44!
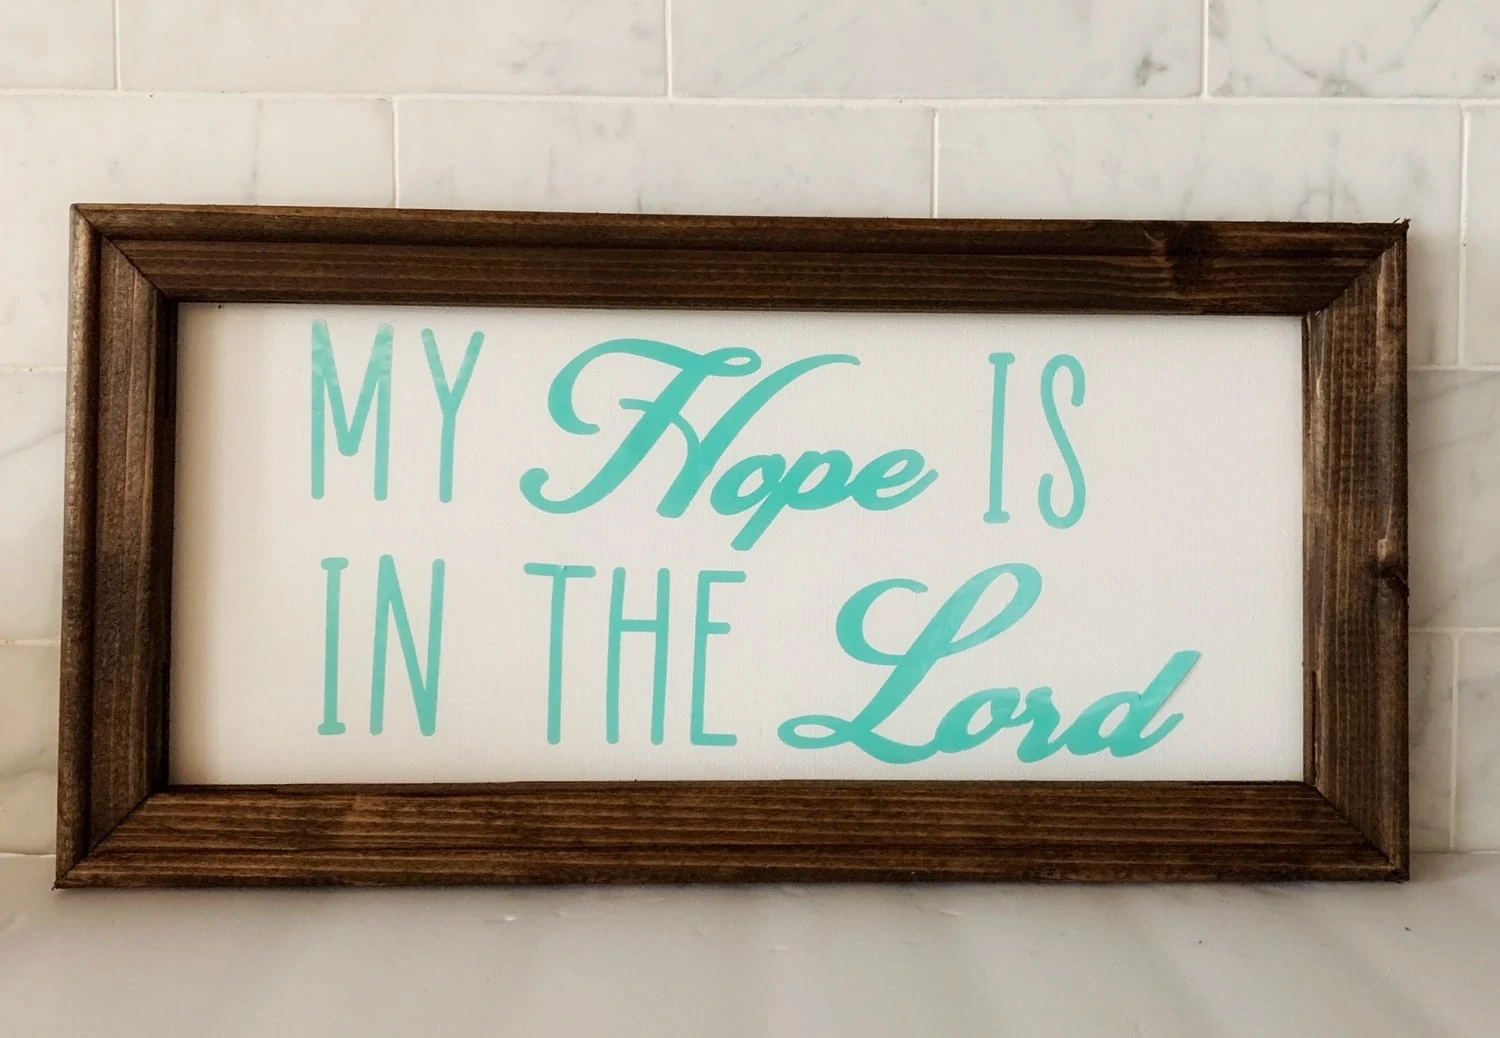
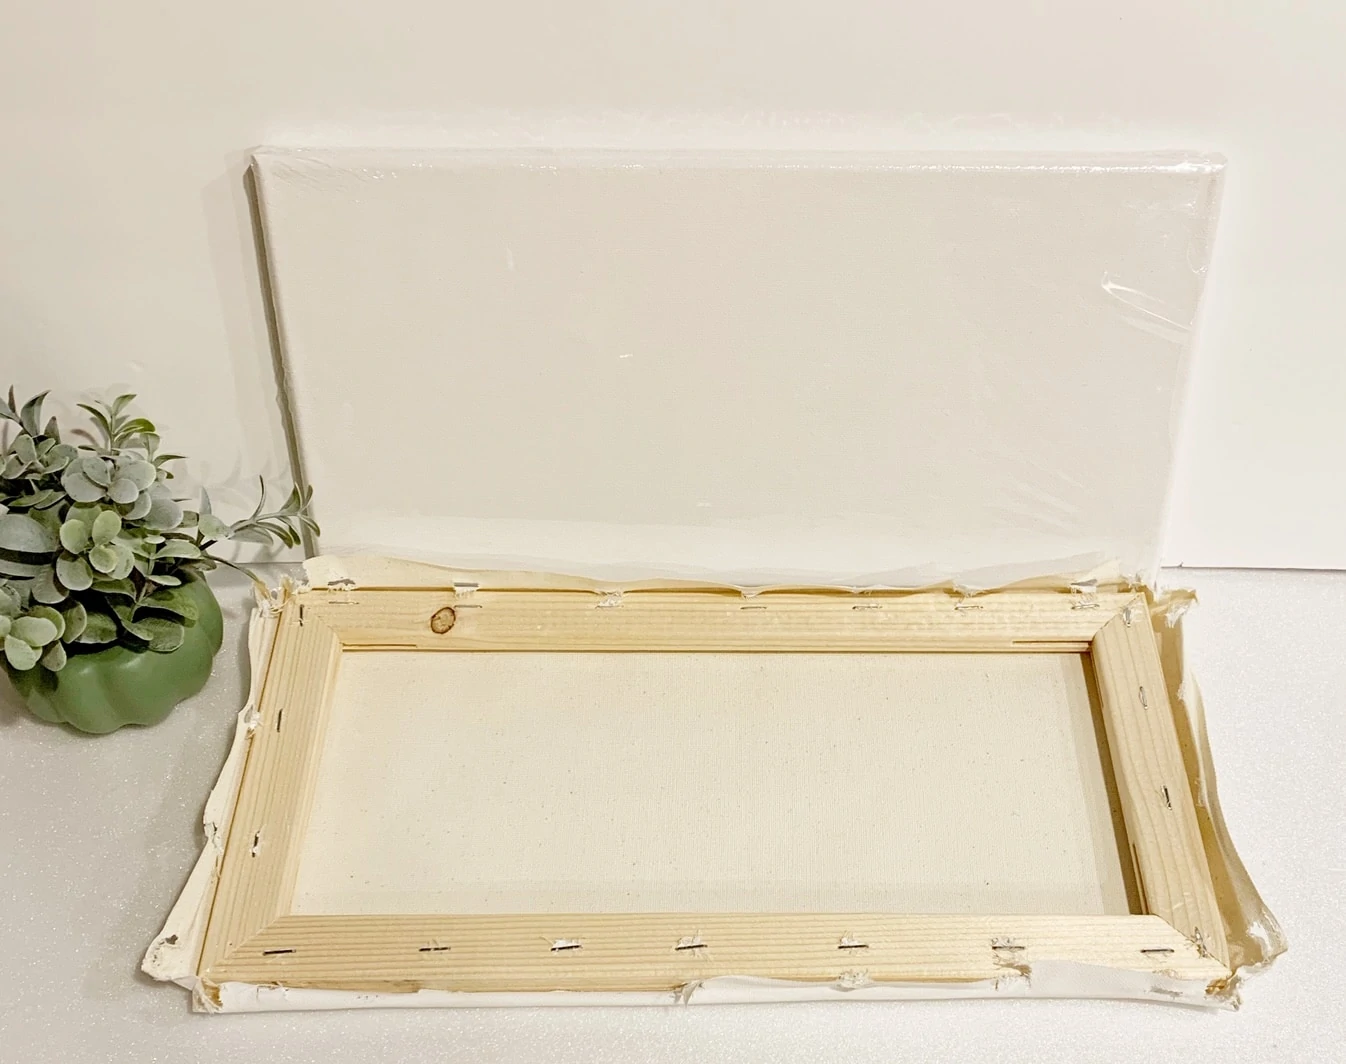
The reverse canvases are one of the cheapest ways to make a great looking sign, and my second favorite way to do signs. They are not all wood, but give you that nice wood framed look, which is why they made the list. All you need is a canvas of any size to make these, and you can find packs of them on sale often at places like Michaels and Hobby Lobby. I just grabbed this 2 pack up at Walmart for a small bathroom sign I was making, and it was so affordable!
When you are making reverse canvas signs, you can use permanent vinyl or HTV (on low heat settings) to make your sign (or paint on the canvas!).
You simply remove your canvas from the wood frame that it is stapled around, and then flip your frame over, and paint or stain it. You will then cut your canvas down to the size of the frame, and staple it to the back of the wood frame (instead of wrapping it back around it), and make your sign from there! So easy, and such a great look.
3 – Use Thin Wood Veneer or Project Panels
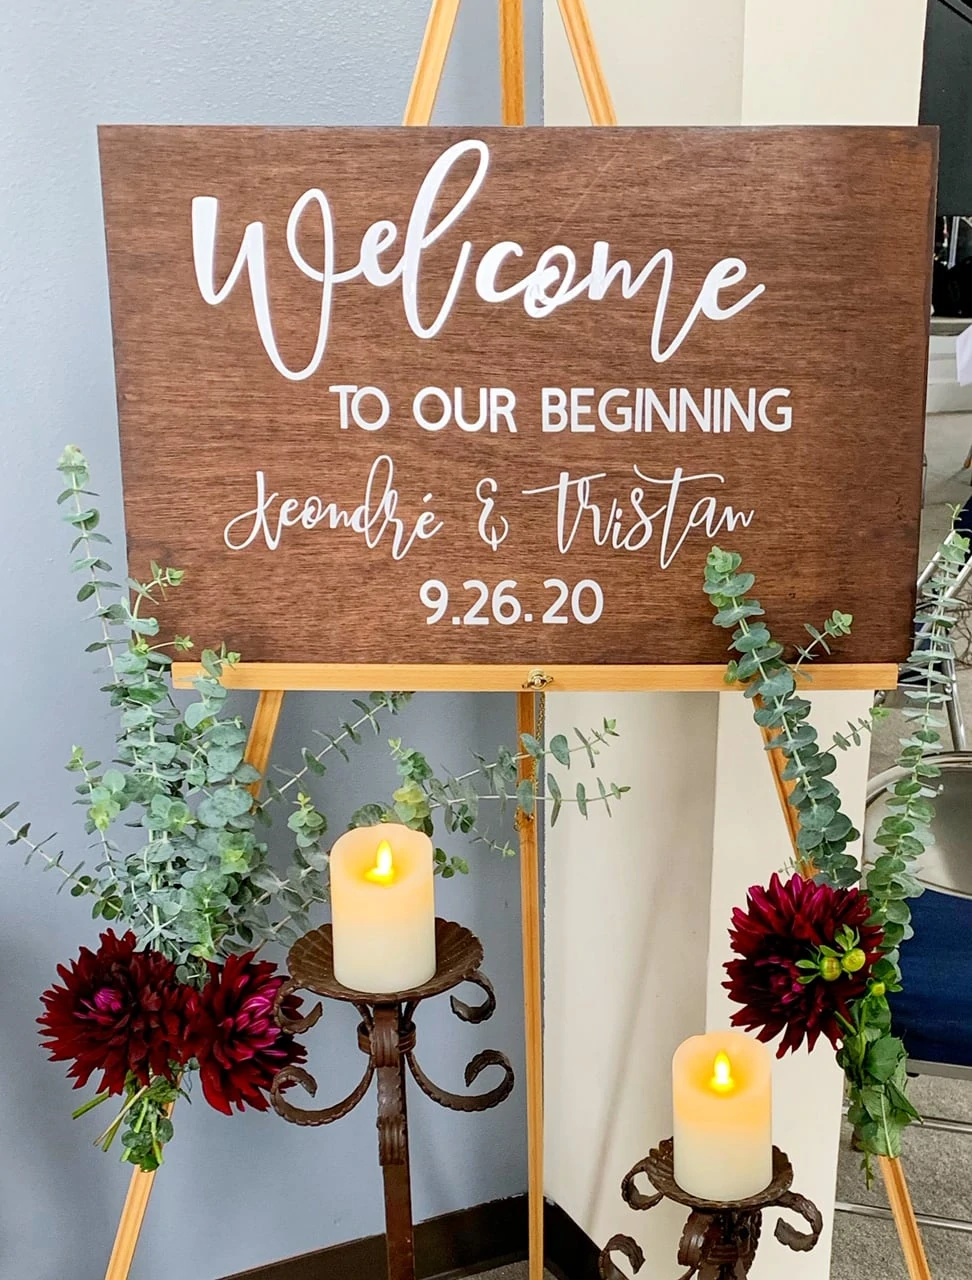
Looking for more diy wood sign ideas – how about veneers? We bought a full 8×10 piece sheet of the thin wood veneer and had them cut down to sign sizes, but you can get project boards from Home Depot for low prices, for individual sizes too, or here as well.
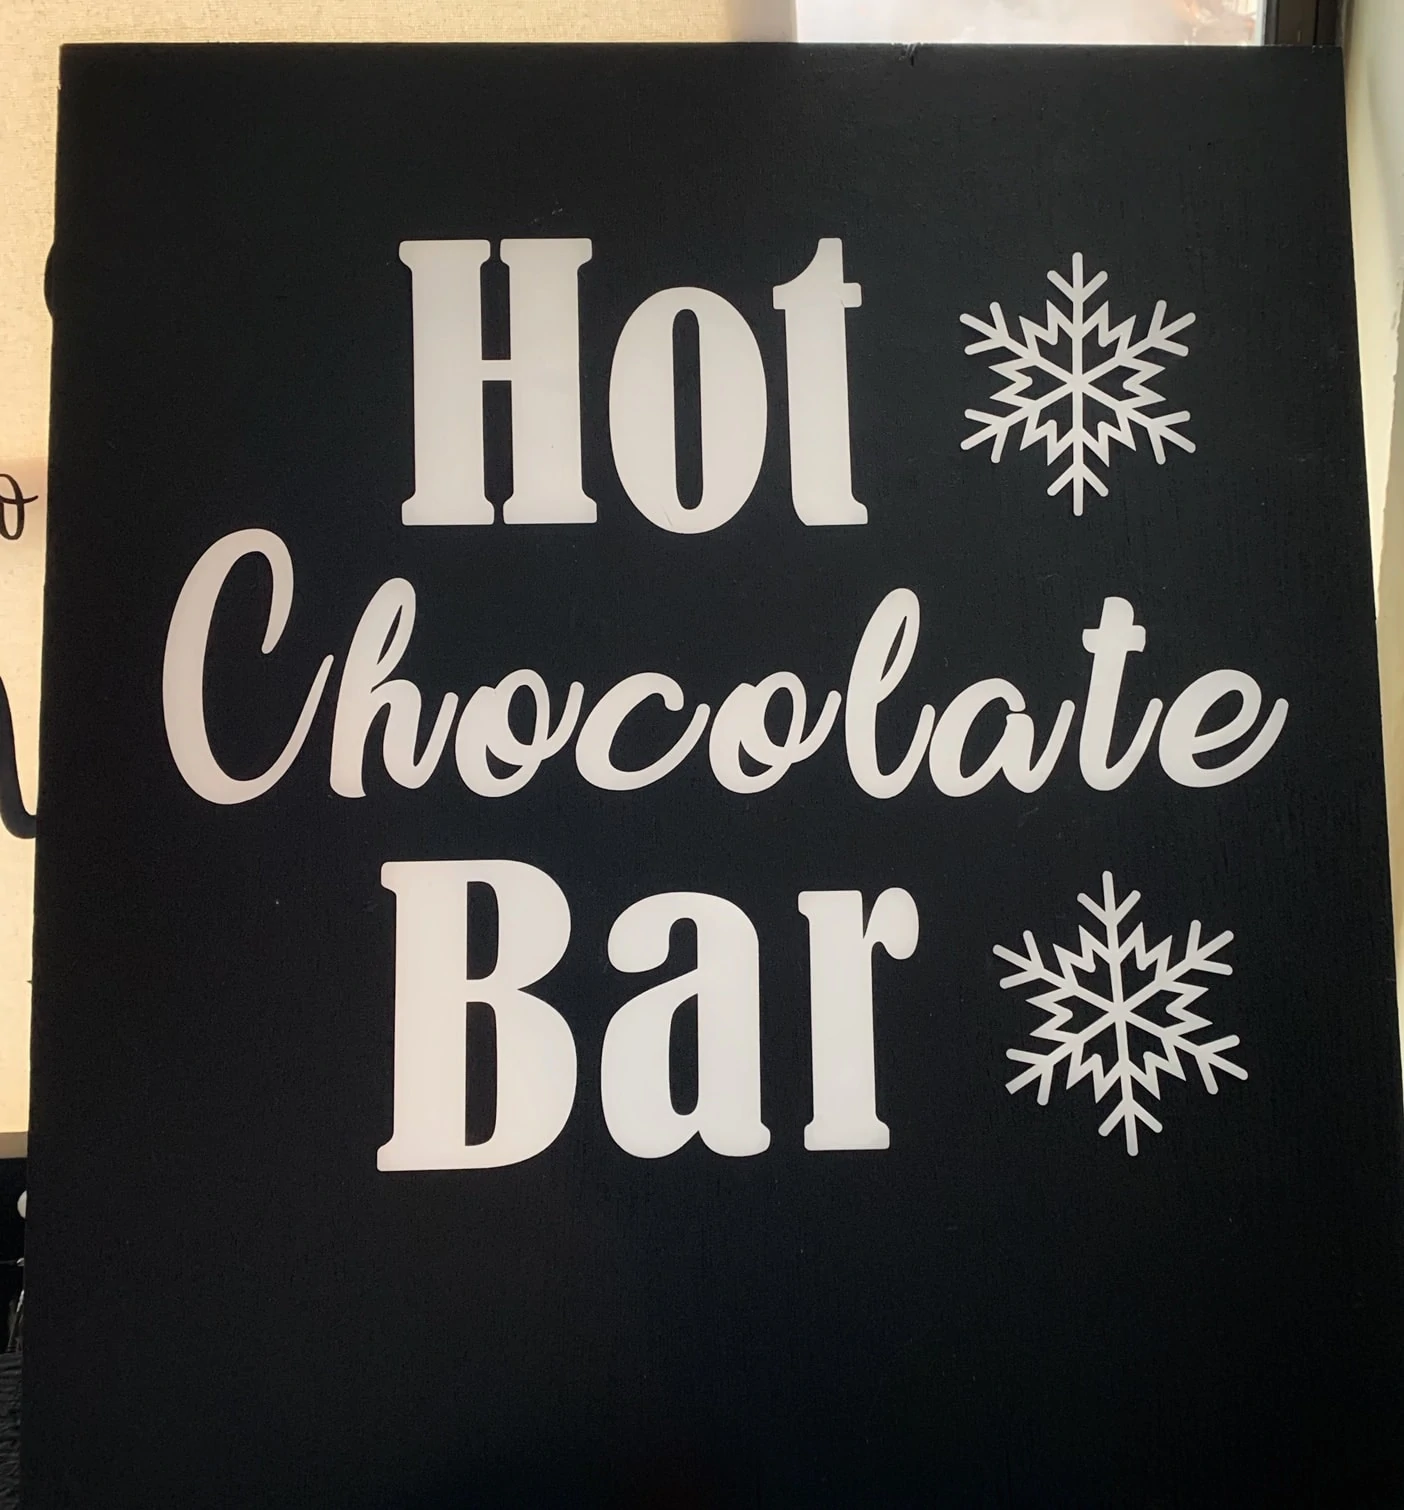
These are some that I make the most, as I can cut them in various sign sizes, they are easy to store, and easy to transport and hang, etc. because they are light. You can stain them or paint them, and they look great both ways (we have done chalk board paint or stain).
These signs are light enough that they are perfect for using on Easels too, as an alternative to canvas signs. You can display them on an easel in the corner of your home, or use them for events and party decor too.
4 – Use Wood Rounds, or Other Natural Woods You have Access To
These wood rounds are very popular these days, and you can generally find them in most craft stores (we cut them from our backyard) as well as lots of options on sites like Amazon. Since I grabbed ours from the yard, it was free, making this a super economical way to make signs. They make a great surface to use for all kinds of diy wood sign ideas.
One trick I like to do with mine, is to add a coat or two of Mod Podge and let it dry thoroughly (overnight) before trying to add the vinyl cutouts. This makes it really easy to transfer your vinyl’s onto vs. dealing with rougher wood edges that can create problems with your vinyl sticking to it. You will also want to be sure to use a permanent vinyl or paint stencil on these to make sure it adheres well. If your painting, then put your stencil on, and do another really light coat of mod podge, and let that dry, then lightly stencil your paint on with a stencil sponge, to keep your paint from bleeding under the stencil.
5 – Re-Purpose Thrift Store Signs, or Old Ones You Have Around the house, or Dollar Store Signs
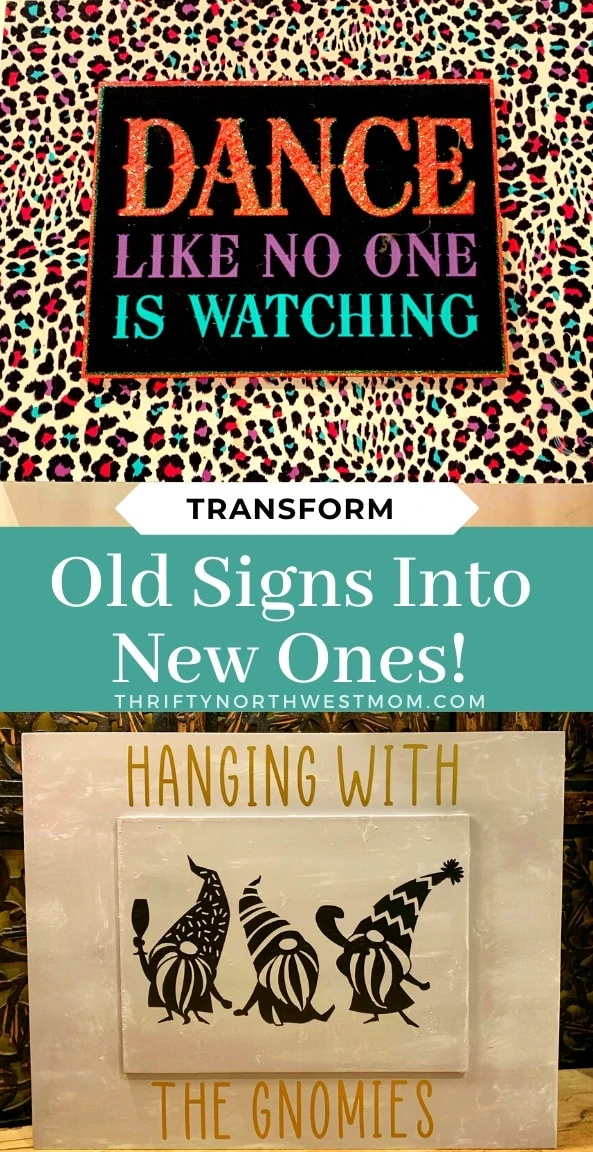
This is such a great way to upcycle things you might already have around the house. If there are textures on the sign (like glitter or raised paint) you simply sand that off first, otherwise all you need is a can of paint.
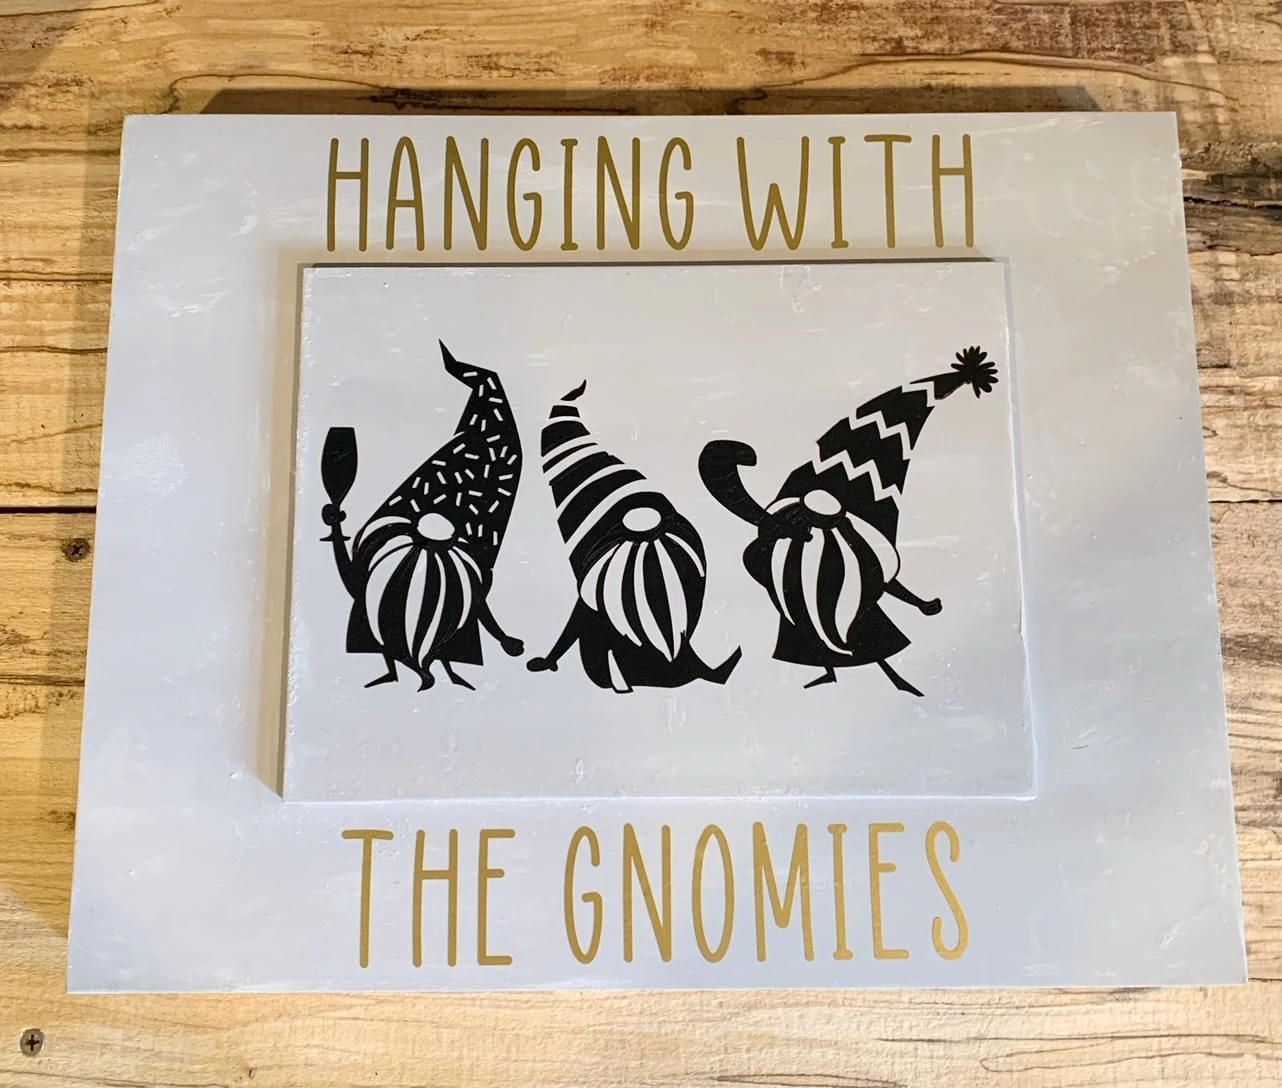
For example, we had this sign from when my daughter was little in our giveaway pile. I looked at it and thought it would be perfect to up-cycle into some holiday decor, with a light sanding and fresh coat of paint – and it was! I spray painted with grey chalk paint, and then dry brushed on some white paint to give it some texture, then added my vinyl picture and letters, and I have an entirely ‘new to me’ sign!
You can use this idea for any sign you find at a thrift store, or garage sale, or anyplace else. Look for shapes and sizes you like, knowing you can usually paint most things to make them look brand new.
You can also grab the signs you find at the dollar store, and use those, by painting over whatever the design is, and using it as a fresh backdrop for your custom designs.
6 – Make them on Thrift Store Picture Frames
This one is so easy. Head to the thrifty store, or garage sale (or shop your own house) and find frames you like. If you want large signs, look for large frames. Small signs work great for parties, if you are doing signs for that.
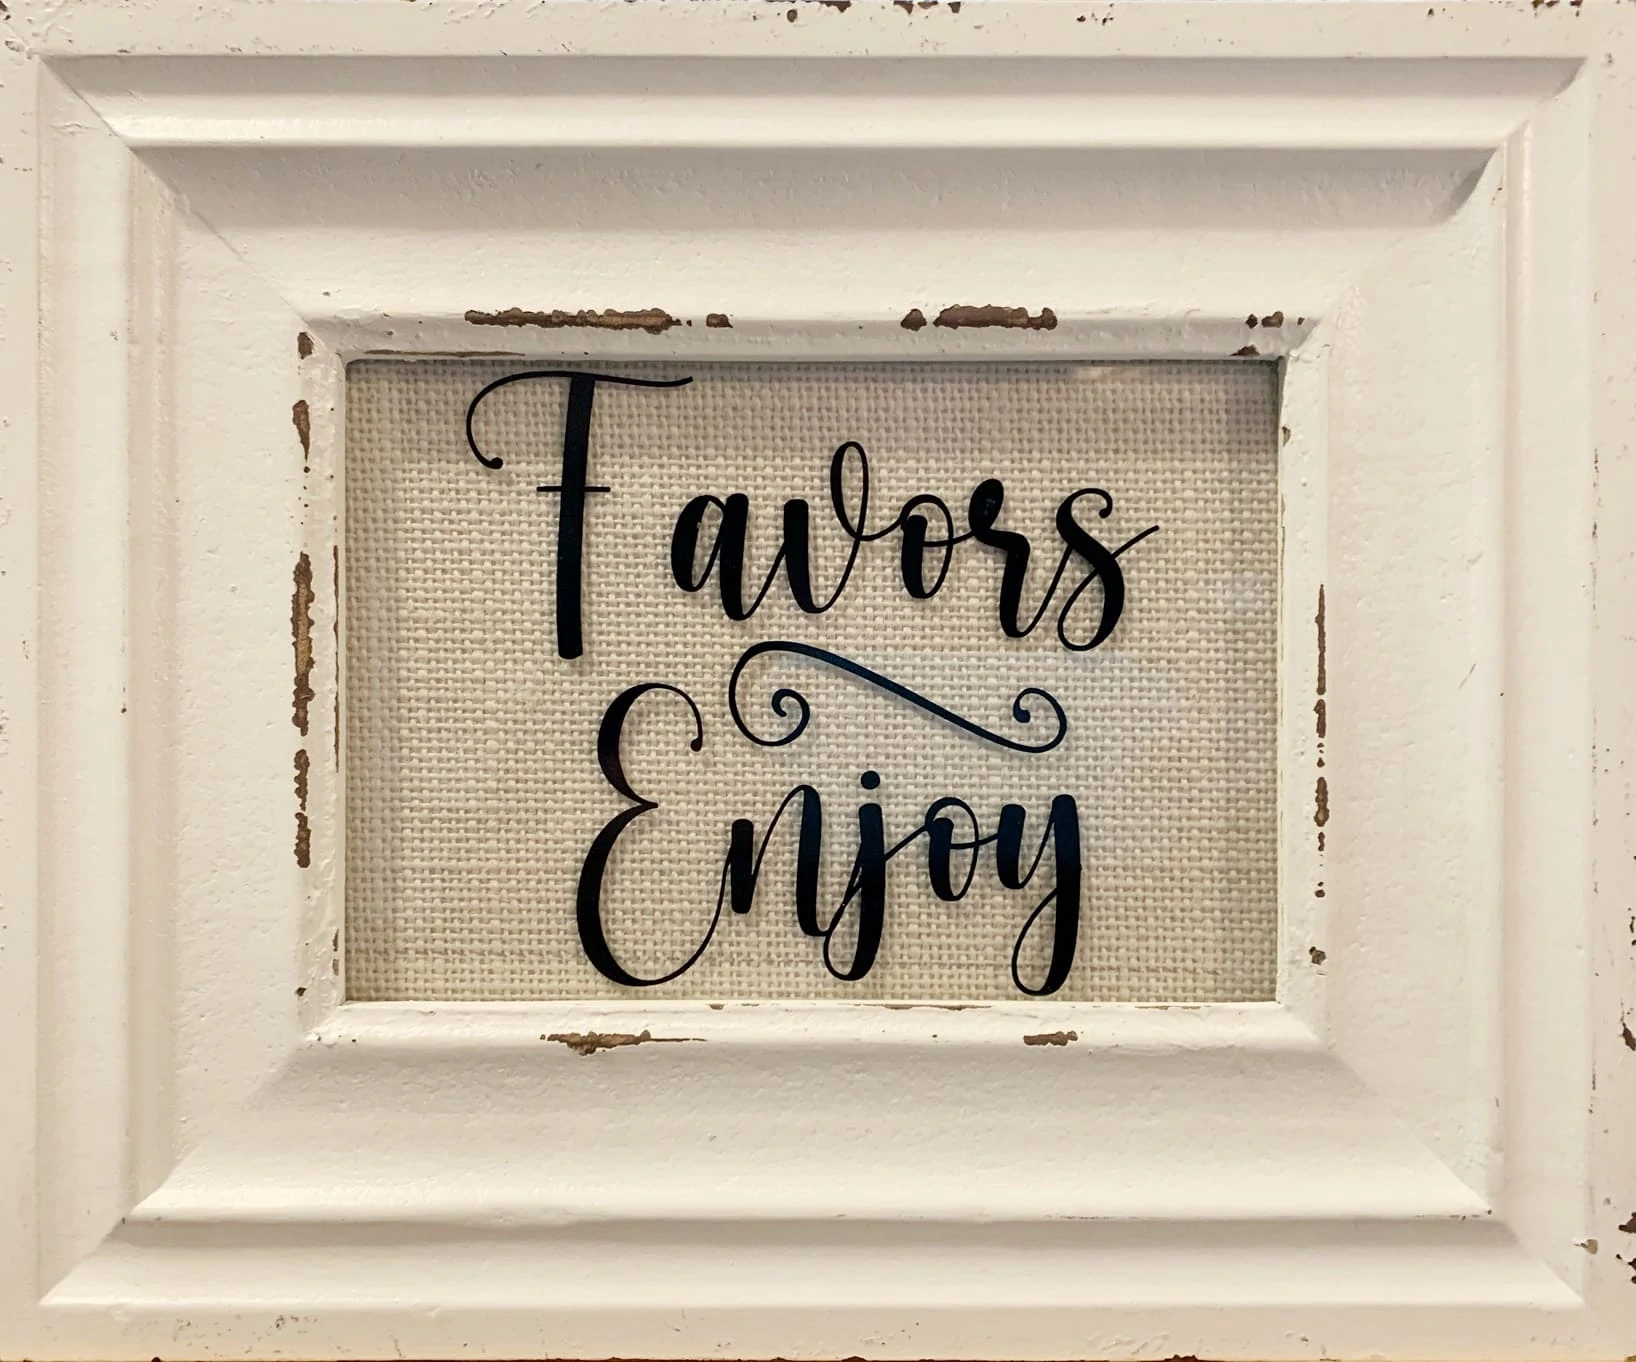
You can then add a paper you like inside where the picture would go (I used burlap paper for this sign we made for a recent wedding I decorated) and then add your vinyl cut outs to the glass on the outside. I sometimes like to use removable vinyl for these, so that I can change them out for different get togethers, or for seasonal decor, etc.
What are your favorite wood sign ideas, or tips for making the best (and affordable signs)?
How to Save On Vinyl or Iron On Materials for Your DIY Signs:
We used our Cricut Machine to cut out our sayings, but you can make these fun signs without a machine too. You will just need to purchase Vinyl sayings, or SVGs that you can add to your sign. Amazon has a nice selection here. I have even found some vinyl stick on sayings or designs at the dollar store that I have used in the past. You can also just mod podge on your favorite napkin design (these are nice as they go on almost transparently) or picture too.
- Shop Amazon Discounts when they pop up. I have gotten rolls of vinyl for $3 on sale on Amazon from time to time.

