
Mini Spring Flower Pots With Paper Flowers – Free Classes To Learn!
This post may contain affiliate links and I may be compensated for this post. Please read our disclosure policy here.

Mini Spring Flower Pots With Paper Flowers – Free Classes To Learn!
My kids’ school uses volunteers to teach the kids art classes normally and this is one of the projects that I did with them at the end of the year last year and the kids seemed to enjoy it. So I thought it might be a fun one to share to with you all, to make at home with your family.
There are a couple of things I love about this project. The first is that it is fun for kids and adults. I loved making my own pots, the teacher seemed to enjoy making hers and the kids all had fun too.
The other thing is that you can adapt it to work with many different types of supplies. That means you may already have all of the things you need to make this one at home. If you do not, the supplies are fairly inexpensive, and can go a long way. And lastly, it is one of those craft projects you can do with the family, and then actually use it to decorate your house, or as a gift to cheer up someone else!

Directions for Making Paper Flowers:
There are two main parts to this project you will need to do before assembling it all together. The first is to make your flower or flowers. The second is to decorate your pot. After those two things are done, you can easily assemble it together for a finished flower pot.
If you have never made paper flowers, you will find free classes on a few different kinds of paper flowers tutorials that you can make here. In addition to the free classes on that page, we tell you how you can get a FREE 2 Month Trial to Creativebug, and access all of the paper flower tutorials for free that way here!

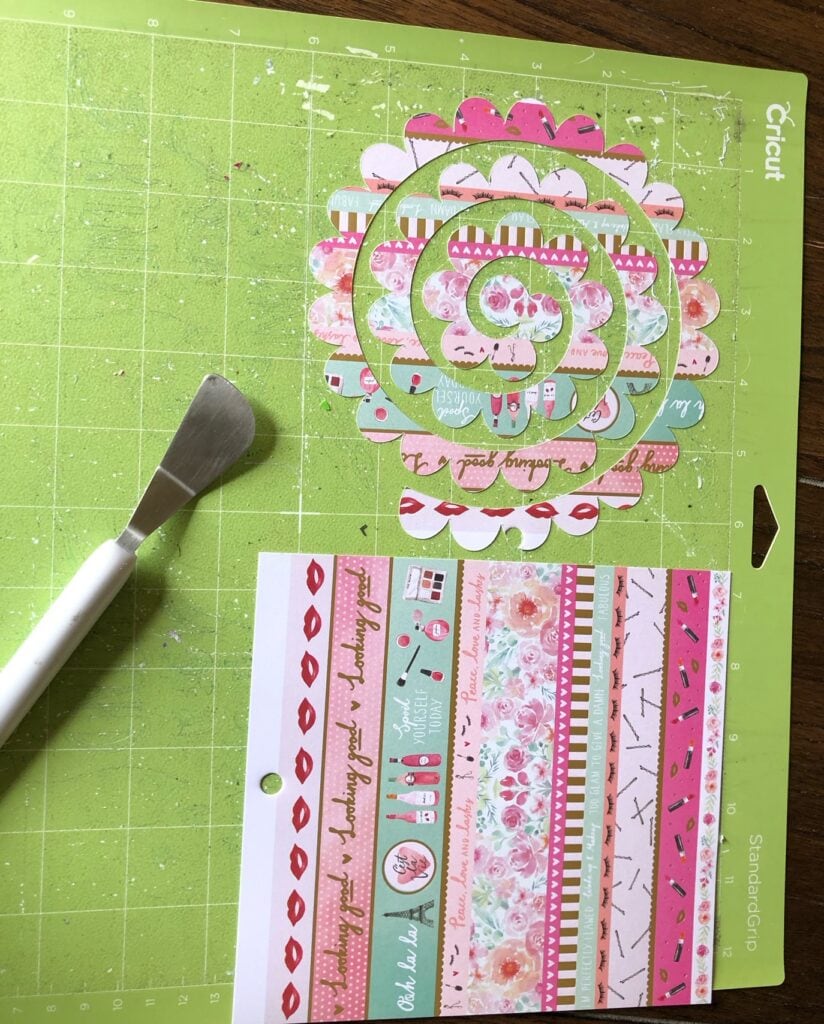
We used the Cricut machine to cut out the paper flowers shown in this article. But there are a number of paper flowers you can make without a Cricut machine too (so do not let it hold you back if you do not have one).
If you do not have a Cricut machine, just use one of those designs in the classes here, and then adapt those ideas to the rest of this project to make your flower pots.
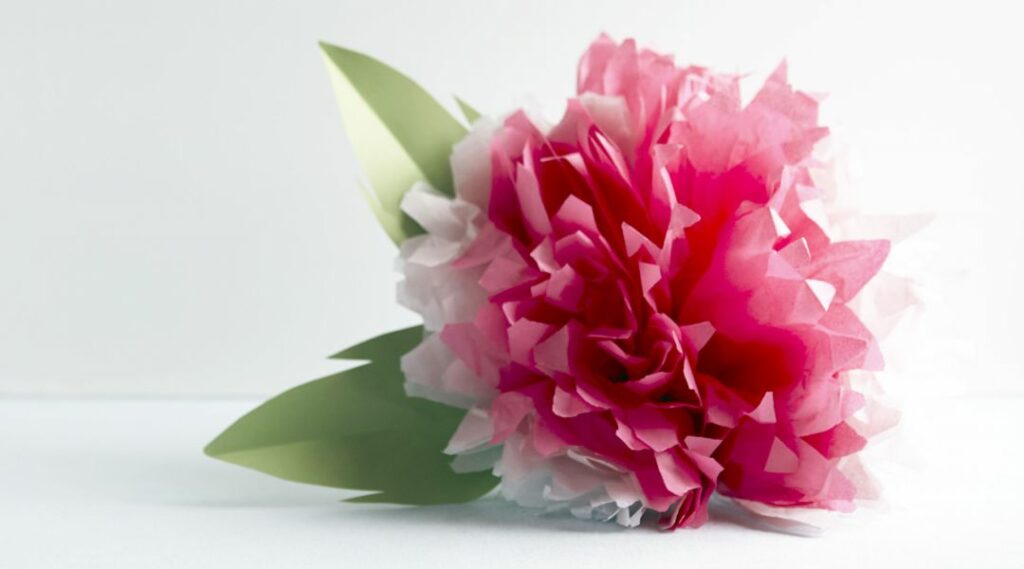
Check out this paper flower tutorial here to learn to make the tissue paper flowers!
One that you can make with tissue paper, is this tissue paper pom pom flower, and it would work perfectly (remember to sign up for the free trial to learn to make this one for free)!
If you have been wanting a Cricut Machine, and just have not taken the plunge yet, there is a super sale going on right now, with the lowest prices we have seen on the Cricut Air Explorer machines. There is also a fantastic sale on the Cricut Maker machines too!
Supplies needed to make these Spring Flower Paper Pots
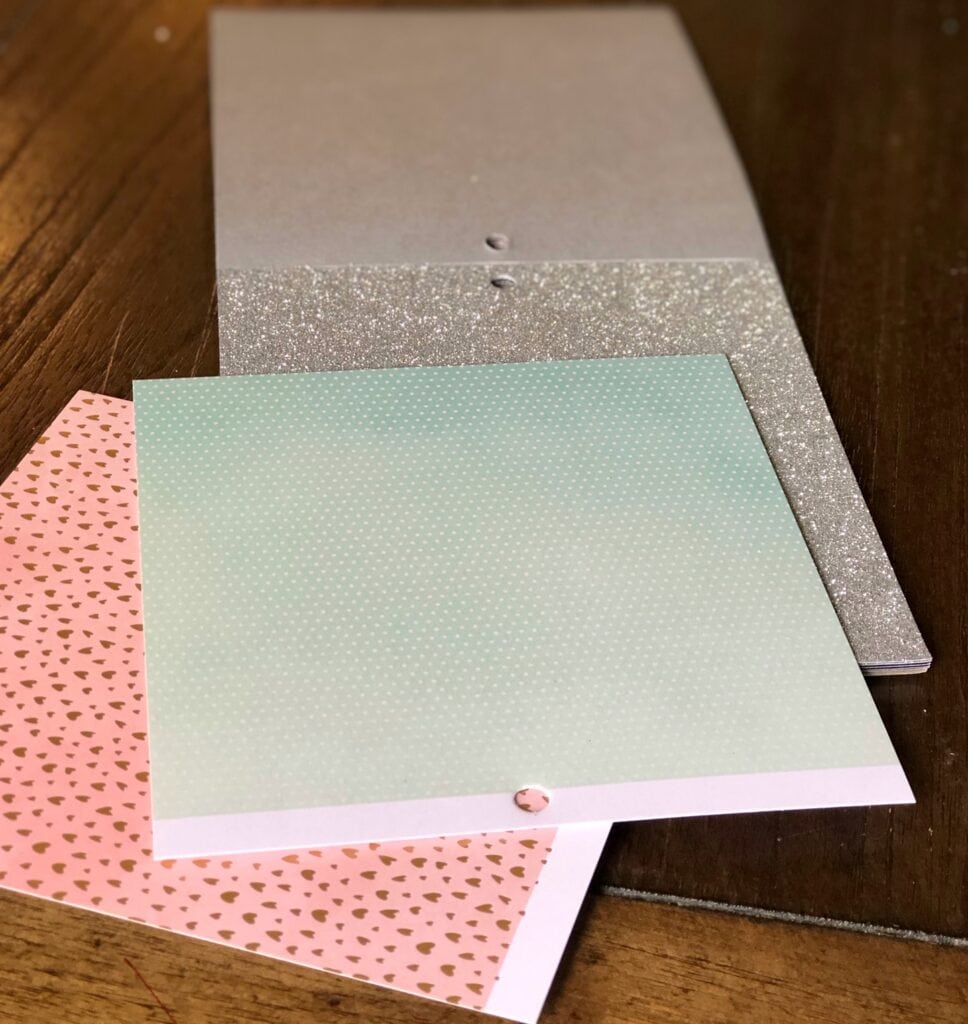
Paper (of your choice). We used cardstock, because we were cutting our design with the Cricut. You could also use tissue paper if you are making the Pom Pom styles flowers we mention above.
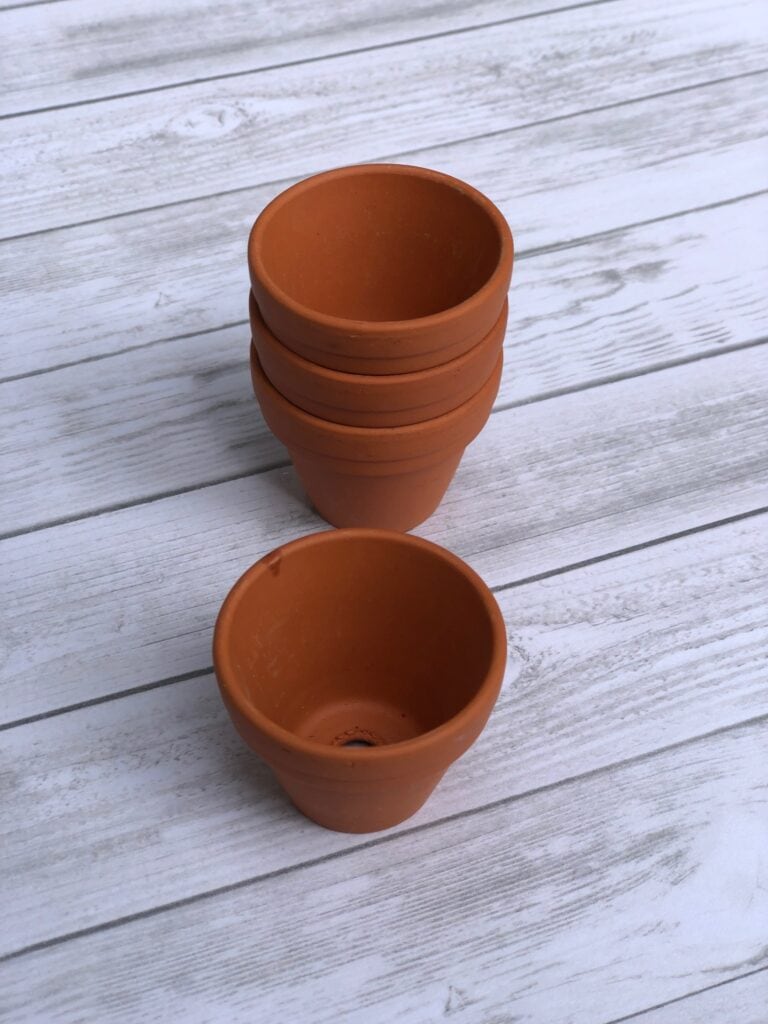
Terracotta pots. We used various sizes of these, from one inch (the smallest pot shown above) to 3 or 4 inch pots. You can find these at craft stores, and sometimes garden stores. You can also buy them online. When we made them in the class I grabbed this set here.
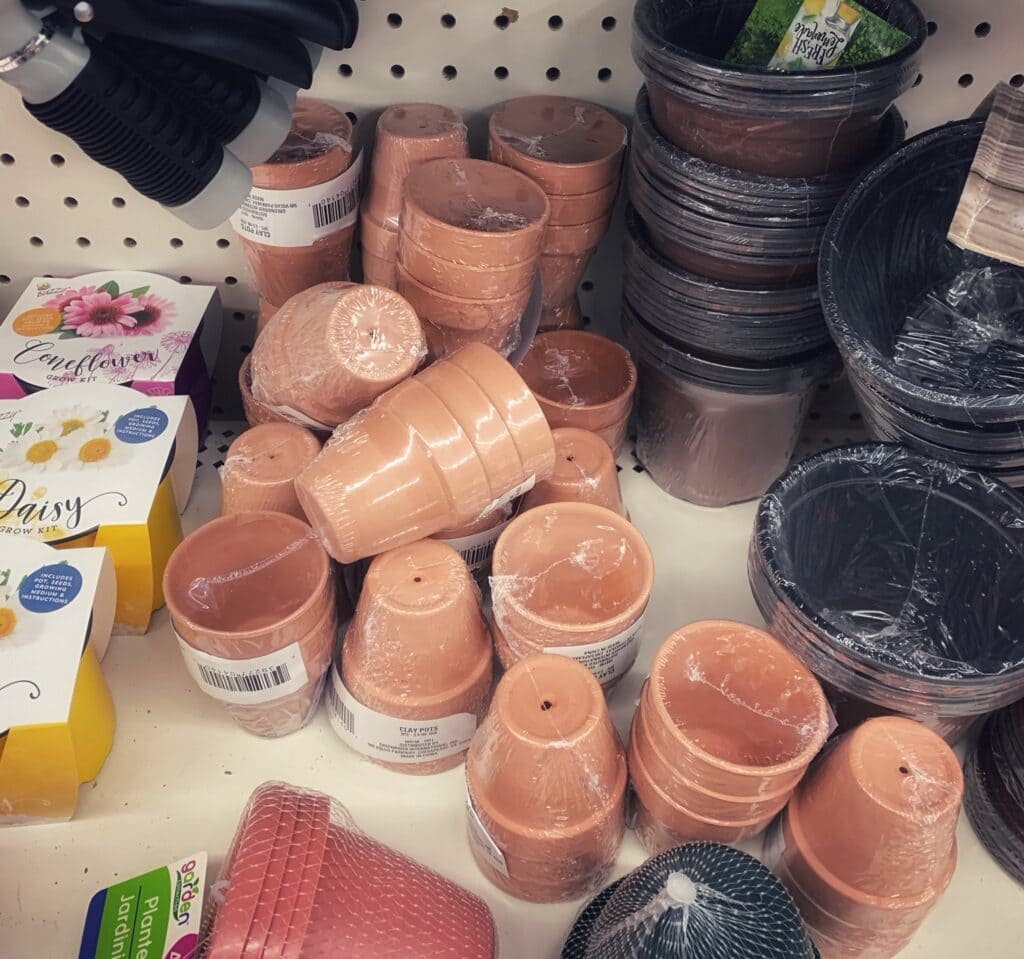
If you are doing just a few, I like the size to be a little bit bigger, like these ones, or I found these set of three for $1 at the Dollar Tree near me.
Faux grass/ moss (you could use the stuff you put in Easter baskets, but I prefer this stuff that has more of a straw (or organic) look to it.
Hot Glue
Items to decorate the pots if you want (you can really use so many things here. We used some jewel ribbon we found at the Dollar Store, fake tattoos we had sitting around, sharpie pens and paint to decorate ours).
How to Make Your Paper Flower Pots:
Make Your Paper Flowers + Paper Flower Templates
We used a Cricut to make our paper flowers, but if you do not have one there are lots of other ways to make paper flowers. See above for free classes and more ideas on that.
There are a number of paper flower templates to choose from in Cricut Design space, including free templates. For this paper flower pot shown here, I used this one (it is a purchase one, but very affordable)
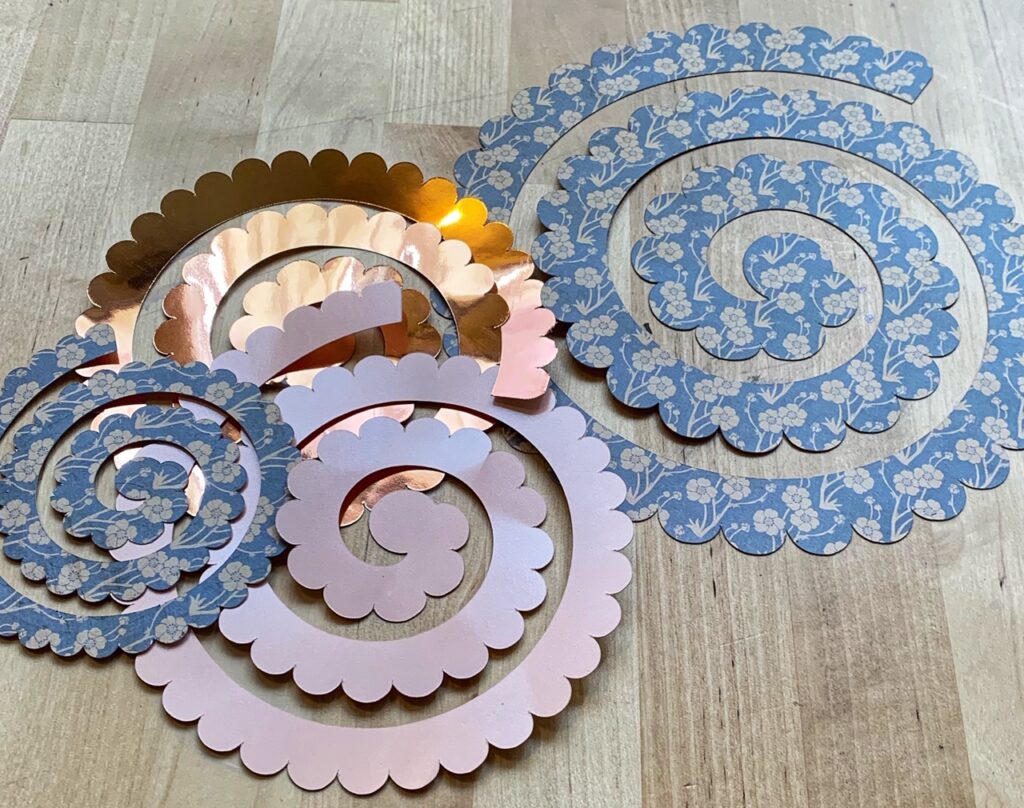
I cut out a few different sizes, as we were using different sized pots. For the 3 inch pots we used a 6″x 6″size. I scaled it back to 4″ by 4″ for the smaller pots. You can play around with the sizes to find which you like best.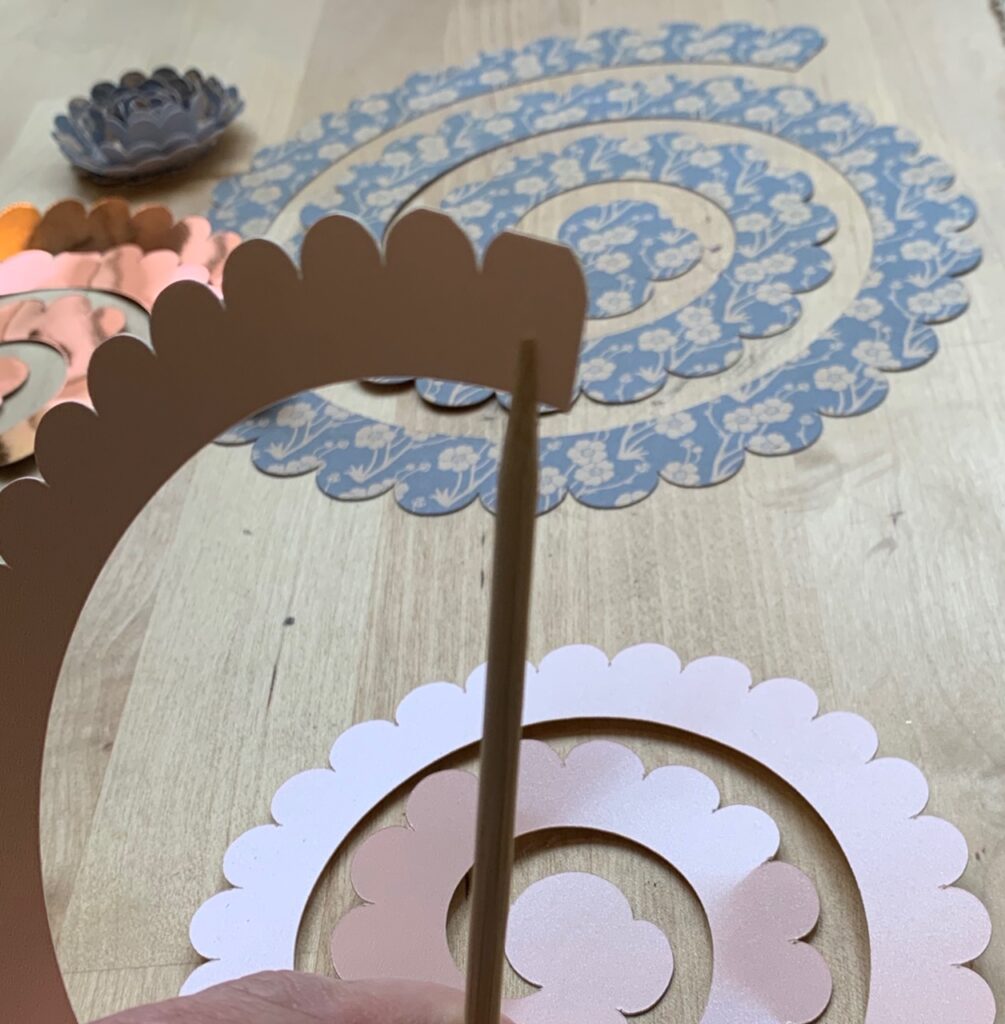
Once your flowers are cut out, you can use one of these quilling tools to make rolling them easier.
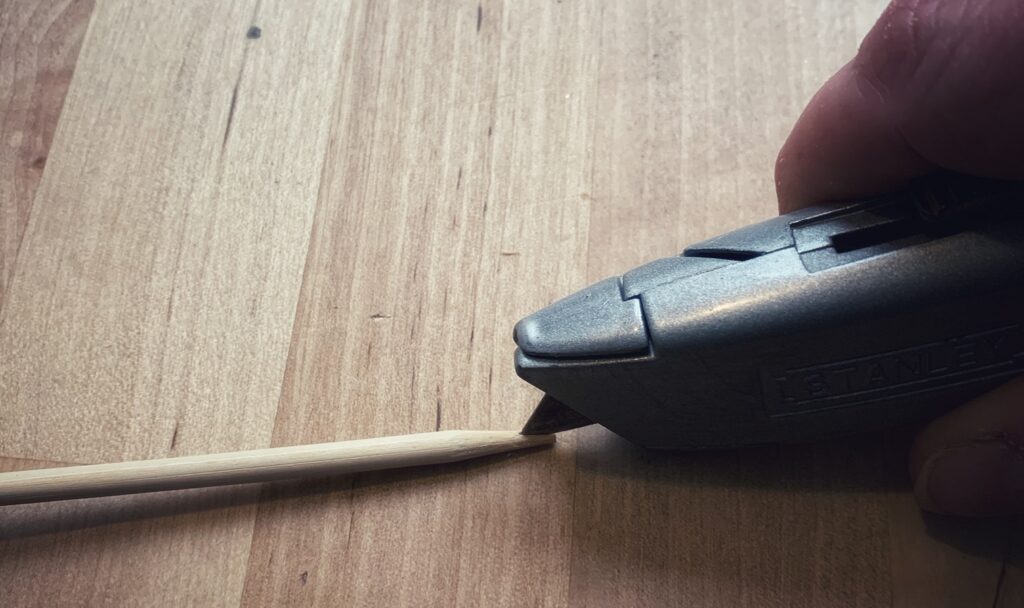
I made my own by cutting a slit into a wooden dowel with a utility knife (if you do this, be sure to lay the wooden dowel flat on a cutting surface – do not hold it straight up in your hand, and be careful to not cut yourself!).
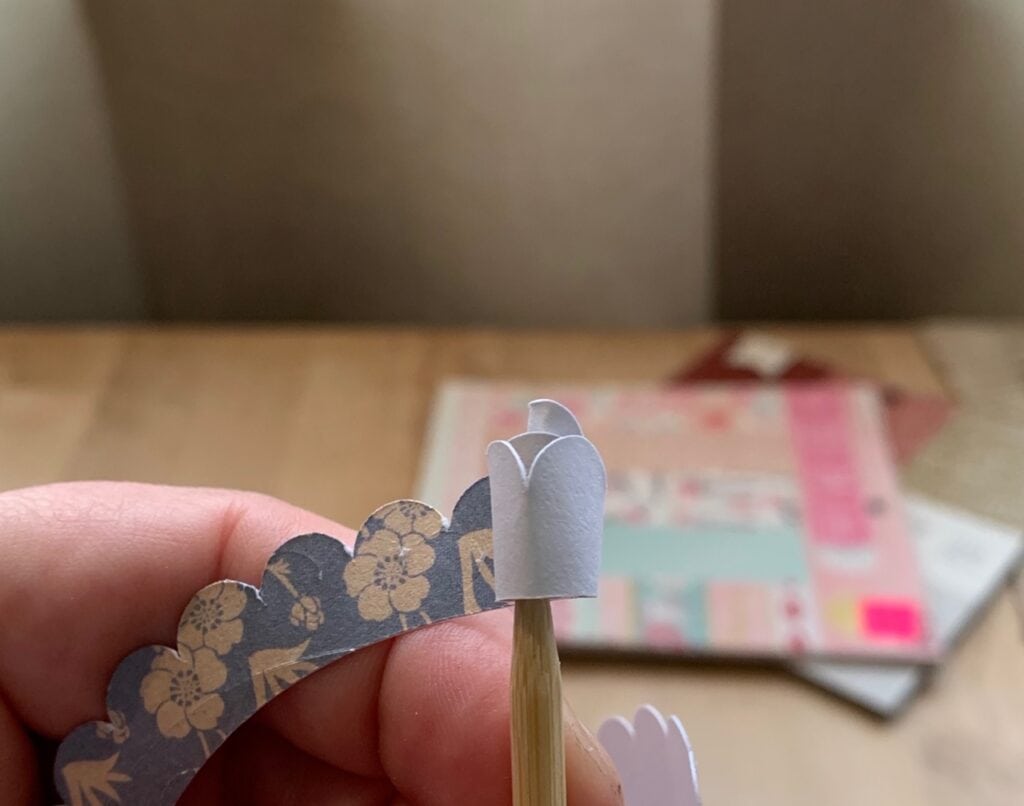
To make the flower you will start with the outside of the cut out, and slip it into your quilling tool. Start to roll it, so that the white side is on the outside. Wrap until finished, and at the end there is a small circle that you will fold under to be the bottom of your flower. That is where you will glue it.
Do not roll your flower too tightly, you want to let it have some room to see the beautiful pattern of the paper.
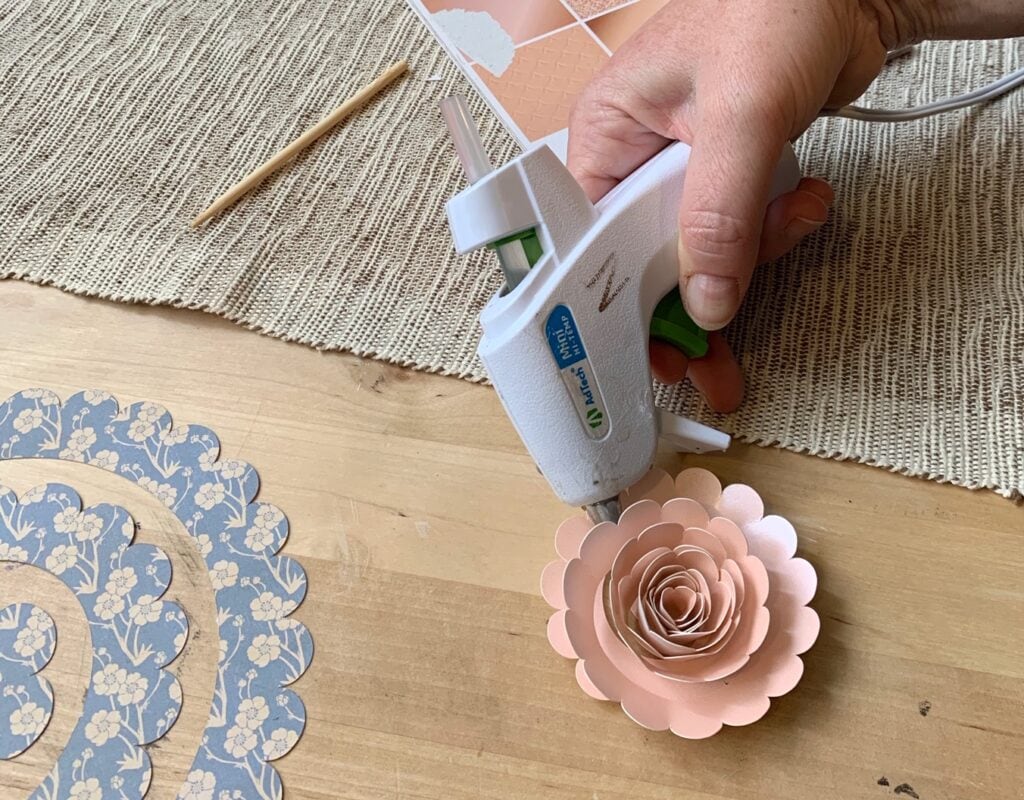
I like to use hot glue for this step, as it holds it in place quickly. Simply put a dab of hot glue on the circle part of the cut out, and press the flower down into that to hold it together. 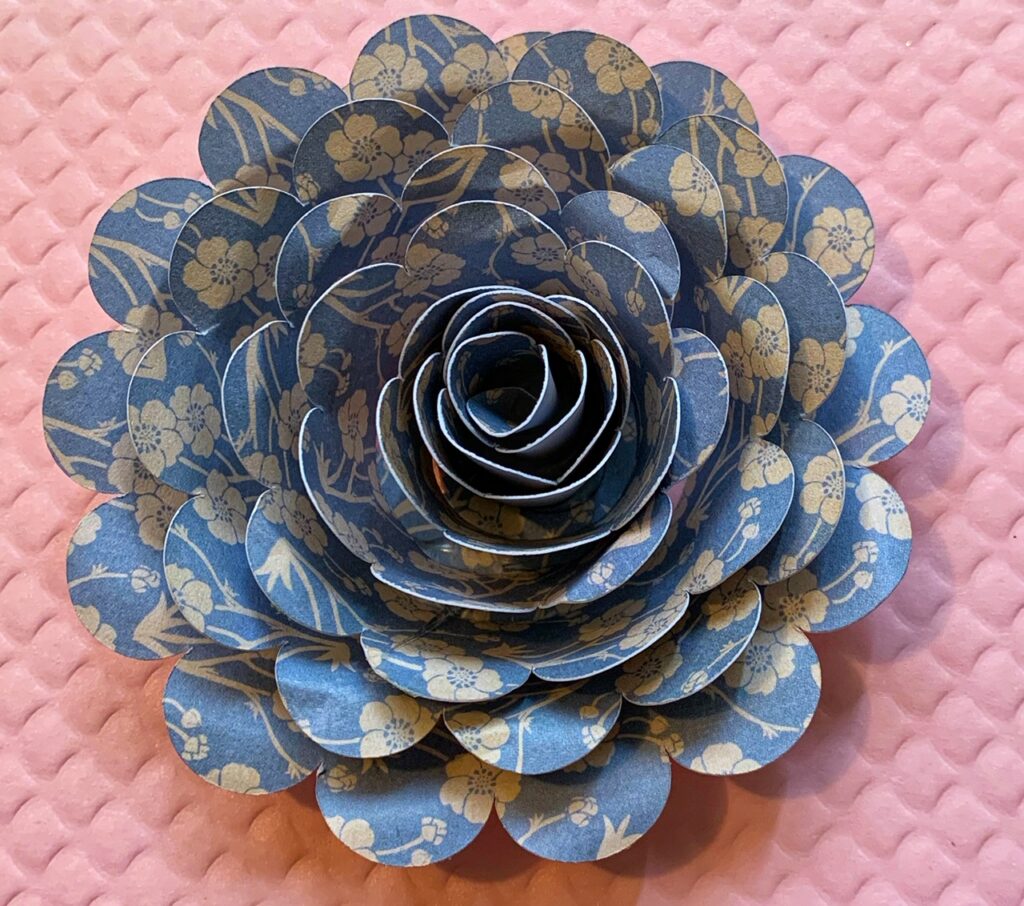
You can then use the dowel part of your tool to shape the leaves a little, but slightly bending them around it for some curve.
Decorate Your Pots & Assemble It All Together!
Once you have your flowers done, you are ready to decorate your flower pots. You can really use anything you have around the house that you think will make your pot beautiful. We used things like paint and sharpies, ribbon and jewels, and even temporary tattoos!
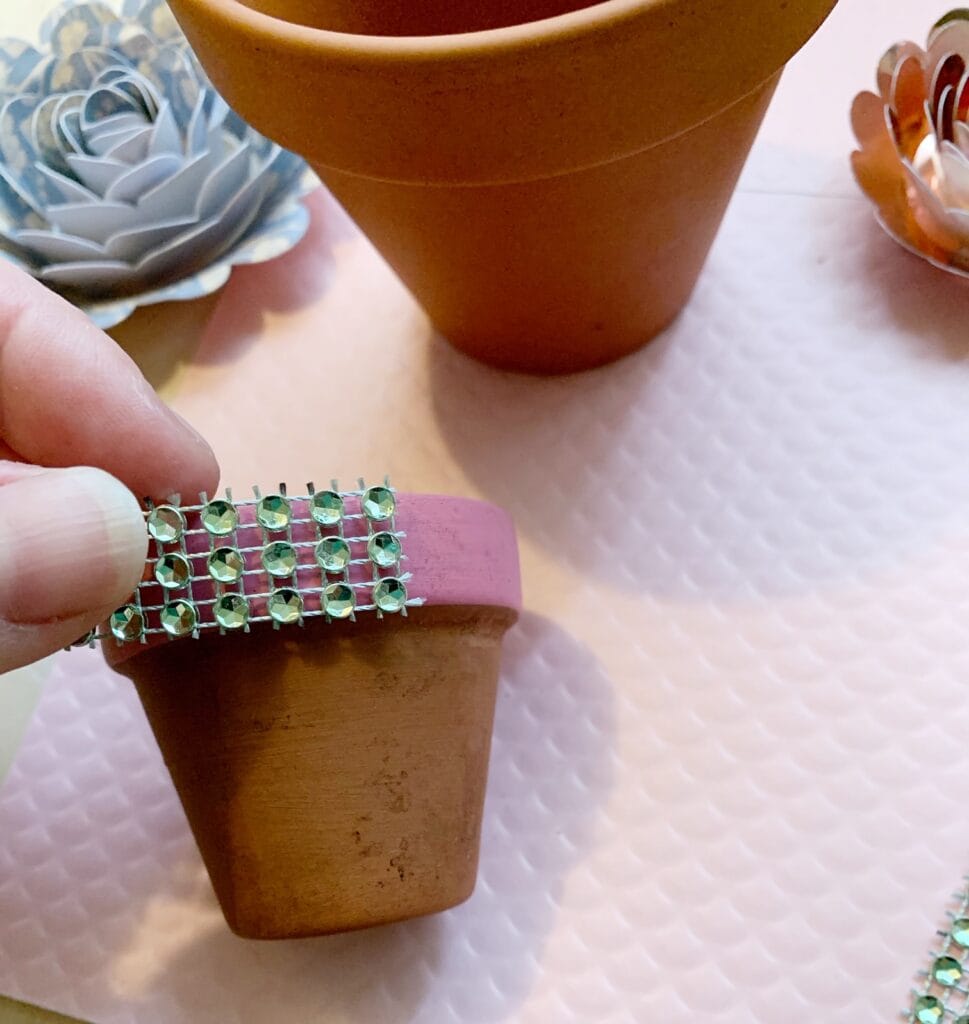
We found this jewel ribbon at the dollar store, and decorated one of the pots by hot gluing it around the top (after painting the top).
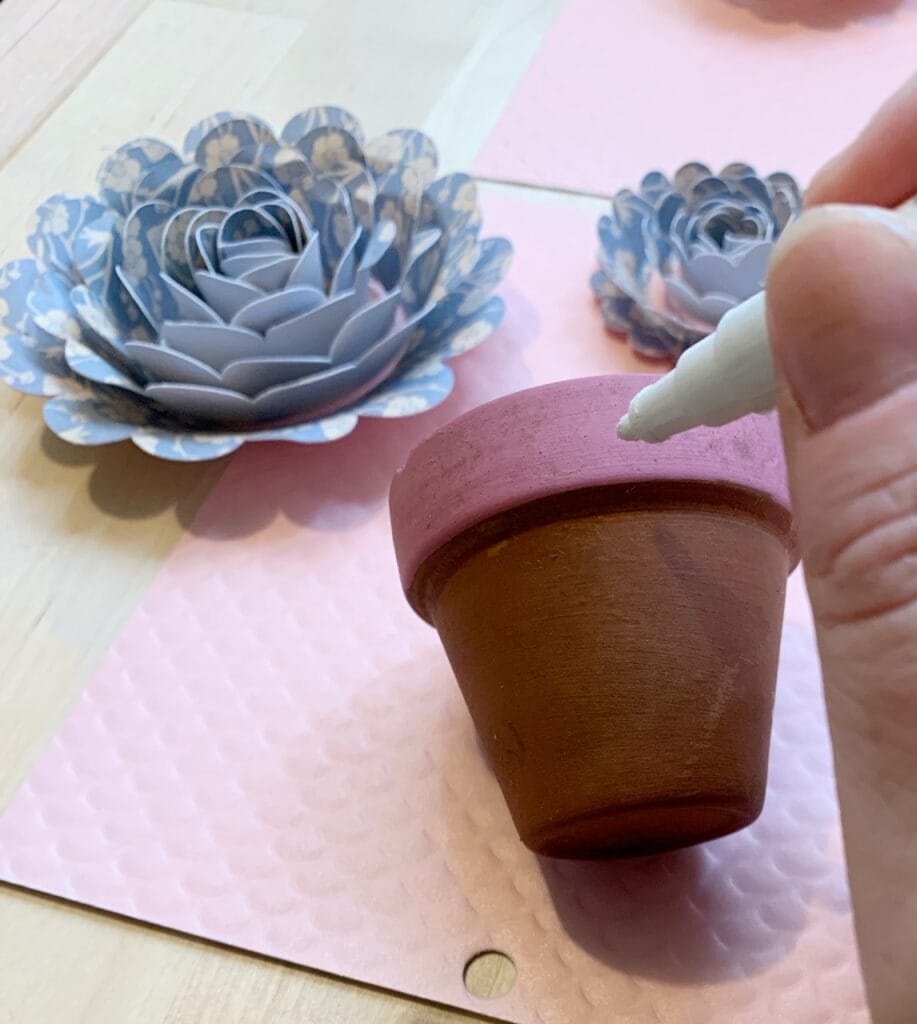
You can use sharpies or paint pens for more detailed designs.
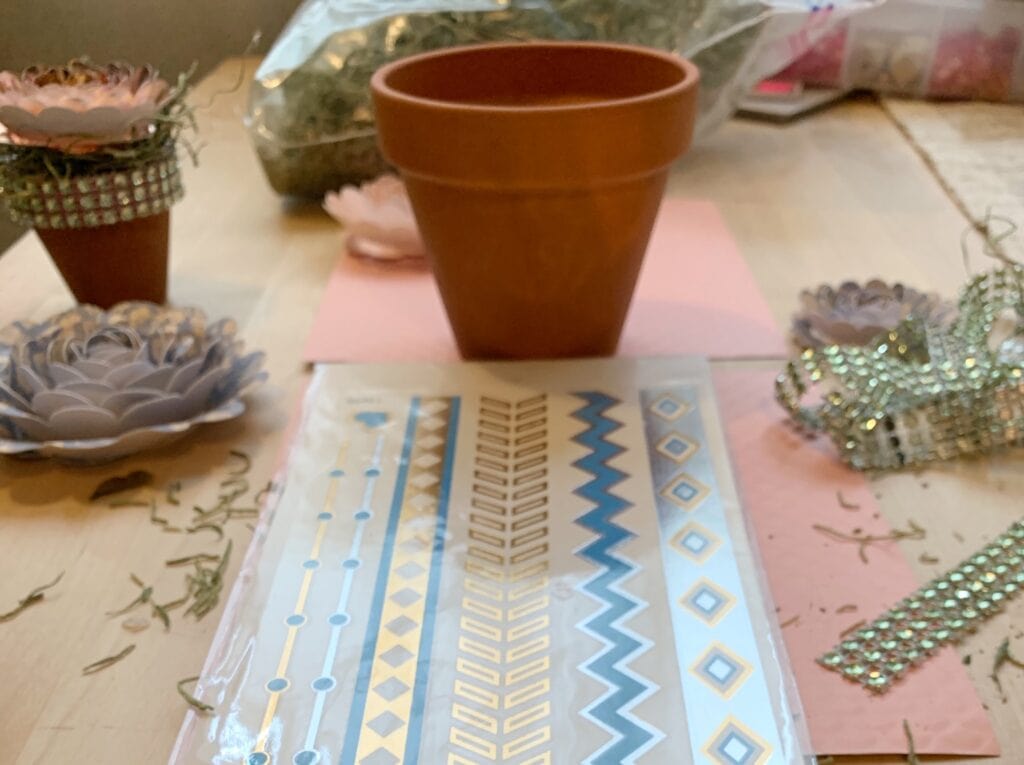
We even used some temporary tattoos for the Aztecan design on the larger pot.
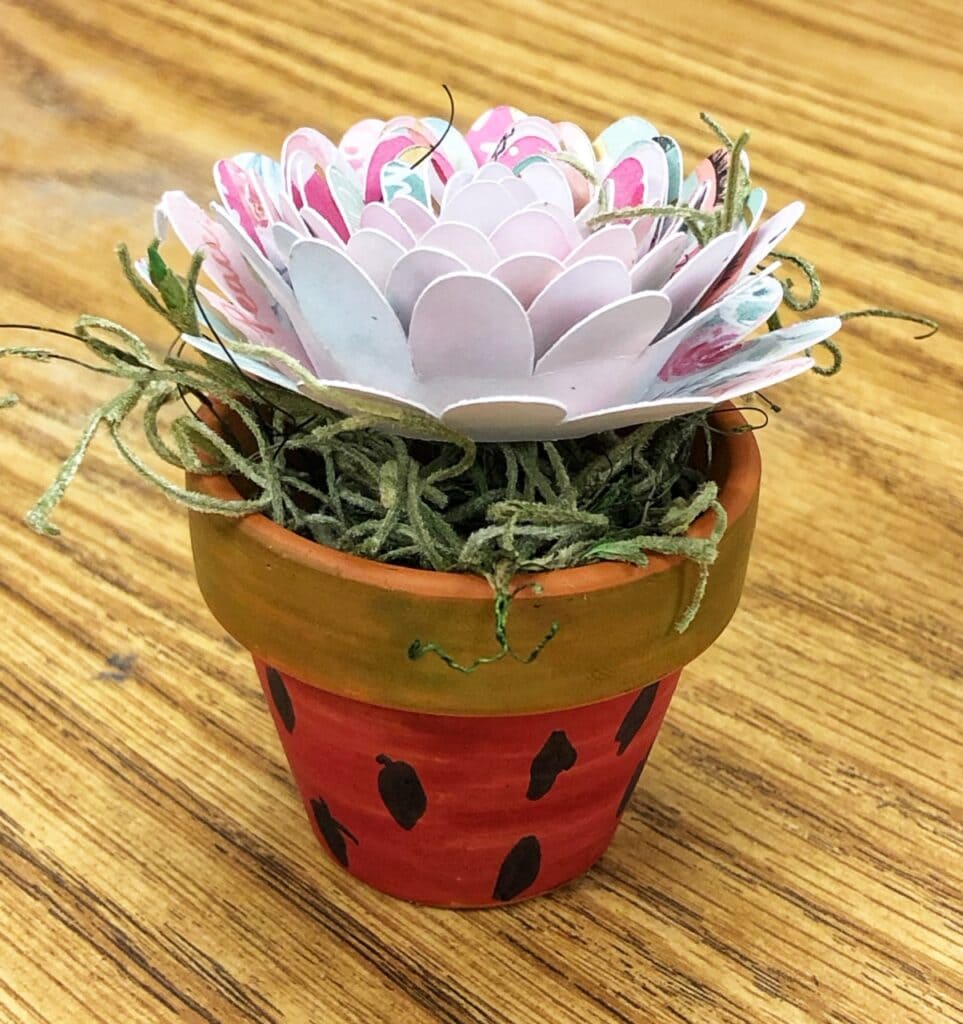
Here is one of the pots that one of my kids made. They painted it to look like a watermelon (used a sharpie to draw the seeds) and added their beautiful spring flower to it. I love it!
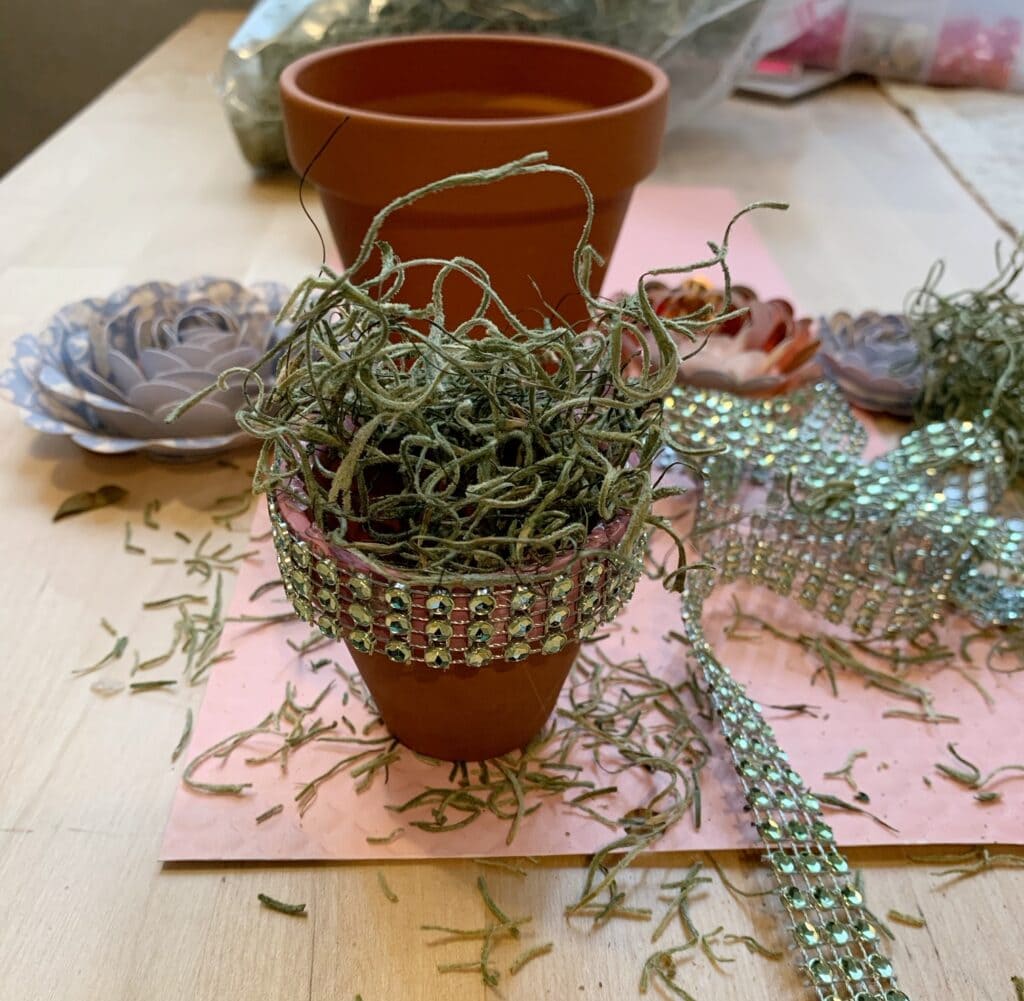
The next thing we did is to add our faux grass/moss to the pot. We used a small bit of hot glue just inside the pot, and attached it there.
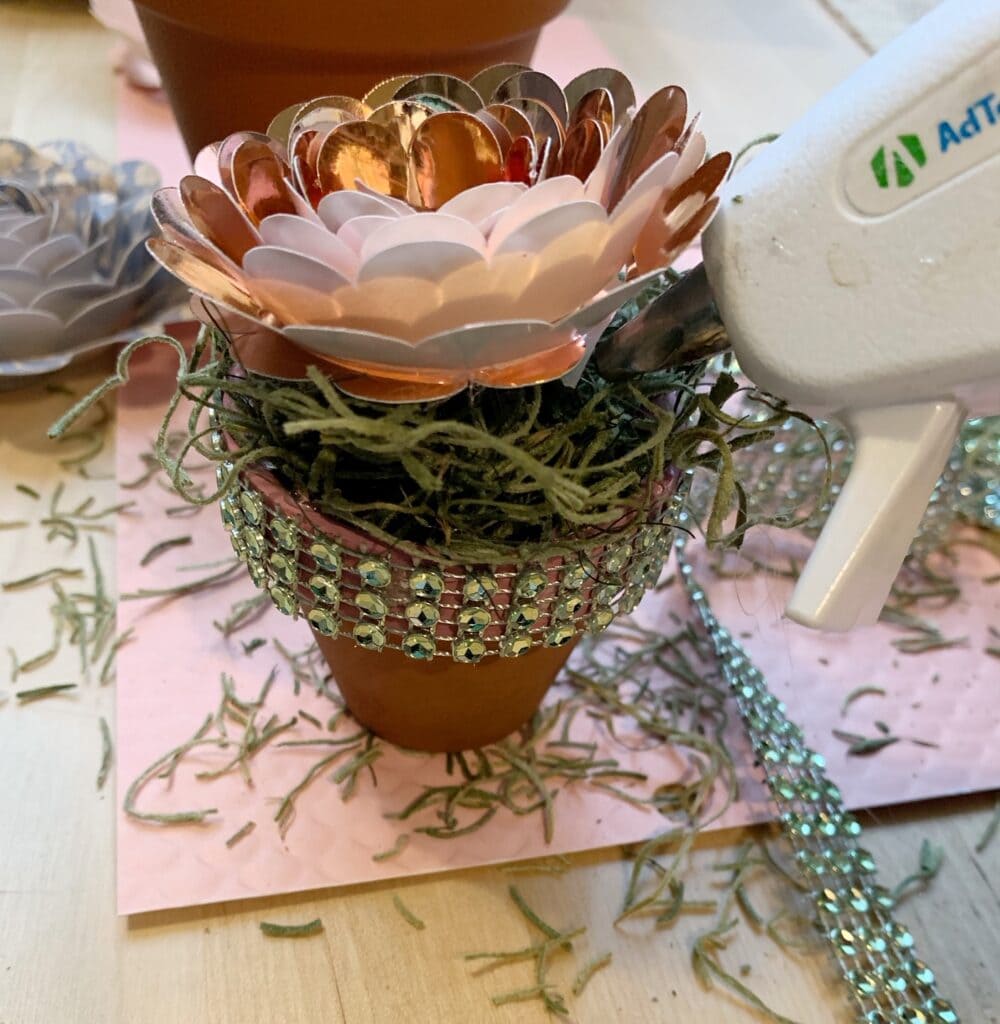
Once you have your moss attached, you can glue your paper flower to that, with a bead of glue under the middle of the bottom of your flower.

Now your flower pots are ready to decorate your windows, or other areas, or give it to someone as a gift! They are so easy to make, beautiful to decorate with, and a fun way to spend some family time.
More Articles You Might Like:
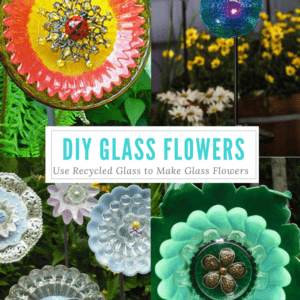
How to make glass flowers out of dishes

So adorable! I’m going to pin this so I remember to make these with the kids!