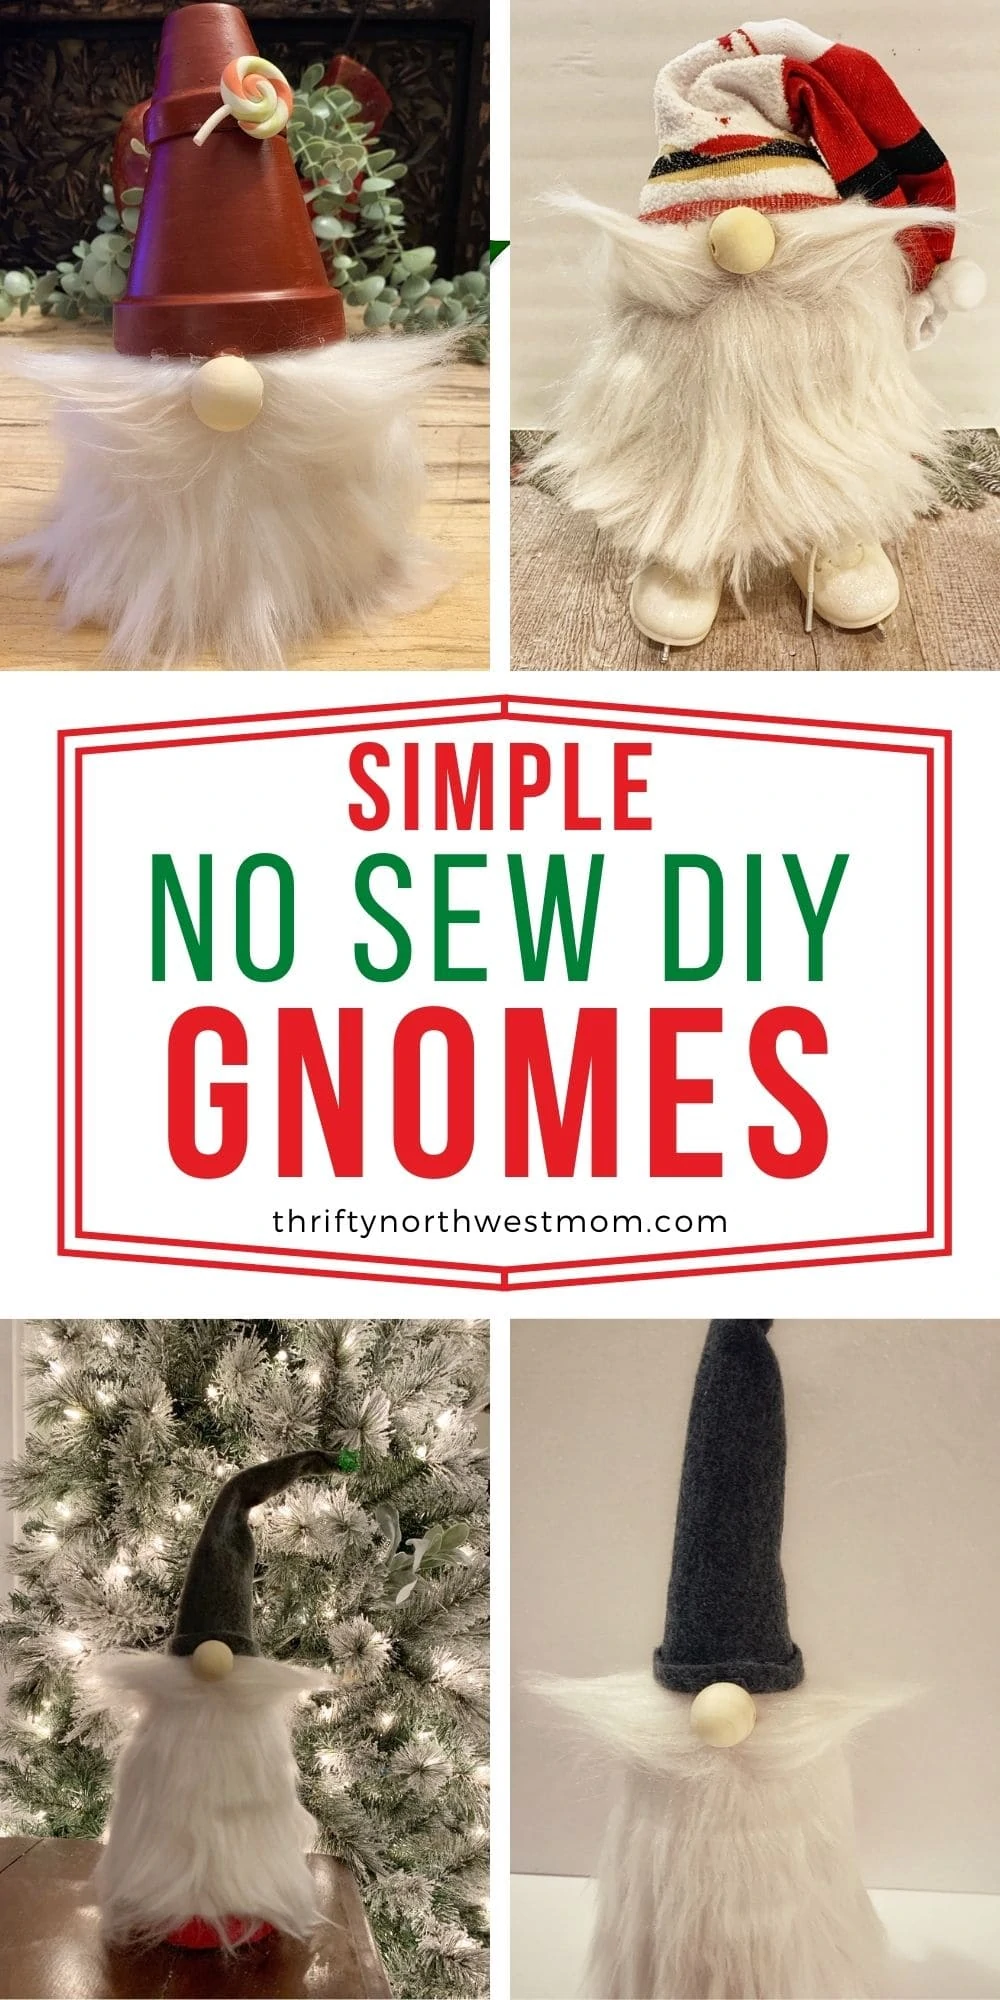
5 Adorable DIY Christmas Gnomes – No Sewing Required!
This post may contain affiliate links and I may be compensated for this post. Please read our disclosure policy here.
5 Adorable DIY Christmas Gnomes – No Sewing Required!
These adorable Christmas Gnomes seem to be popping up everywhere these days, and are really popular for Christmas decor. They can add up if you are buying them already made. What if I told you that you could make the cutest gnomes for your Christmas decor, for just a few dollars? And many of these will be very similar to the ones you see for sale – plus you can customize them for your decor. Best of all, they are really easy to make, and would be fun to do with kids or by yourself for some adult time (my preferred way to make them).
The ideas we include below, are so simple to make, it might surprise you. The point is to inspire you to make your own gnomes. You can really make them out of just about anything from mason jars to wood blocks. Once you get the idea of how adding the beard, hat and nose work – you can adapt that to so many different items – to create a gnome perfect for your home.
Here are 5 DIY Christmas Gnomes you can make, without doing any sewing. In fact, many of the supplies can be purchased at a Dollar store near you too.
Note – I used these 1 inch wood beads for the nose on all of these Gnomes.
Gnomes Made From Cones
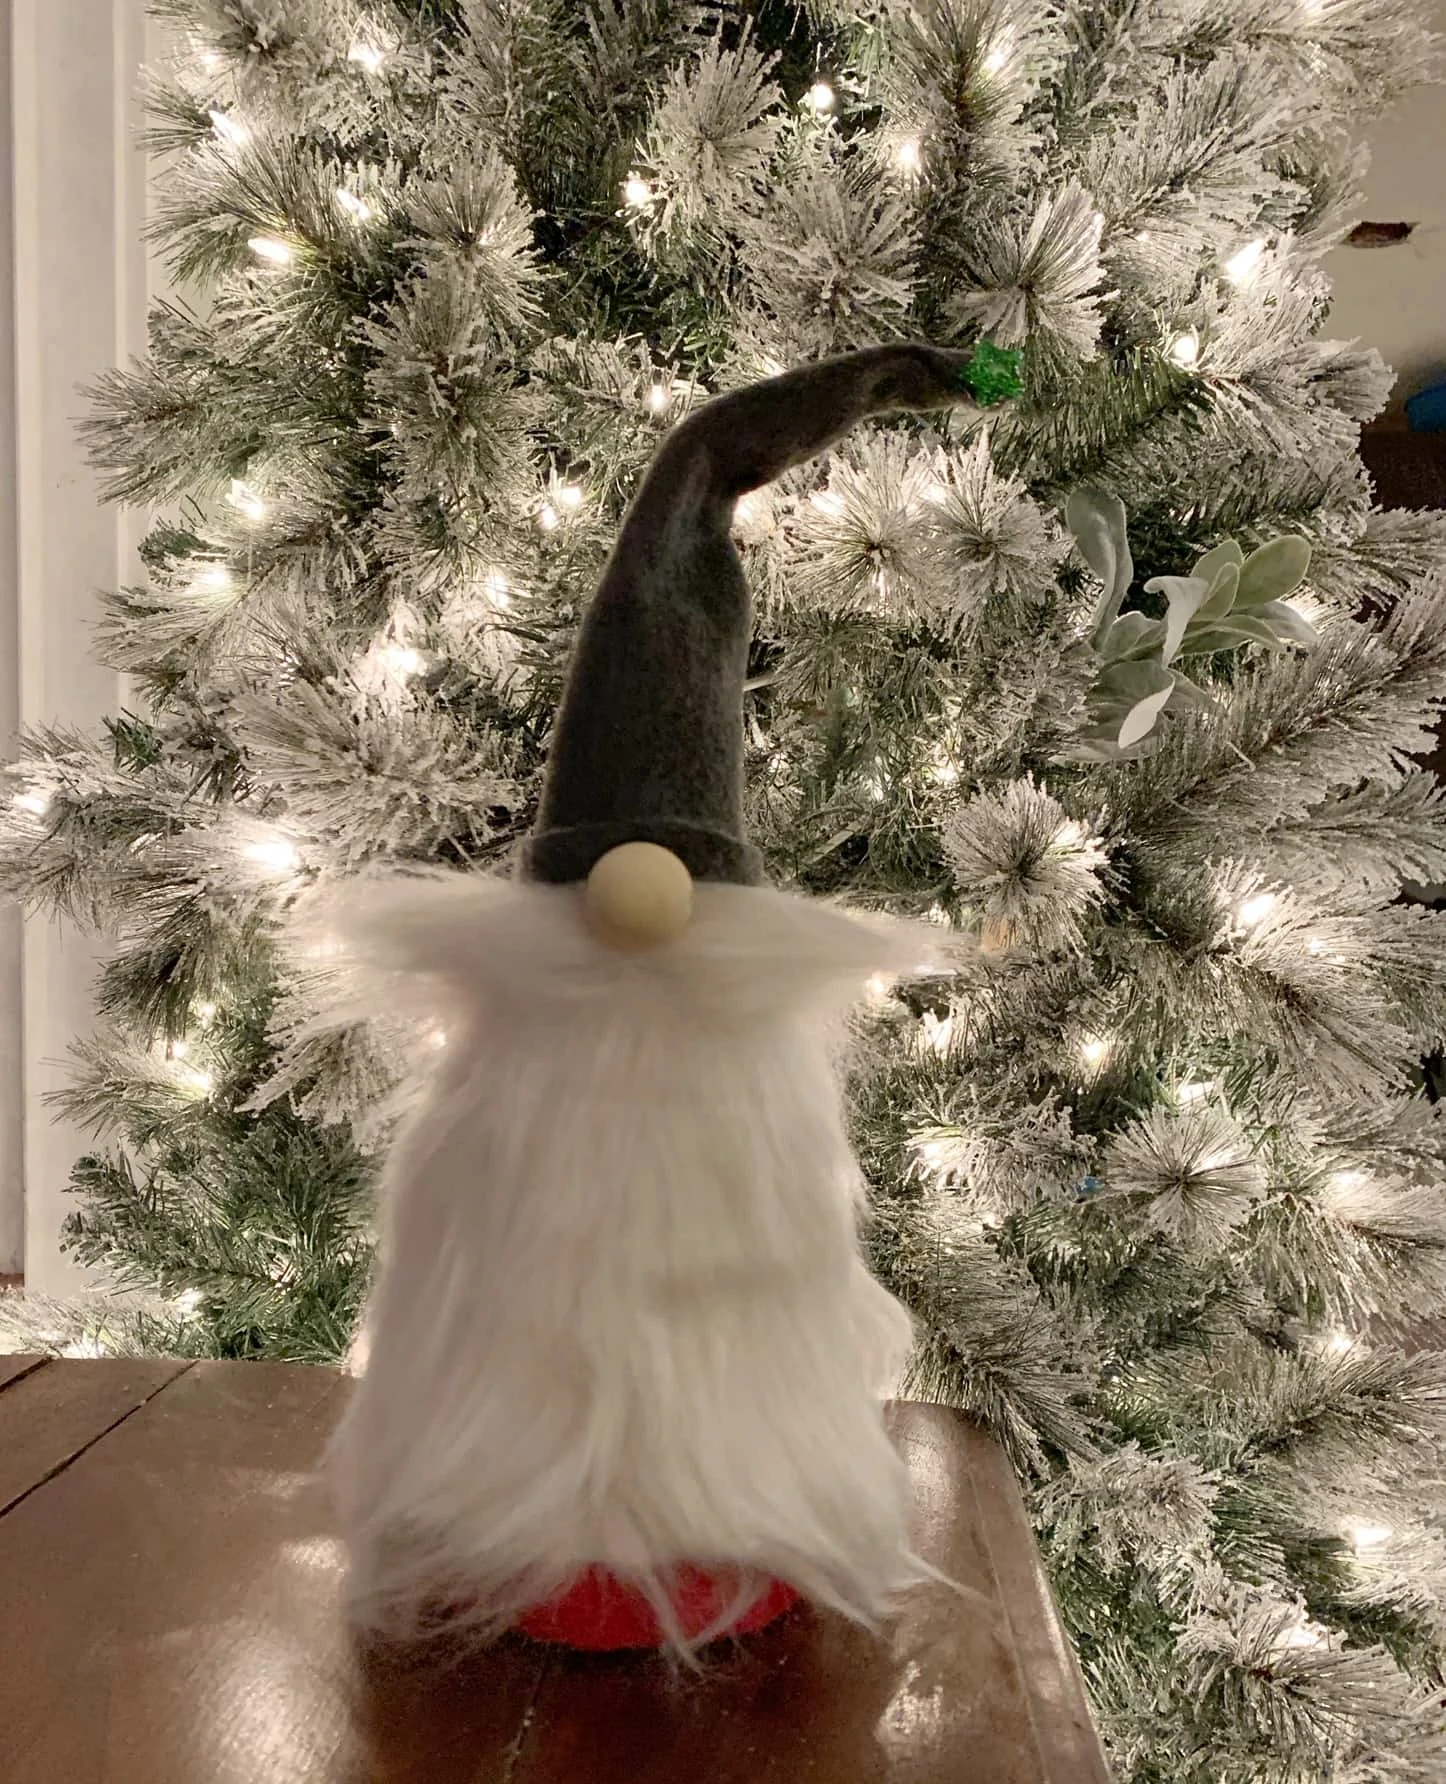
This Gnome is so simple to make (probably one of the easiest), and is my favorite way to make Gnomes. These are the ones I have in my home, for my Christmas decor. You will need to start with the one of these foam or Styrofoam cones (if they are in stock at your Dollar store, that is the best place to get them – otherwise I find them for under $4 at Walmart too).
I like to use felt squares for mine (as they are only $0.28 cents each at Walmart – and you only need two). You could also use a pair of cute fuzzy socks too if you prefer.
To make these you simply wrap one square of felt around the bottom two thirds of your cone, and attach with hot glue in the back. Leave enough room to wrap it around the bottom of the cone too (also attaching with hot glue) to give it a finished look.
Next cut a rectangle piece for your beard, and also attach around back with hot glue. Take the second felt piece and cut it in a hat shape, and hot glue it together (then turn it inside out, and attach for your hat. I like to undo a large paper clip, and add it to the top of my cone, before attaching the hat – so that I can easily bend my hat to whatever shape I want. Attach your hat, then the wood bead for a nose under it – and you have an gnome!
You can search for patterns for the hats too – there are lots online, if you are not comfortable cutting it freehand.
Gnome make from rice socks (or beans)!
These are probably one of the most popular way to make the DIY Gnomes on the internet. Use a pair of socks, some rice or beans, and faux fur + gnome nose. If you are worried about rice or beans (if you live in a high humidy area for example) you can use small beads too (like these fishbowl beads) – it will just likely cost more that way. These ones are really affordable to make, and you can do so many styles.
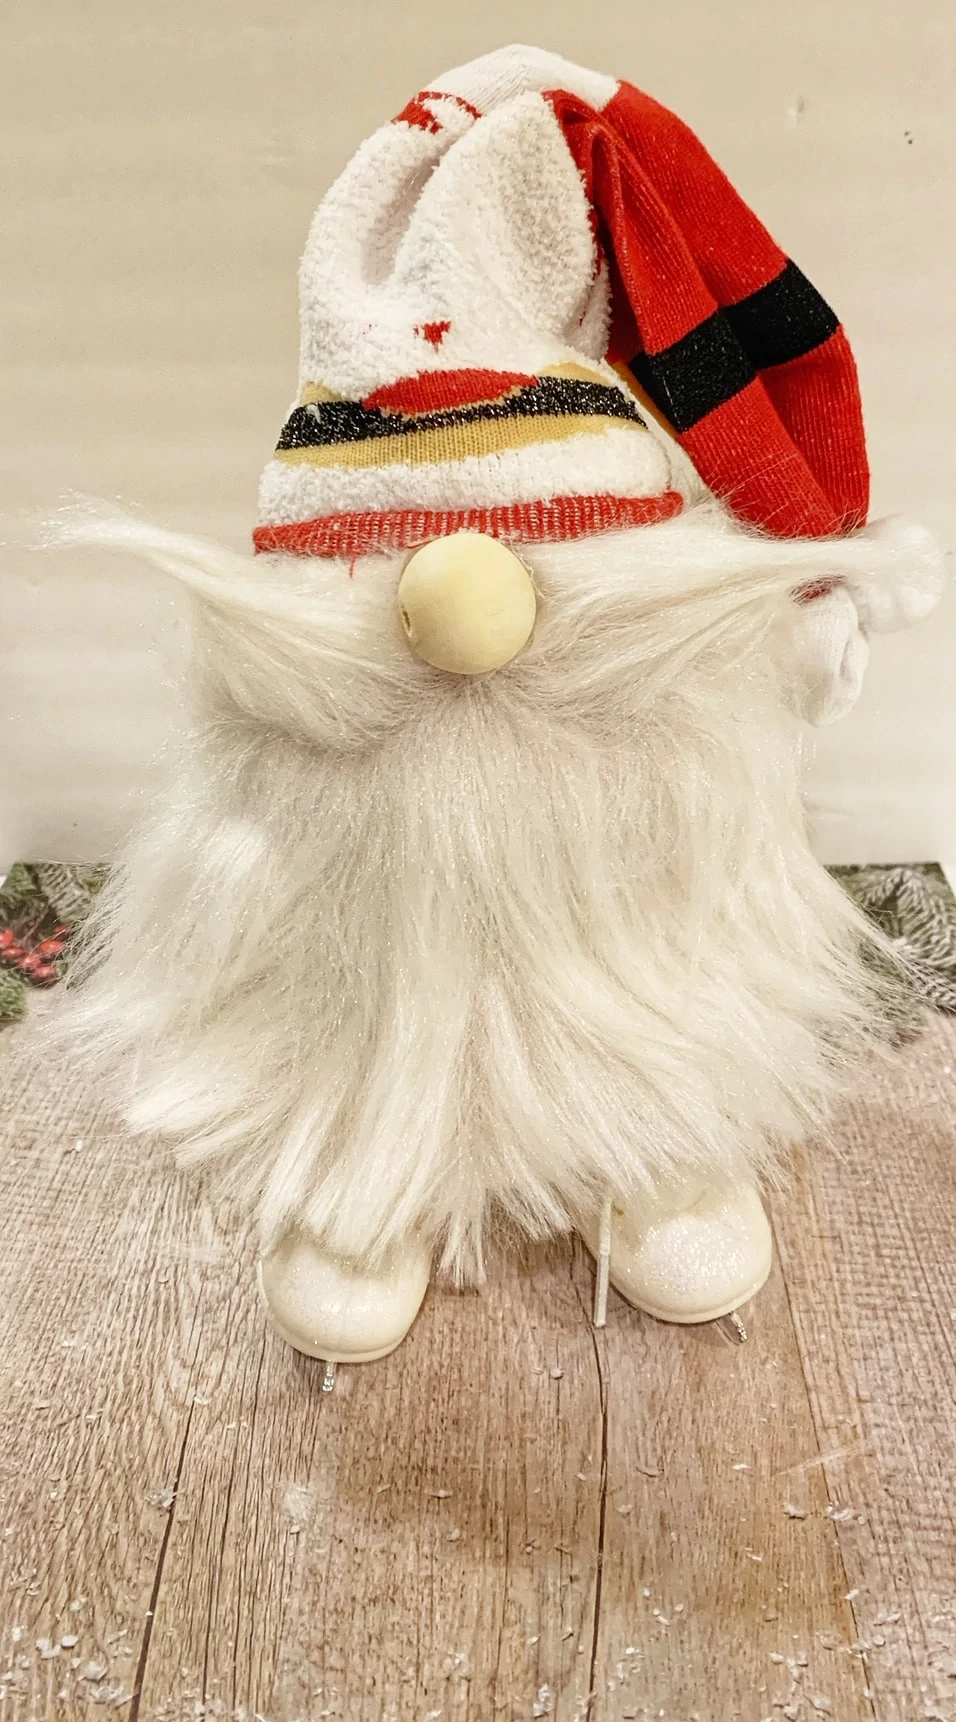
Simply grab a pair of socks (we found these Santa themed socks at the Dollar store). Add rice (or your fill of choice) to one of the socks, until you reach desired height (I filled mine to around the heal area). Then close it off with a rubber band, and cut off the excess sock.
Cut a rectangle to be the beard, and hot glue it around the rice filled sock. Attach the second sock to the top, with a dot of hot glue on the front and the back. Be sure to bring it down to where you want your nose positioned. We used a wood bead for our nose, by hot gluing it just below the hat sock.
You can make the mustache look, simply by pulling the fur out to each side of the bead, and twirling it a bit to make it look like a mustache. We stole some ice skates from one my kids dolls, but you do not have to use shoes.
Christmas Gnomes from Terra Cotta Pots!
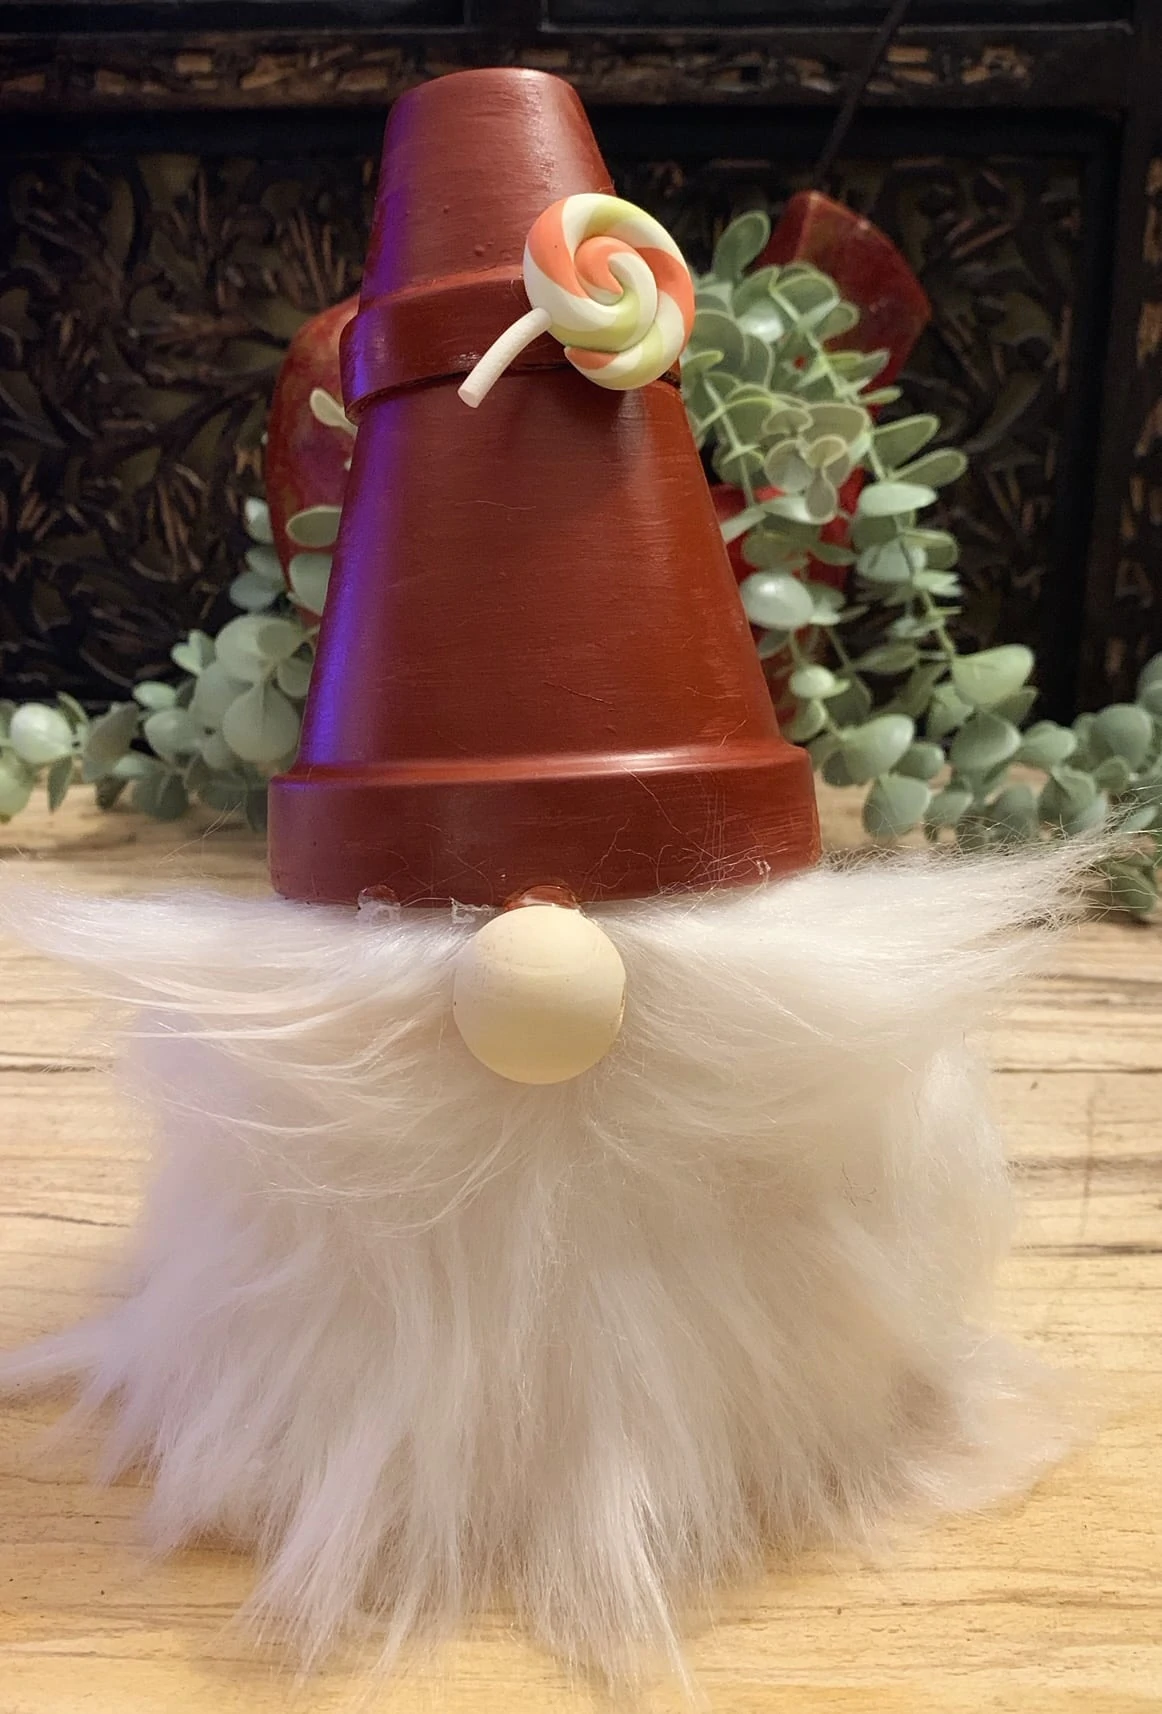
I love gardens, so I thought these Terra Cotta pot gnomes where so fun to make. You will need three or four different sized terra cotta pots that you can stack on top of each other – from largest size to smallest. You can use large pots for a bigger project, or the small ones for smaller gnomes. This was my personal second favorite gnome that I made this year.
You could do them with large pots, and paint the beard, if you want to use them for outdoor decor. I made a small one for my mantle this year, and just love it.
For these ones you will start by painting your pots. After paint is dry, you can attach the beard (like the rest, by hot gluing a rectangle to the back). Then add your nose, and I loved adding a Christmas colored lollipop to the hat for some added interest, but that is completely optional.
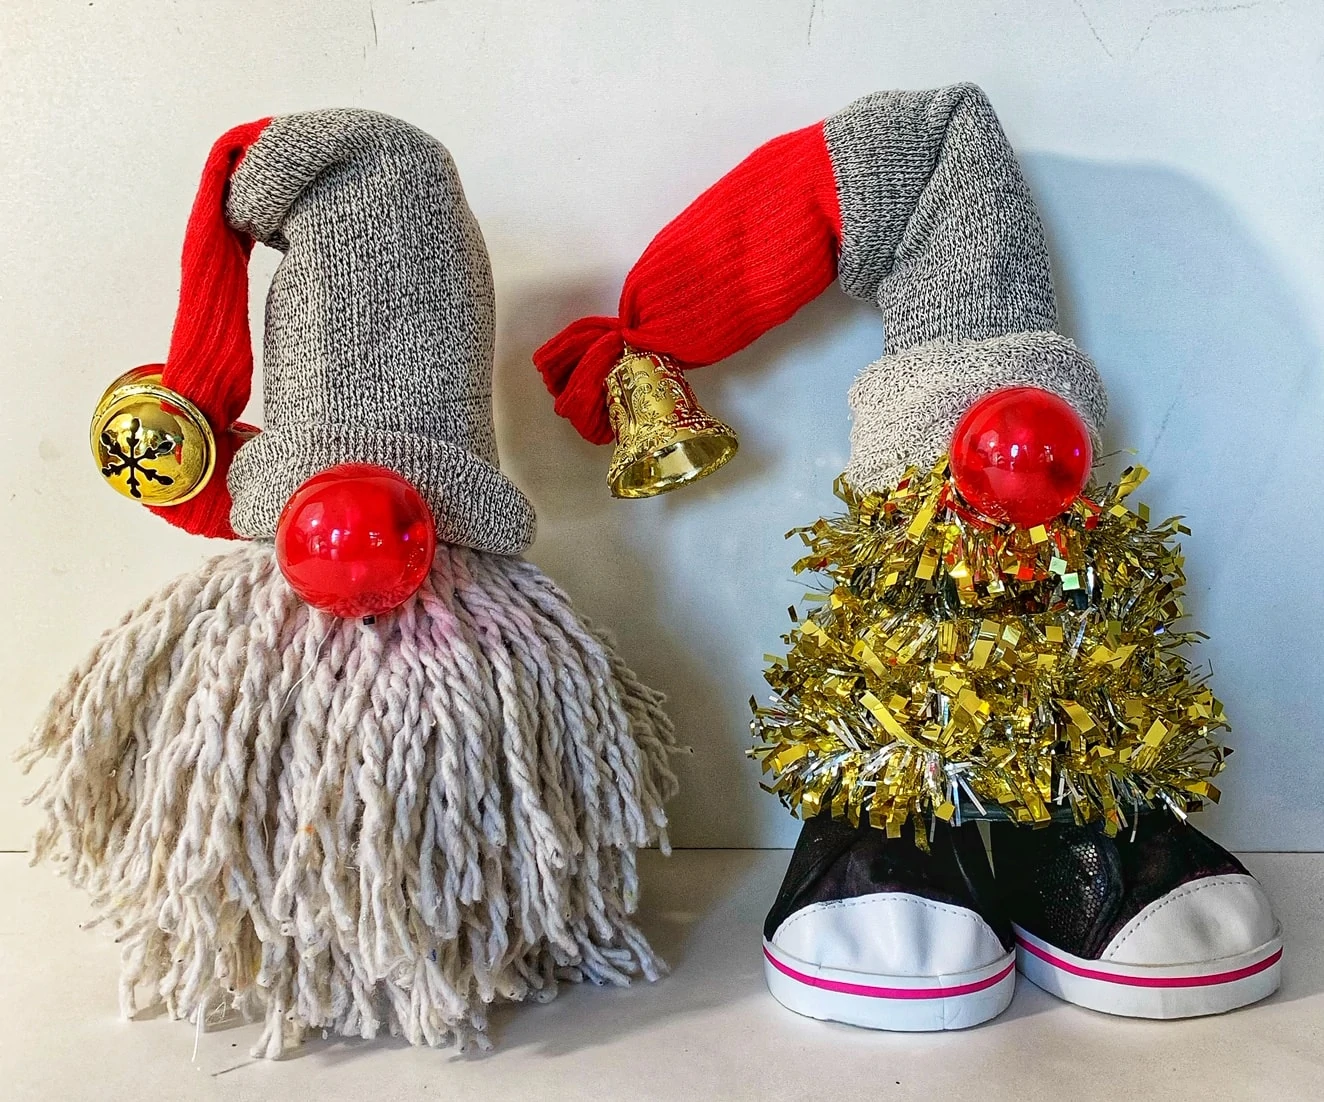
We made both the mop head and Christmas tree gnomes, with all Dollar Tree items (minus the shoes, which we stole from one of our dolls wardrobes). So you can make these ones, for just a few dollars.
Gnome from Mop Head
These are so simple – and a different look from the other gnomes. For this one, we used a mop head from the Dollar store, and a light up reindeer nose (instead of the wood bead), just for fun.
Gnome from Dollar Store Christmas Tree
You can make the Christmas tree gnomes with any of the small Christmas trees you can find at the Dollar store or anywhere else. We used the gold tinsel tree for ours, but if you find small green trees (at thrift stores, or craft stores etc), they make really cute gnomes!
We have more details on how we made these two gnomes, in our post on DIY Dollar Store Christmas Decor here.
Tips for Putting Your Christmas Gnomes Together –
- You can search up patterns if you want to be really exact with your materials measurements. I am not a really detailed person, so did not use a pattern – but there are lots of them out there if you prefer.
- If you are using a faux fur for your beard, consider cutting a v-shaped notch in the middle of it. That way, it makes it easier to wrap it under the nose you use.
- If you want it to last longer, use two kinds of glue: hot glue + glue of your choice (E6000, Gorilla Glue, etc). This way the hot glue helps you to hold it in place while the stronger (and more long term glue) is drying.
Tips on where to Get Supplies for Cheap!
- Look for stockings at the Dollar Tree that have fur at the top, to use for beards (rather then buying faux fur – although I got a strip from Walmart for around $5 that has lasted me two Christmas’s of making Gnomes now – so hard to beat that).
- Grab cheap pillows from spots like Walmart for like $3 or $4 (or use one you already have) to get cheap stuffing, if you prefer to use that for your sock gnomes.
- Use socks from the Dollar Store You get a pair for $1, (so $0.50 cents each) to get cheap hats!
- You can also use scarves or tree skirts, also from Dollar Tree, to use for hats.
- For the nose you could use a pack of the round foam balls, or golf balls or ping pong balls (we used wood beads), but if you are looking for Dollar Tree options these are good ones. Plus, you can paint or cover in felt if you want as well.
- If you want to add shoes to your gnomes, look for shoe Christmas ornaments, or doll shoes – as two ideas of where you can get these at good prices.
More articles you might like:
Toy Soldiers Made From Clay Pots – DIY Christmas Decor or Homemade Gifts

