
Toy Soldiers Made From Clay Pots – DIY Christmas Decor or Homemade Gifts
This post may contain affiliate links and I may be compensated for this post. Please read our disclosure policy here.
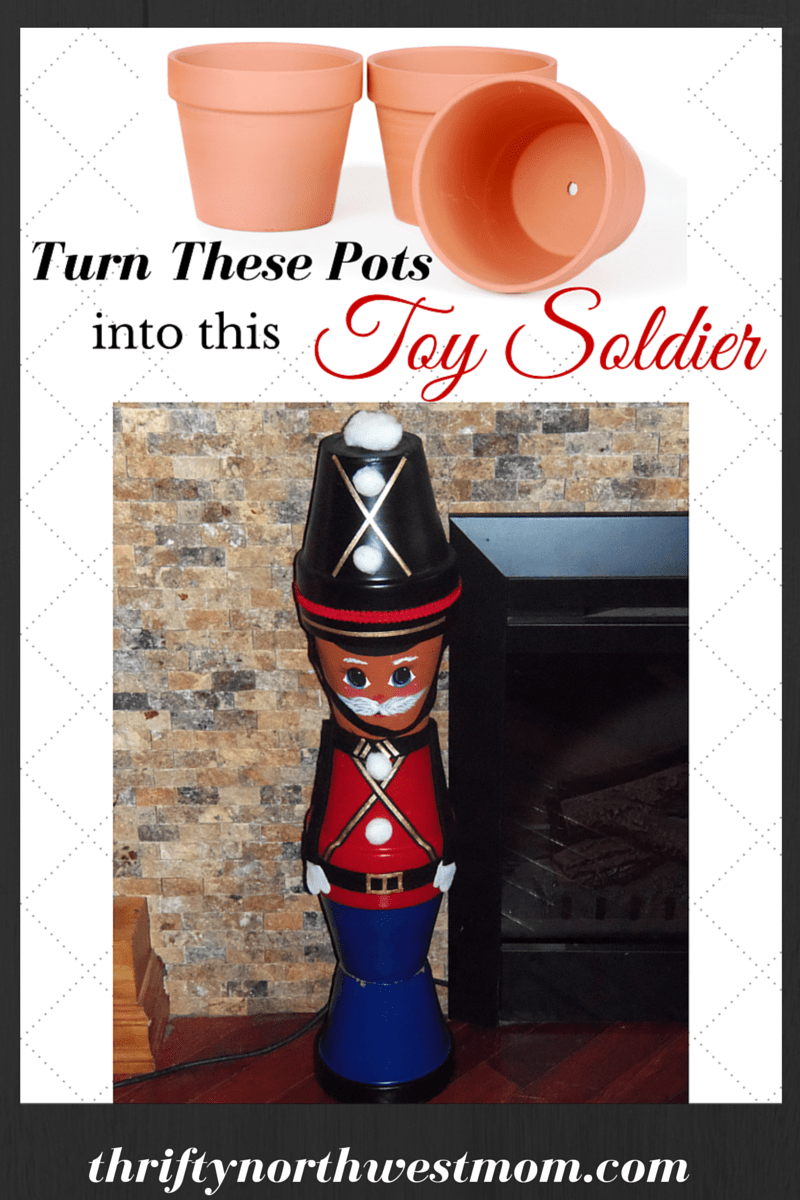
DIY Toy Soldiers Made From Clay Pots
These Toy Soldiers made from clay pots are so cute! You can use these to decorate your house, or make them as a homemade gift for someone who likes toy soldiers or Christmas decor. They are made from clay pots, so you can adapt this craft to different sizes to, based on your preference. While these ones are made with larger clay pots, you could buy the miniature ones and attach a string to the top and turn them into Christmas tree ornaments too.
My kids love when we bring these out each year. They are very memorable for the kids because of their size. Each year I plan to make smaller ones with them, just so they will have more memories. It could be a fun Christmas party craft too, as toy soldiers never go out of style!
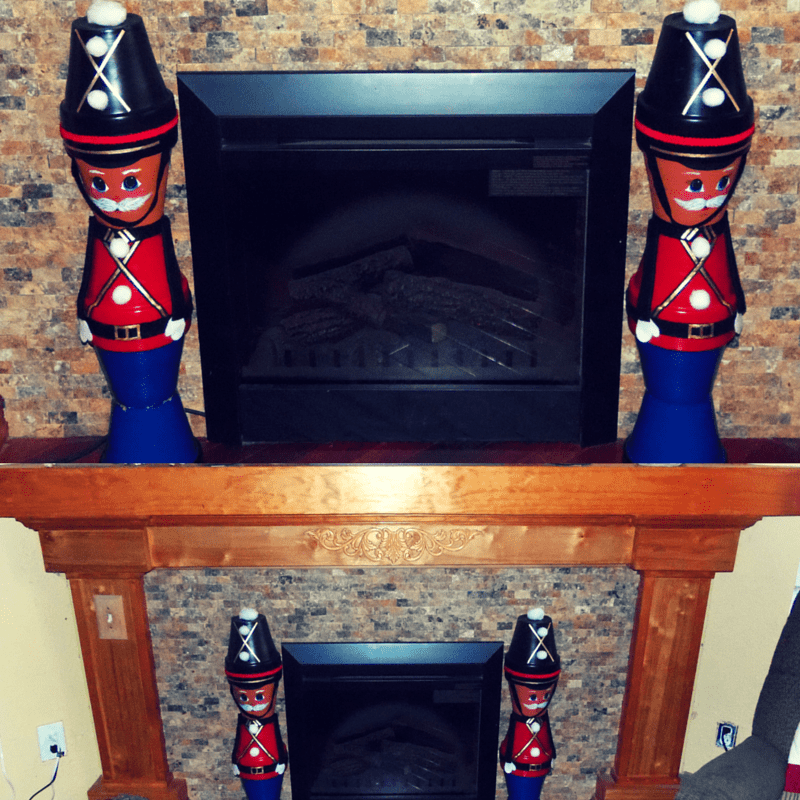
I used mine to flank my fireplace, but you can set them outside your door, up your stairs, by your Christmas tree, or anywhere else they will fit.
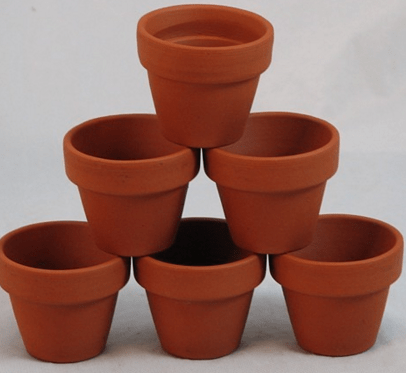
If you want to do a project with the kids, look for these mini clay pots to use. They are more manageable for smaller hands. These ones you could assemble with a good quality hot glue and gun, since they are much smaller too.
Supplies needed:
- 6 clay pots (you can use whatever size you want, but all of them will need to be the same size)
- Epoxy Glue
- Craft Paints
- I sheet of black Felt
- Gold Ribbon
- White pom poms (4 med. and 1 larger per soldier)
- Red Ribbon
- Spray Shilac
Directions to make Toy Soldiers:
Start by painting all of your pieces before assembly. To do this, break the toy soldier up into 3 part – a ) head, b) mid section of body, and c) bottom of the body. I recommend using a sharpie to number them inside so you know which pot is which part of the body. You can label the inside of the pots in the following order, to make it easier to keep track of them:
- Hat (#1)
- Face (#2)
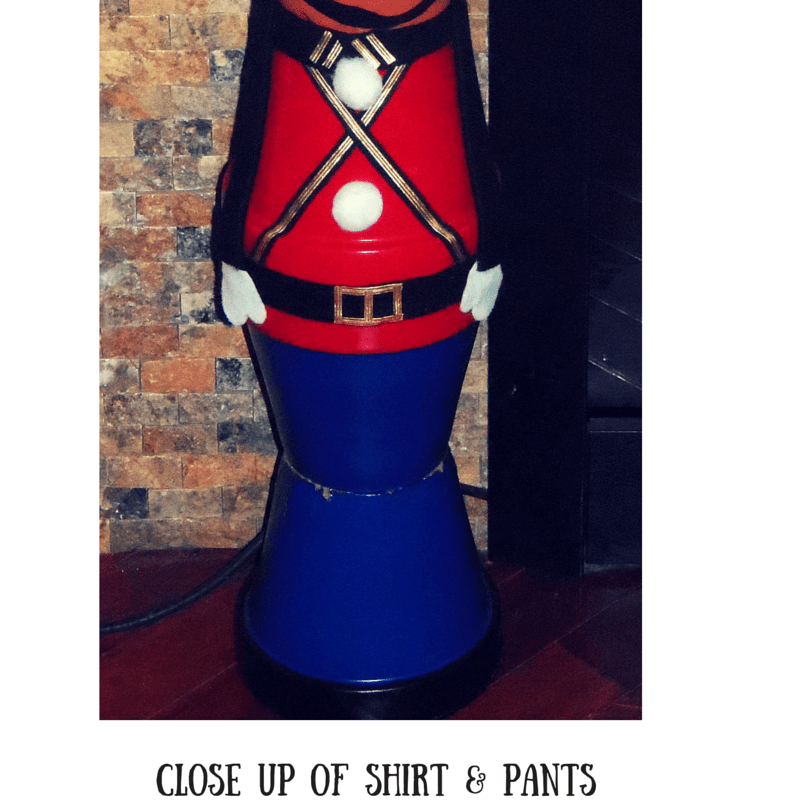
- Shirt (#3)
- Pants (#4)
- Feet (Bottom) (#5)
Paint the pots in the following way:
- Hat (#1) – Paint this pot all black
- Face (#2) – Paint just the rim of this pot black. You can then either paint the face on, or if that is intimidating get two large googly eyes to glue on and one black mustache to glue on (can use a hot glue gun or apoxy glue for this).
- Shirt (#3) – Paint this pot all red
- Pants (#4) – Paint this pot Navy Blue, and the rim of this pot Red
- Feet (#5) – Paint this pot Navy Blue, and the rim of this pot Black
Once all of the paint has dried spray your pots with a sealer or shellac spray to protect the paint.
After all paint and final coating have thoroughly dried you are ready to assemble your toy soldier. Mix your epoxy glue (you could also use Gorilla glue, but I would not recommend something like Hot Glue Guns, as you want a permanent adhesive so they do not come apart and break). When gluing the pots together you are going to want to glue two bottoms, then two tops, then two bottoms and then two tops. Glue them in this order:
- Glue the Bottom of the feet (#5 – navy blue) to the bottom of the pants (#4 -navy blue).
- Glue the top of the pants (#4 -navy blue) to the top of the shirt (#3 -red)
- Glue the bottom of the shirt (#3 – red) to the bottom of the face (#2)
- Glue the top of the face (#2) to the top of the hat (#1 -black)
Let those dry overnight.
The last step is to embellish your Toy Soldier.You can use the hot glue gun or your epoxy glue for this step To decorate like the soldier pictured here you can:
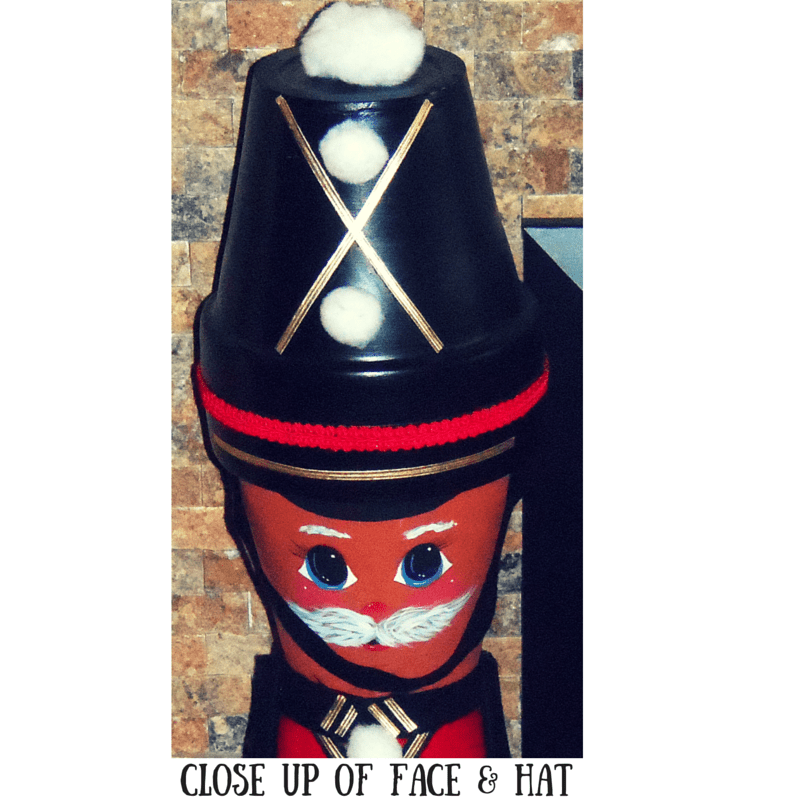
- Add to the hat two pieces of gold ribbon shaped like an X across the front. Attach the large pom pom on top and two smaller ones down the front of the hat.
- Add a red ribbon around the seam (where you attached the hat to the face), and a small strip of gold ribbon under that.
- Cut a strip of black felt about 12 inches long to hang from the bottom of one side of the hat to the bottom of the other (and attach on each side with glue) to look like the hat string.
- Add another felt strip to the top of the shirt (where the neck should be below face), and at the belt line.
- Cut two more black felt strips about one inch thick and 6 inches long to be the arms. Attach one to each side of the soldier at the neck line with glue.
- Cut two white mitten shapes out of felt and attach to bottom of arm pieces.
- Lastly, you can use more of the gold ribbon to kriss cross across the shirt and to define a belt buckle. Glue on two more small pom poms to the shirt and you are done!
