
Slime Cookie Dough Recipe (Not Edible, But So Fun To Make)!
This post may contain affiliate links and I may be compensated for this post. Please read our disclosure policy here.
Slime Cookie Dough Recipe (Not Edible, But So Fun To Make)!
Do you have kids who love slime and baking? If so, there is a fun way to combine these two things into one activity they will love. Well, its not real baking actually, but a way to make slime that you can turn into faux baking projects. My girls love doing these projects. They have made slime cookies, pancakes, pizza and more. In this article we will show you how they make their slime cookie dough, and then slime cookies. It is a perfect one to try on school breaks with them to keep them entertained!
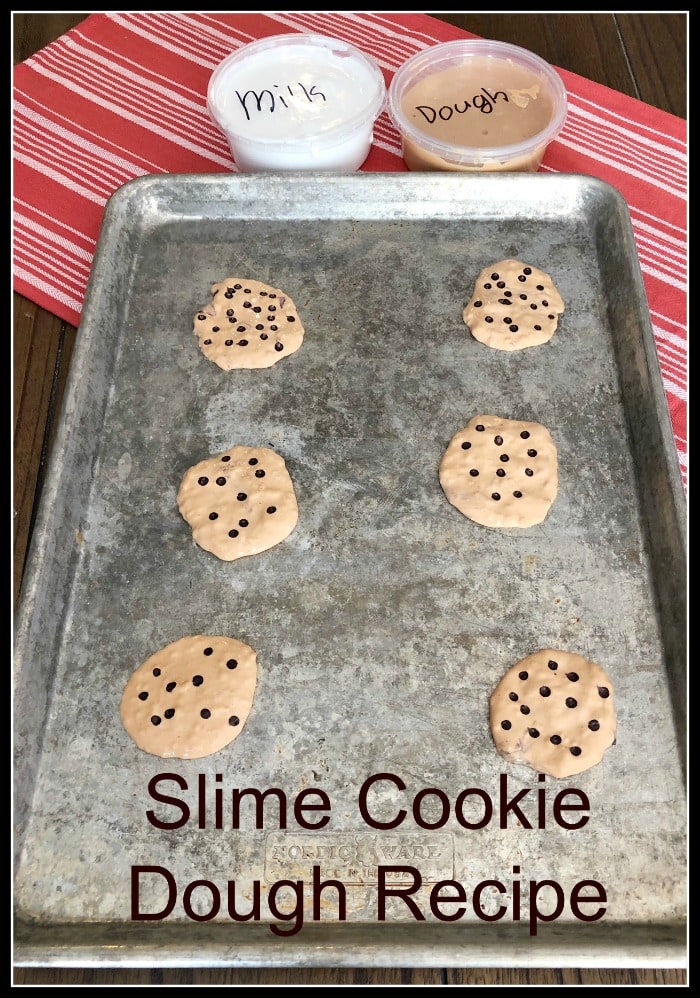
They start by making two batches of slime. One brown batch of butter slime that they call their “dough”, and one regular white batch of slime, that is their “milk”. A little bit of activator can act as “flour”. We will share the recipes for both below.
Once they have a batch of milk slime and dough slime, the next part is to mix them together. If your brave, and your kids are old enough you can let them do this with a kitchen mixer on the very lowest setting. It is not necessary to use the mixer, they can mix by hand, but my kids love to use the mixer.
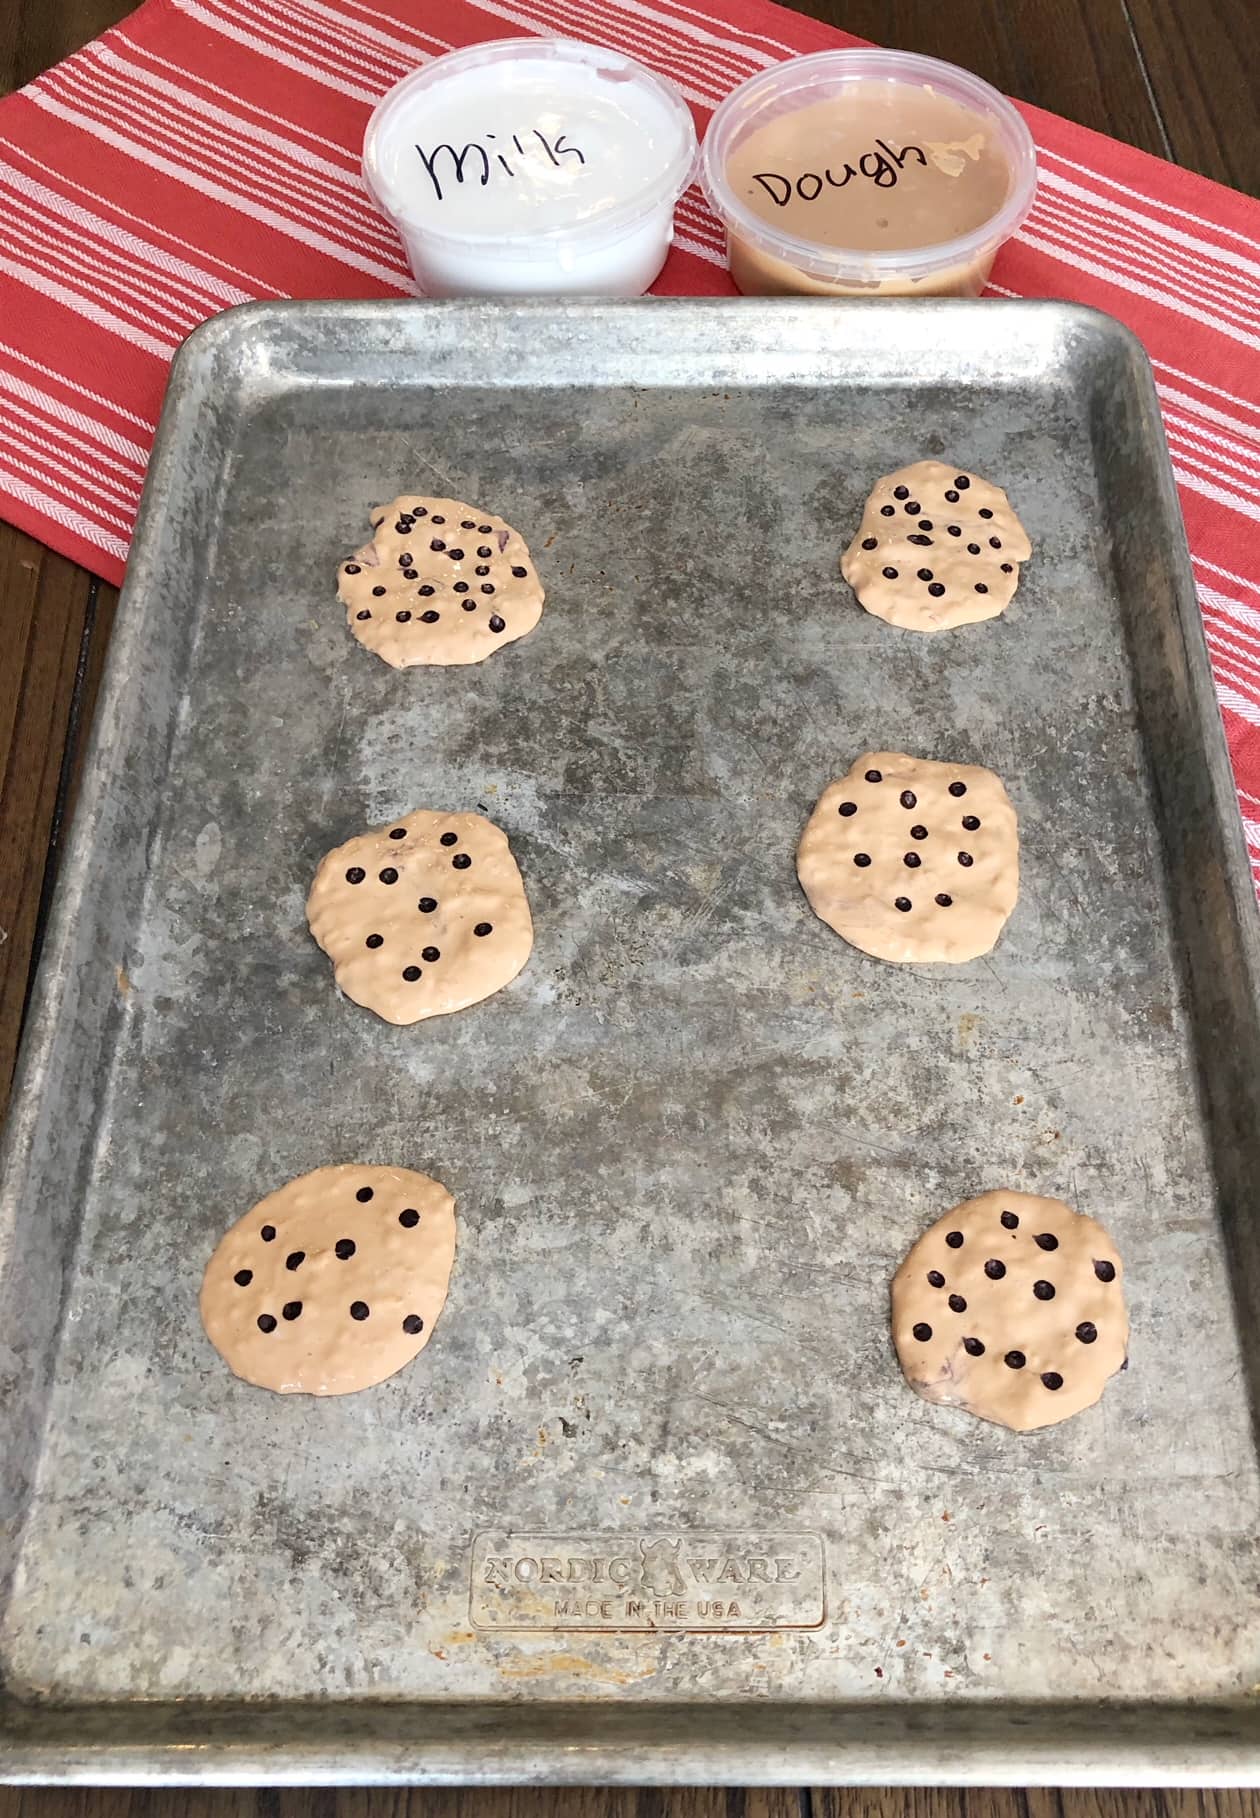
Once their dough is mixed, they can take out cookie size amounts and roll them into a ball and set out on a cookie sheet.
They will then flatten their cookies, and you can add chocolate chips by adding in black slime dots, or mix ins that are black. The simplest way (and what we did here) is to use a black sharpie to add the chocolate chips to the top of the cookie.
You can then let them put their cookies into an over that is NOT turned on (you do NOT bake these, this step is just pretend and for fun for the kids – you can also skip it altogether).
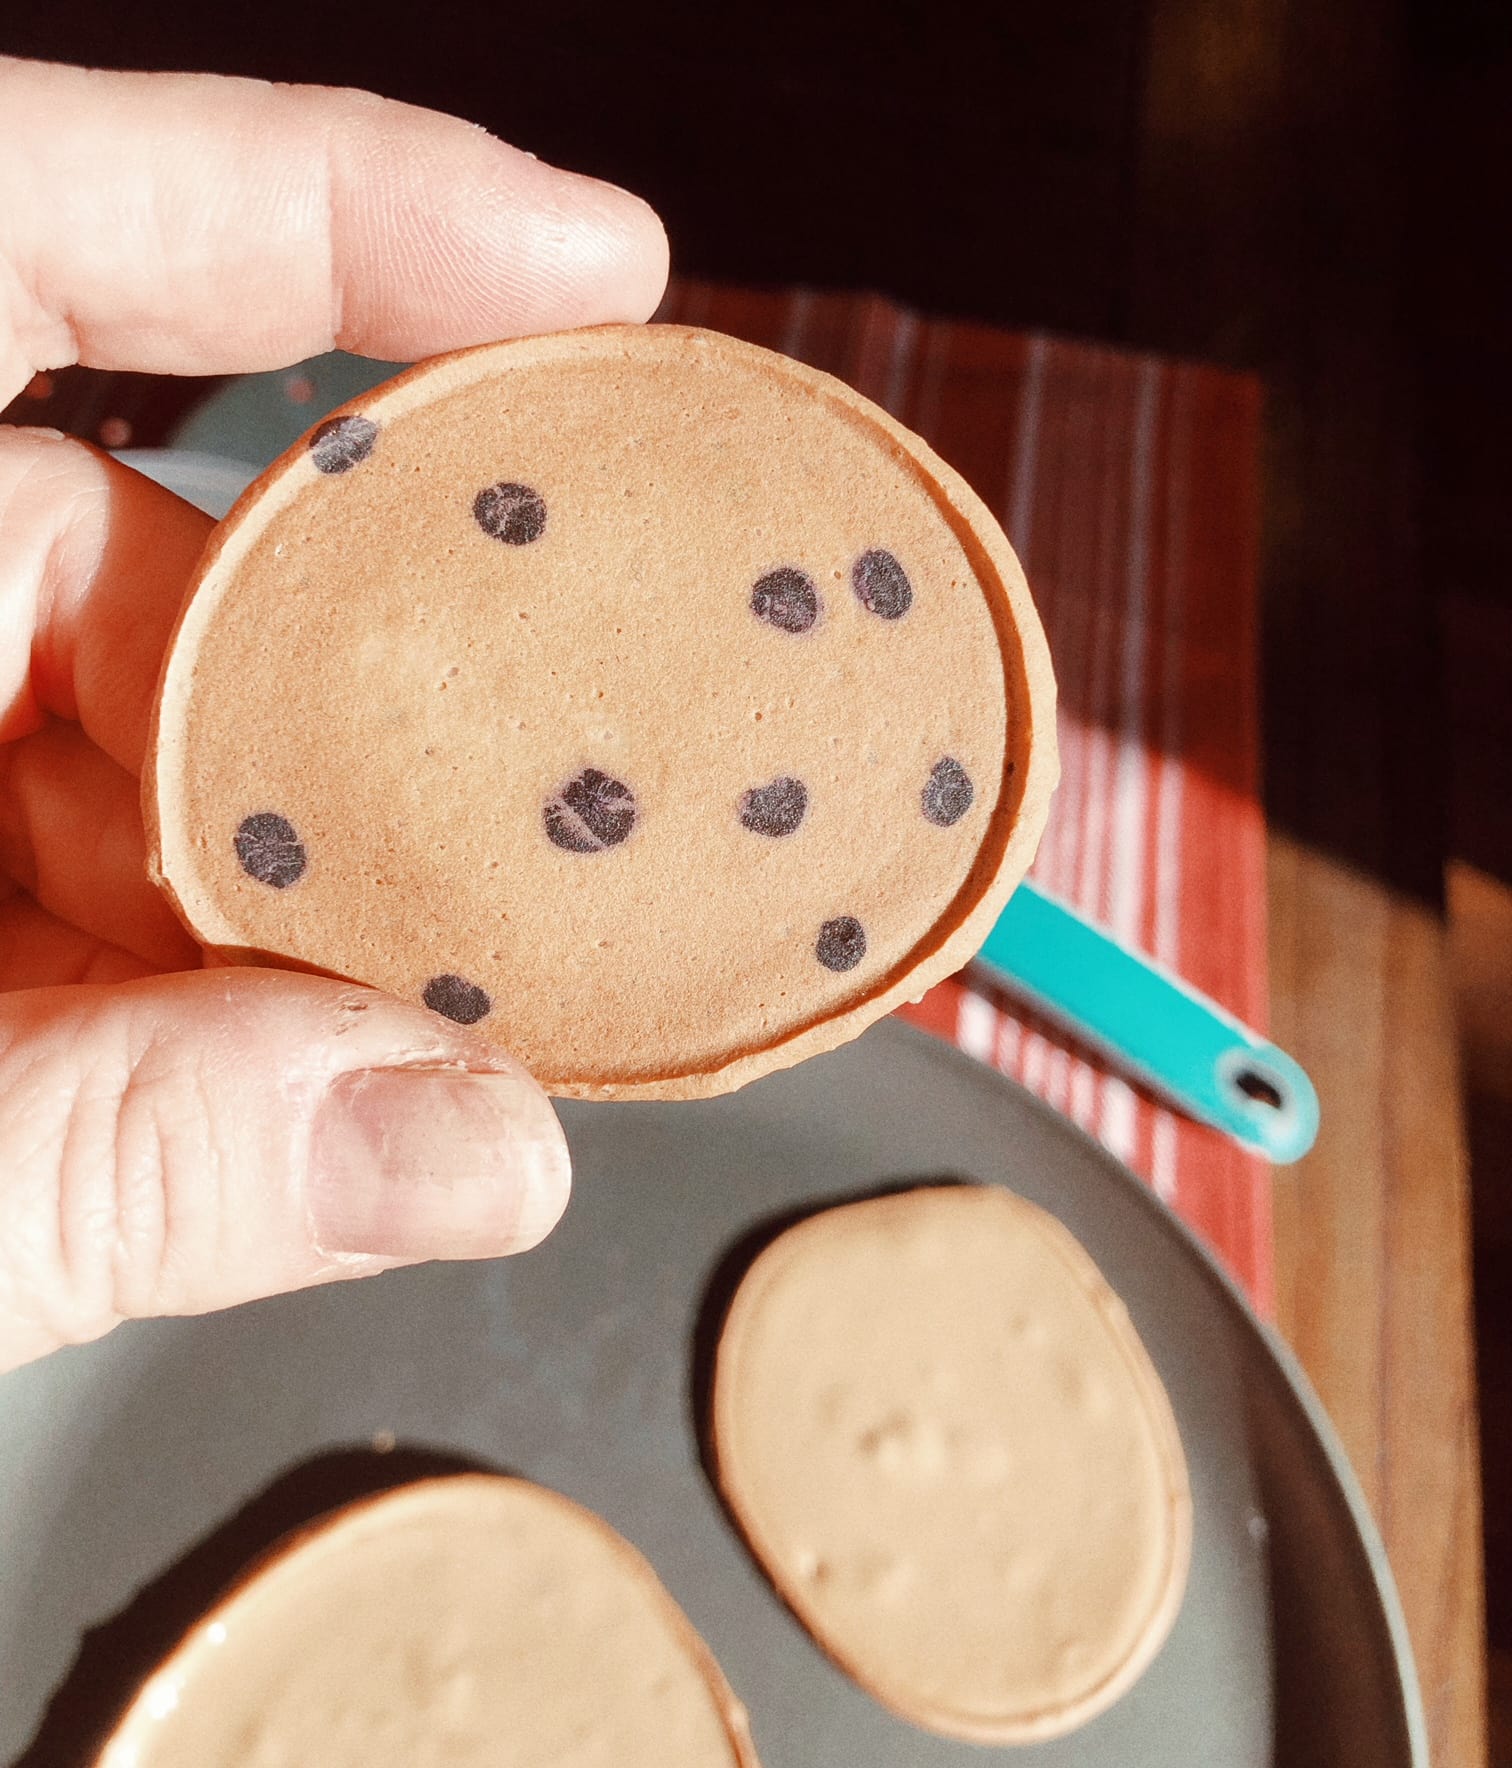
Let the slime cookies then sit out for a couple of days on the baking sheet. My girls love to flip their cookies daily. This step will dry the slime out to a consistency that the kids can play with the fake food after a couple of days.
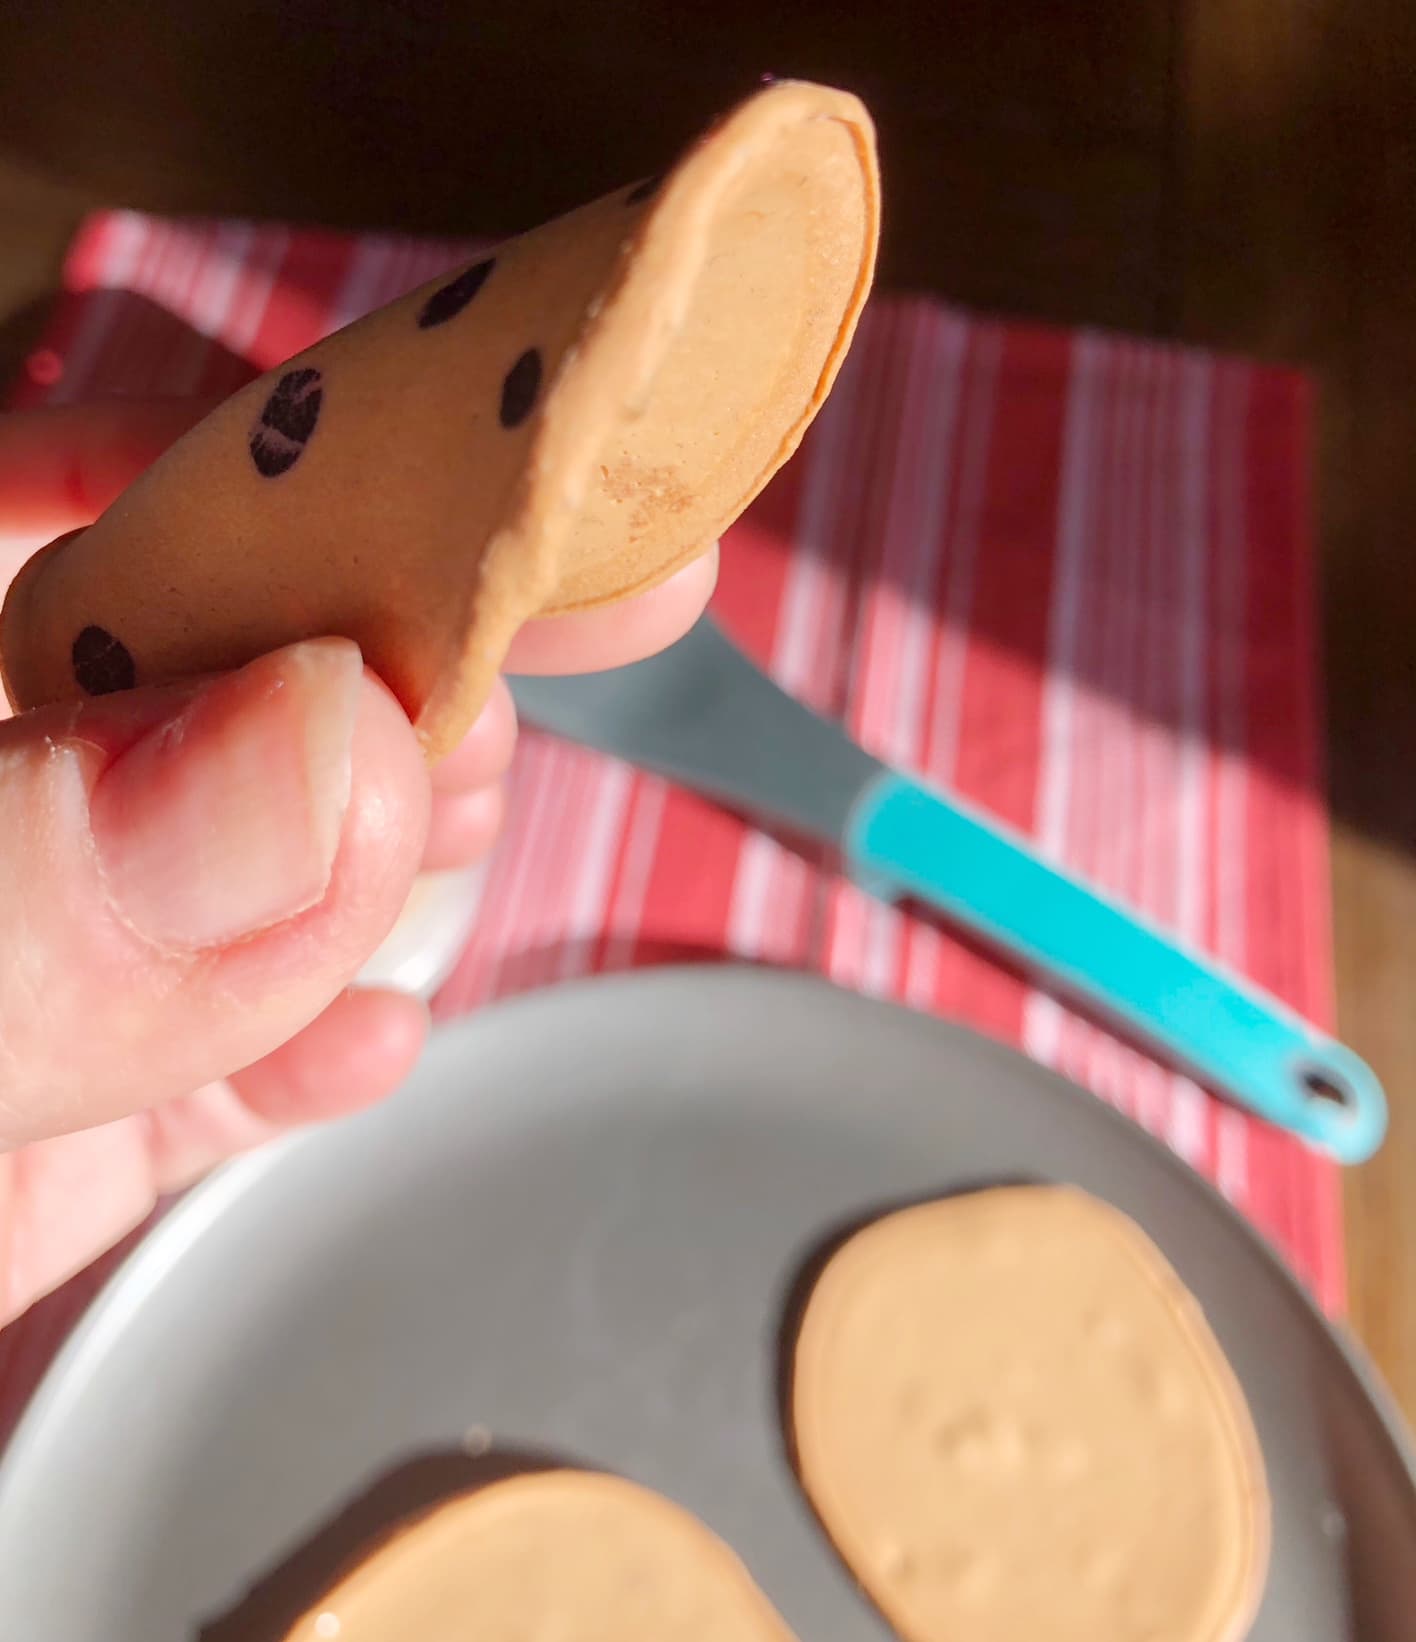
Once they have sat out for a few days you will be able to handle them to play with. They are bendable, and have a texture firm enough that you can pick them up and move them from plate to plate to play with.

Here is a batch of pancakes the kids made with the dough slime. They just poured out their slime to the size of a pancake, and let it dry out for a few days, flipping a few times each day.
It was a fun way to take slime to a new level and they have been whipping up all kinds of different recipes. I love the creativity and pretend play involved too.
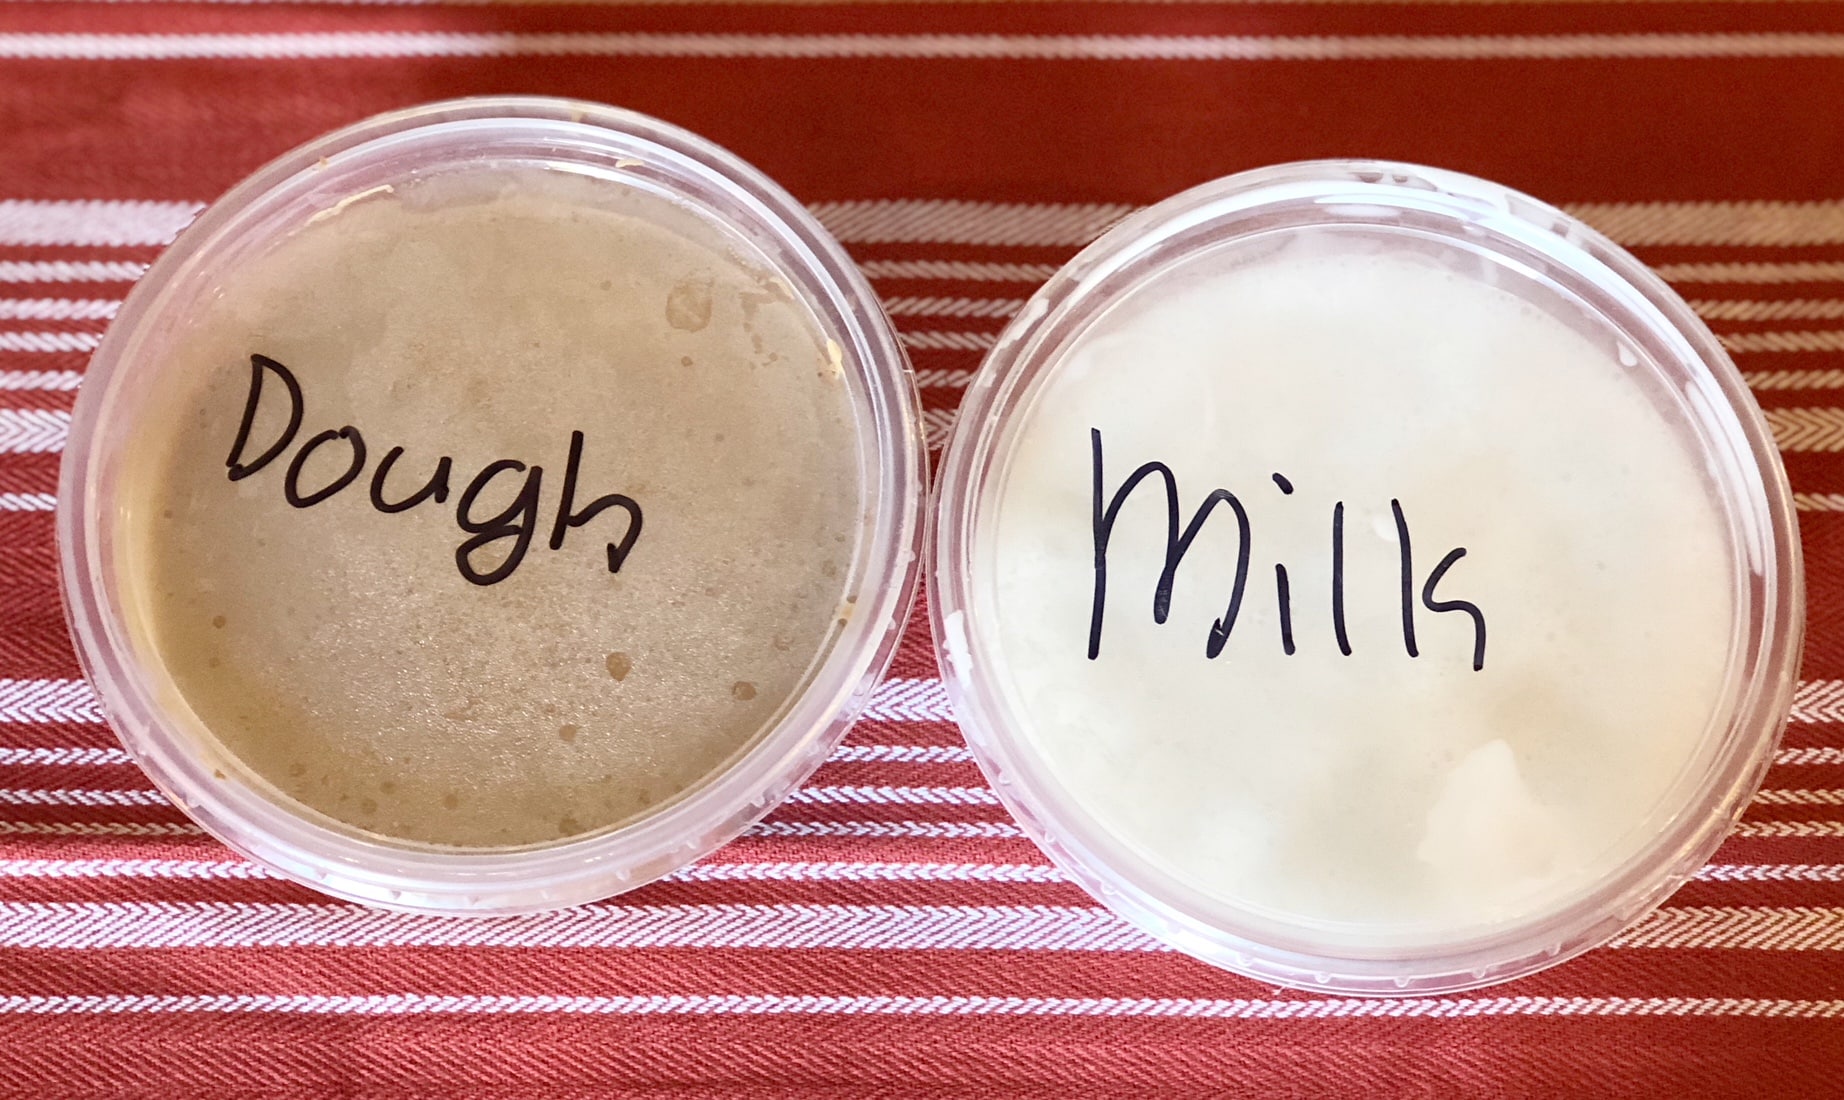
Recipe for the Brown Dough Slime:
For the dough slime, you will make the Butter Slime recipe here with Brown Daiso Clay (find the printable version of the recipe here).
- 1 bottle of Glue (really any glue will work, but Elmers does seem to be the best)
- 1/2 teaspoon of Borax
- 1/2 cup of hot water
- 1 box of brown Daiso Clay
Mix the Borax into the hot water until dissolved (you can also use Stayflo, if you do not want to use Borax).
Empty bottle of glue into a large bowl, and slowly stir in the borax and water solution. Stir until it is the consistency of the slime you want. Then mix in the box of Daiso Clay to make it butter slime.
This slime recipe now becomes your dough slime recipe, for making cookie dough slime.
Recipe for the White Milk Slime:
For the milk slime recipe, you will just use a Regular Slime Recipe with no coloring or mix ins (same recipe as above, minus the Daiso Clay).
Then once you have both the dough recipe and the milk recipe slimes, you mix those two together for the Cookie Dough Slime!
Making the Cookies:
Once you have the slime “cookie dough” ready, make cookie shapes and lay them out on a cookie sheet (roll into small ball and flatten, just like you would regular cookie dough).
Take a sharpie and add dots around the cookie to replicate the look of chocolate chips.
Let the slime sit out for 2 to 3 days to get the dried consistency that you like, so the kids can play with the cookies. Flip the cookies daily to get the air to hit both sides evenly.
Store in an air tight container for play.
More Slime Posts you Might Like:
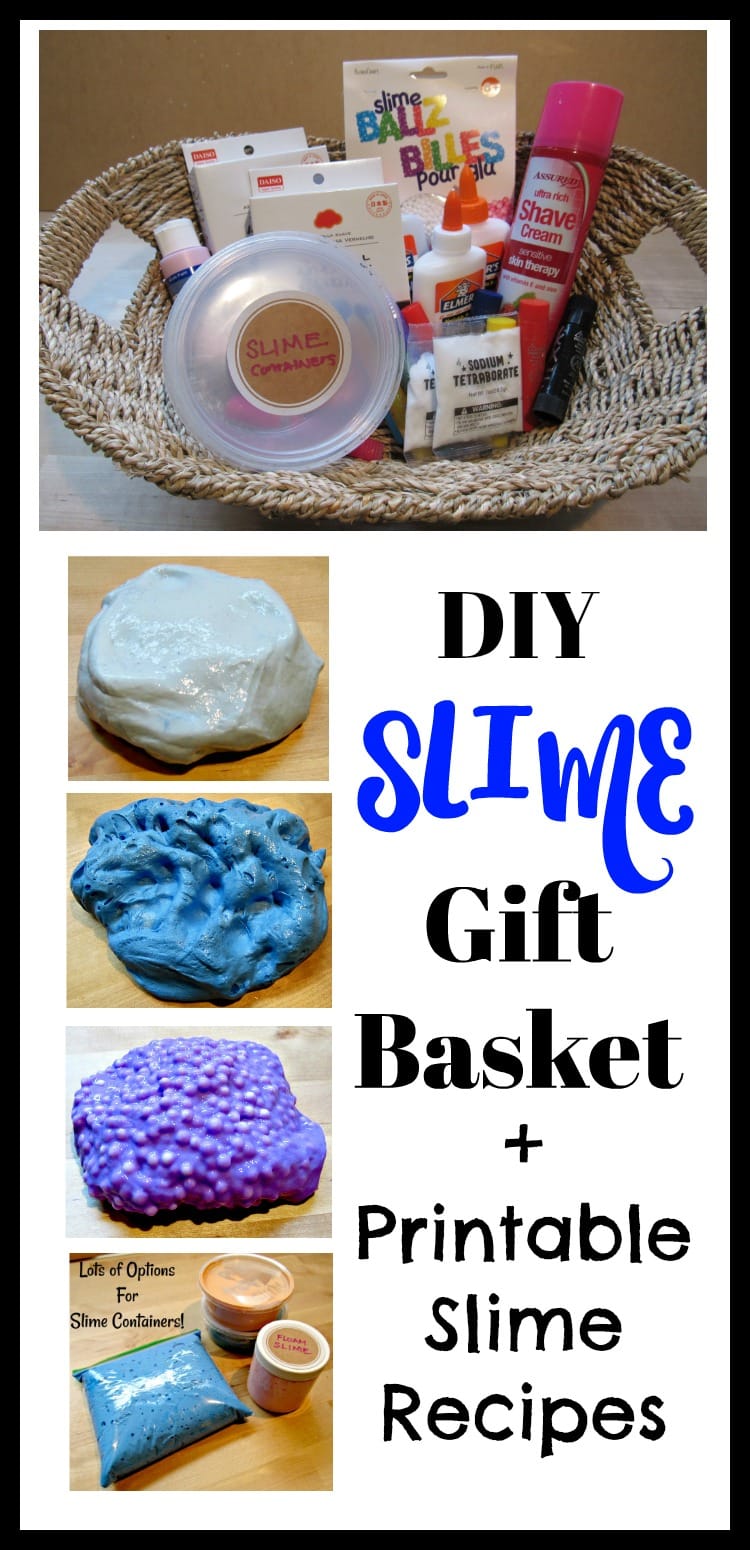
- DIY Slime Kit Gift Baskets – Parents What Your Kids Want You To Know About What They Want For Slime!
- Cloud Slime Recipe
- Glow in the Dark Slime Recipe
- Mermaid Slime Recipe
