
DIY Simple Eucalyptus Wreath with Welcome Sign
This post may contain affiliate links and I may be compensated for this post. Please read our disclosure policy here.
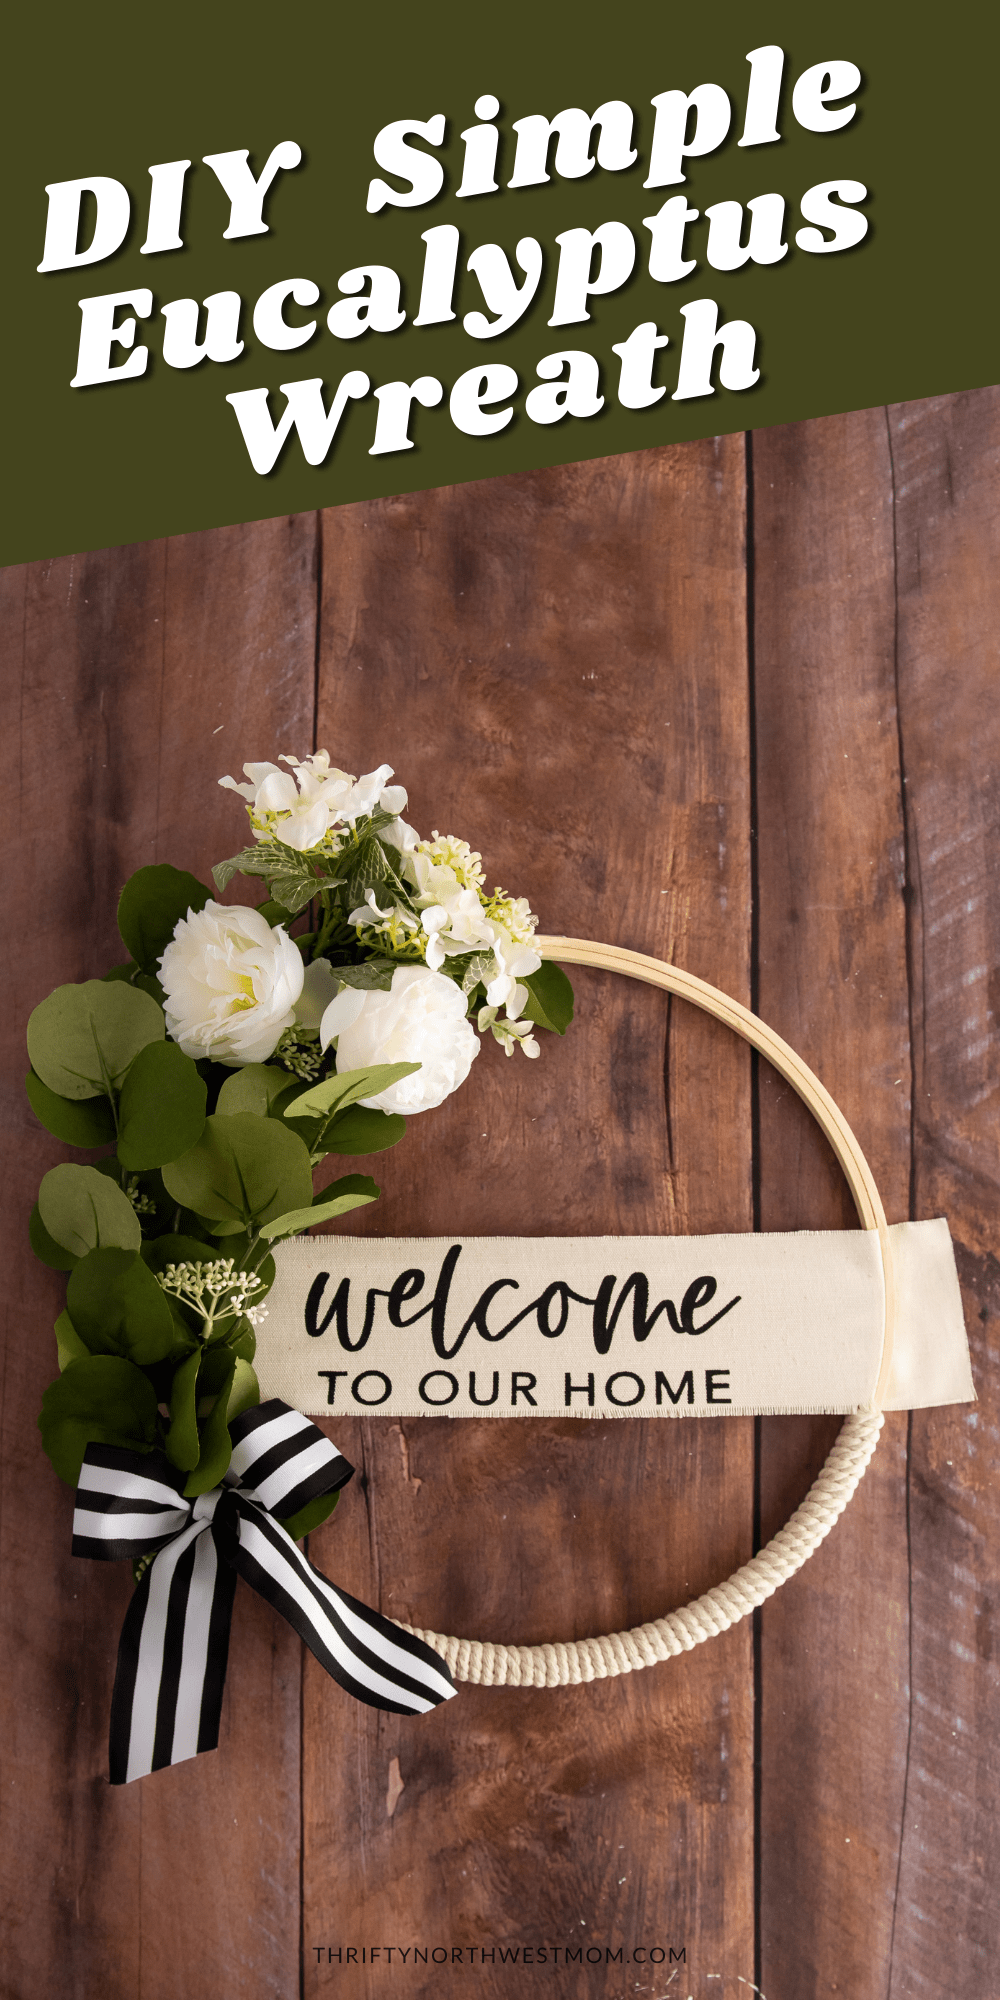
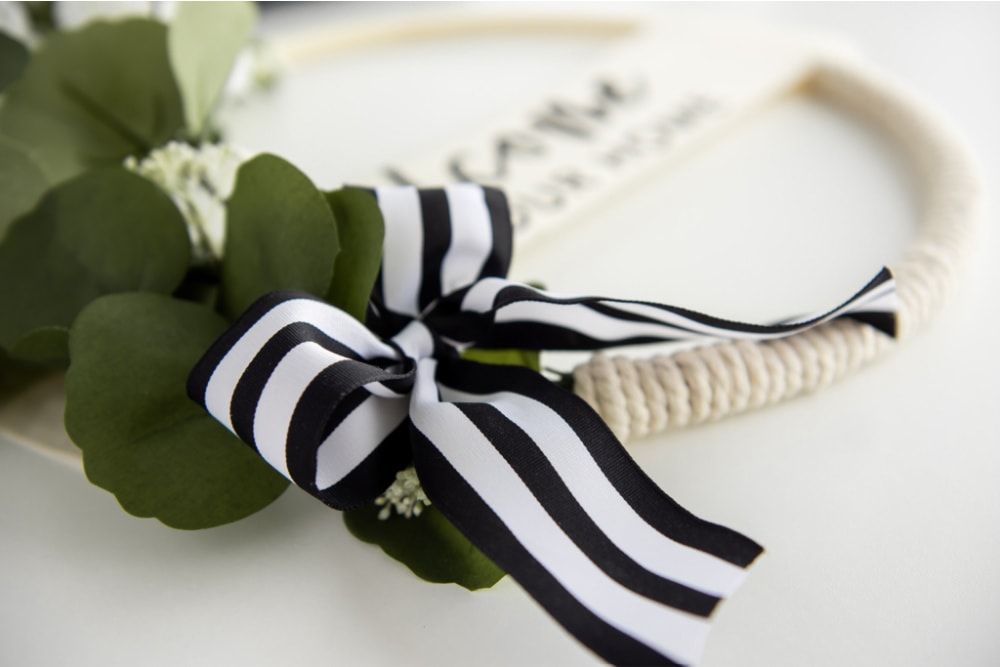
Simple Eucalyptus Wreath with Welcome Sign
I love a fun DIY project with my Cricut and this simple Eucalyptus Wreath is a timeless design that could really work in a variety of styles of homes and during a multitude of seasons – spring, summer or even fall. Or stay up all year because it’s so versatile. This combines the beauty of eucalyptus greenery with adding a personalized touch with the “Welcome to our Home” sign (or you can use any other saying that you’d like, too). Feel free to change it out to your own design/wording if you have a phrase you love. Or use our free SVG design on this wreath or another project for your home!
We used simple greenery & white peonies & small flowers, but if you have a favorite flower or different color scheme you’d like to use, feel free to use whatever flowers will go best with your decor. We liked the simplicity of the green & white along with the black & white ribbon for the most versatility for a variety of home decors, but this can be modified to fit your home & your decor scheme.
This entire DIY wreath can be put together in less than an hour, especially when you use our free SVG design with your Cricut. If you don’t have a Cricut, you could also create your own stencil with Microsoft word or Google Docs. Print out a font that you like on cardstock & then use an exacto knife to cut out your stencil.
If you have been debating getting a cutting machine, we have more information on discounts on the Cricut Maker and the Cricut Explore Air 2 & Cricut Joy machines here.
Eucalyptus Hoop Wreath:

Items Needed:
- • Cricut machine (find the best price on a Cricut machine here)
• Weeding tool
• Scraper tool
• Standard green grip mat
• Transfer tape (or more options here)
• Permanent vinyl (to use as our stencil)
• Duck canvas fabric (less than 1/4 yard)
• Sponge brush
• Scissors
• Black outdoor paint
• Embroidery hoop (14”)
• Floral wire
• Ribbon
• Cotton rope
• Eucalyptus stems - Floral picks (like this peony mix or eucalyptus leaves)
• Hot glue gun
Free SVG Download:

Plus, here is your free SVG download – Welcome to Our Home for you to use with this Eucalyptus Welcome Wreath project. You can save these directly into your program you use (like Design Space or the Silhouette Studio). This SVG can be used for any project too – not just this particular project. Once you save it in your design program, you can have it to use for any other project where it’s a good fit.
Directions:
Step #1: Start by cutting the canvas fabric to the size you prefer (my dimensions are 16 x 3.5” for a 14” embroidery hoop) leaving several inches to stretch on both sides.
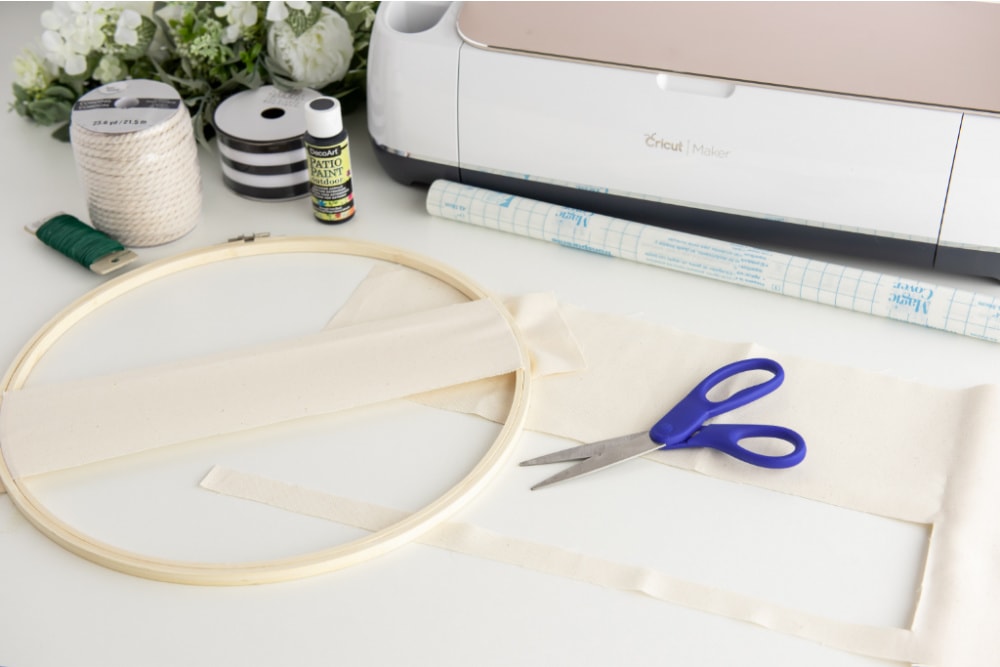
Step #2: Once cut, unclamp the screw at the top of the hoop and feed the fabric through pulling tight on both sides to determine where the stencil will need to be placed. Using a pen, mark off where the fabric will need to reach once it is stenciled and threaded through the hoop later on.
Step #3: In Design space, upload this free SVG download. You may need to adjust the sizing of the SVG, depending on the size of the chosen embroidery hoop and fabric (if you are cutting the fabric to be wider).
{If you don’t have a Cricut, use Microsoft Word or Google Docs to design a saying for your sign. Print it out in a font that you like on cardstock & then use an exacto knife to cut out your stencil.}
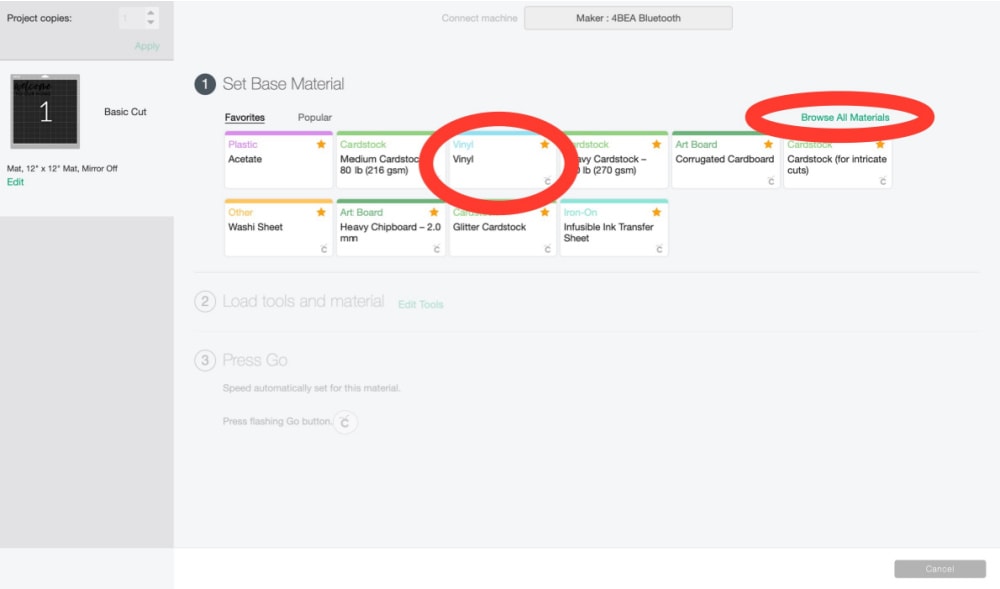
Step #4: Adjust the machines setting or material dial to vinyl.
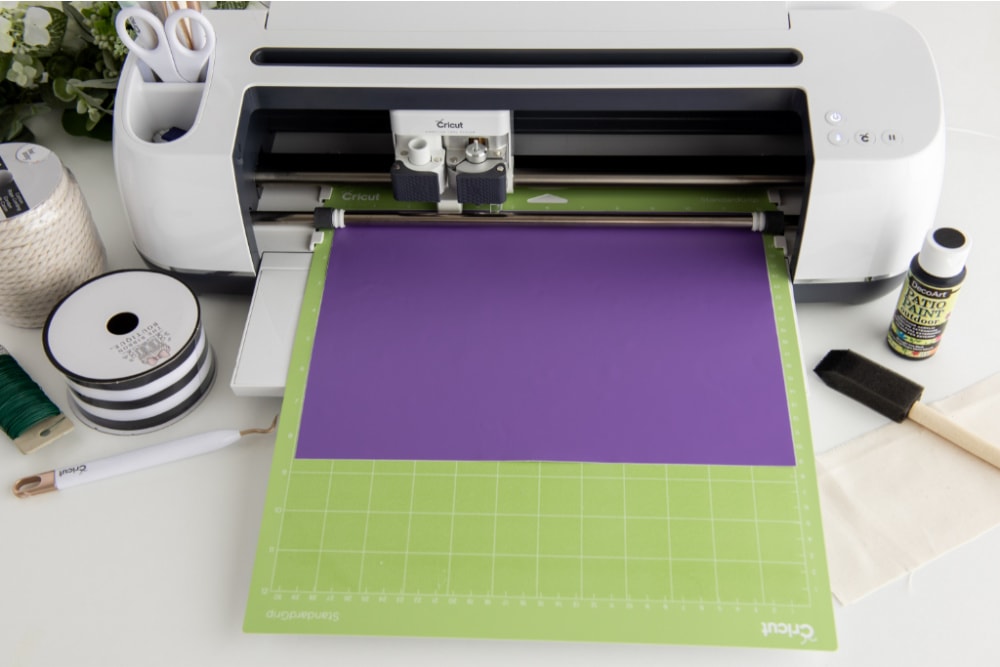
Load the permanent vinyl (you can use scraps) into the cricut machine on the green standard grip mat and hit “go”.
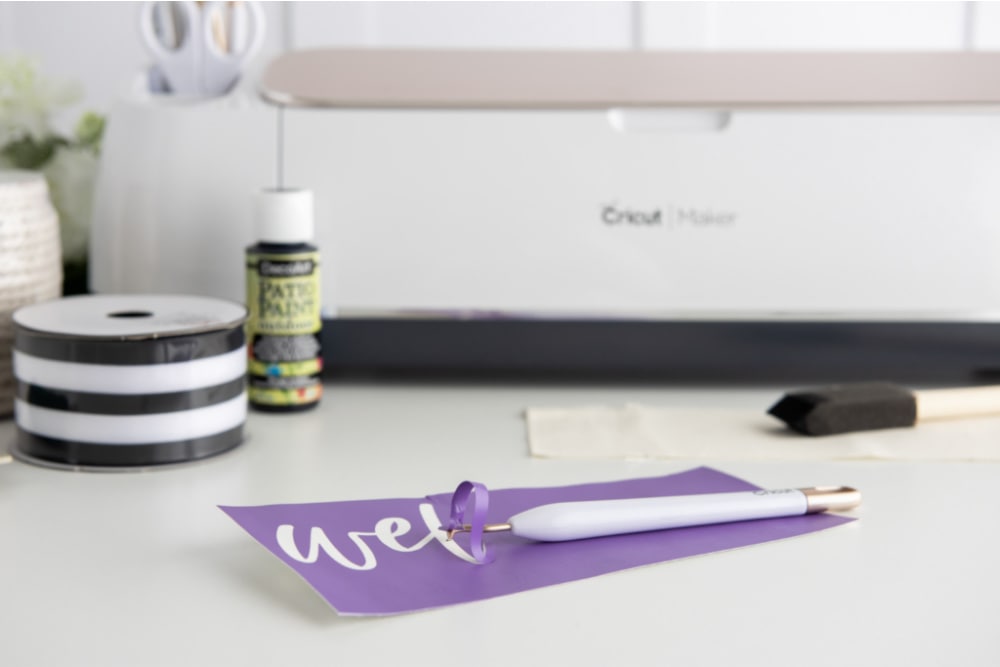
Step #5: When the cut is complete, begin to weed the vinyl off and away from the design using your weeding tool (this tool looks like a dentist pick). Weed the letters out and leave the small parts inside any letter that are enclosed (ex. a,e,o ) as we will be creating a stencil with the vinyl. *We are creating a stencil so the vinyl that is normally left will be weeded out.
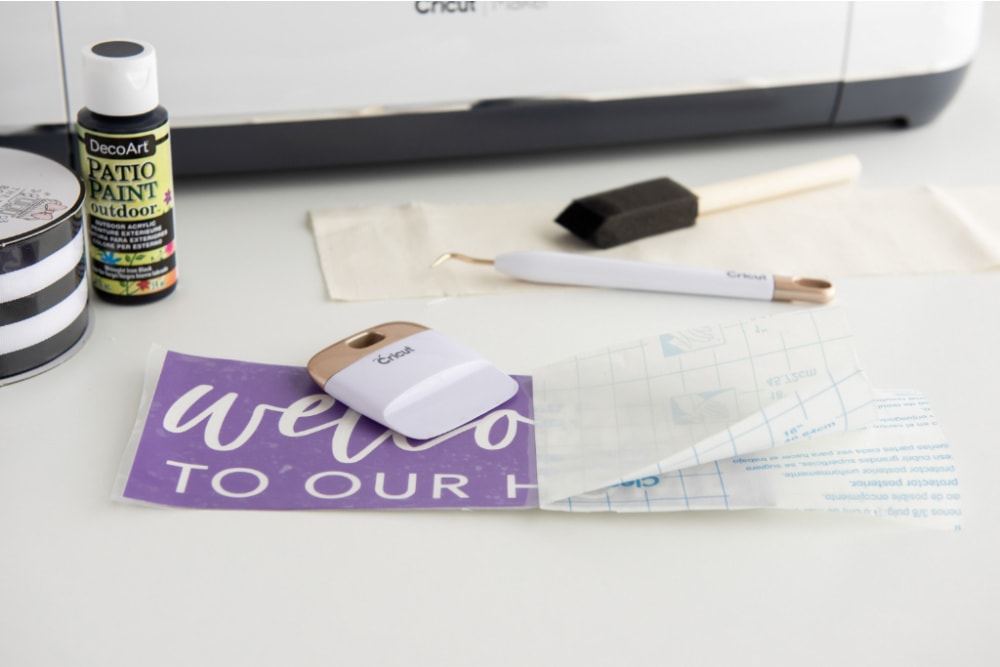
Step #6: After the design is completely weeded, use transfer tape the size of the vinyl and apply the transfer tape using pressure with the scrapper tool. This is done in order to get the vinyl off it’s carrier sheet and onto the fabric.
Step #7: Turn the entire design face down and begin to gently apply pressure and pull the vinyl’s carrier sheet off and away from the transfer tape.
Step #8: Place the vinyl with the transfer tape to the middle of the fabric on the opposite side of the pen markings, using those as a guide to find the middle later once pulled through the hoop. Once you are happy with the location of the design, you’ll apply pressure and smooth over the design using the scraper tool.
Step #9: Once enough pressure had been applied, slowly remove the transfer tape and very carefully apply pressure, while rolling it away and off the fabric. The vinyl stencil will remain on the surface.
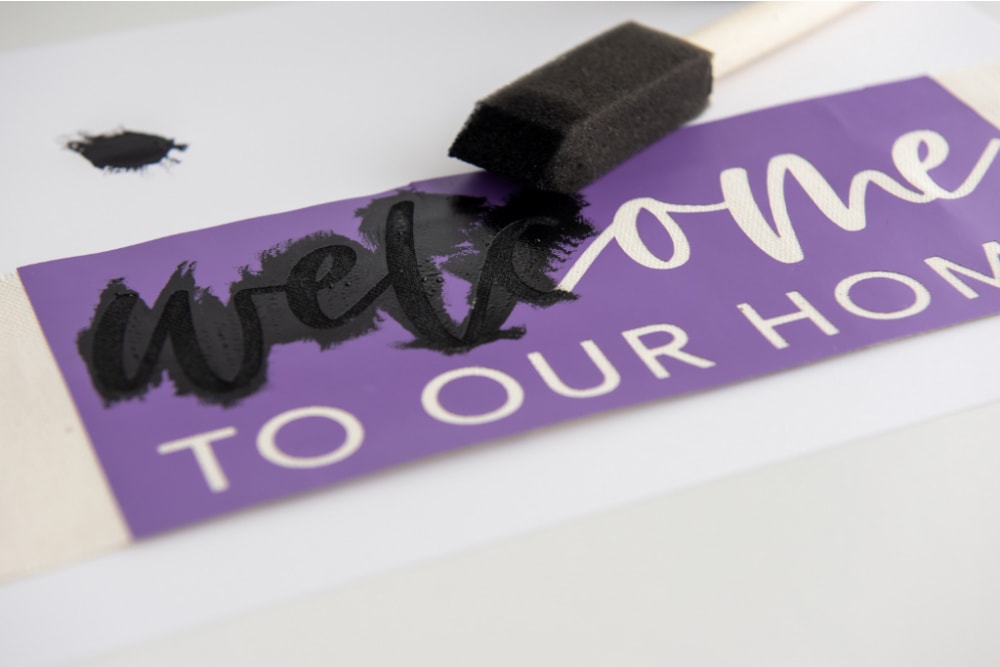
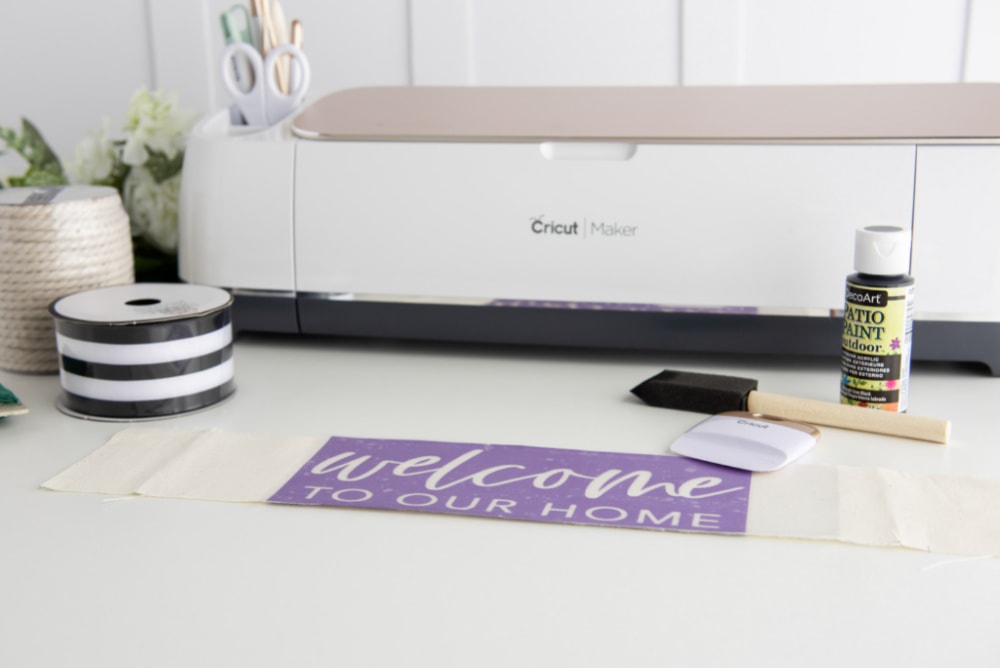
Step #10: Using the black outdoor paint, begin to stipple it onto the fabric using the stencil method. Tapping the paint vs. using strokes is important so it doesn’t disrupt the small pieces left in the middle of the letters. Note: Use a sheet of paper under the fabric while painting to prevent stains from bleeding.
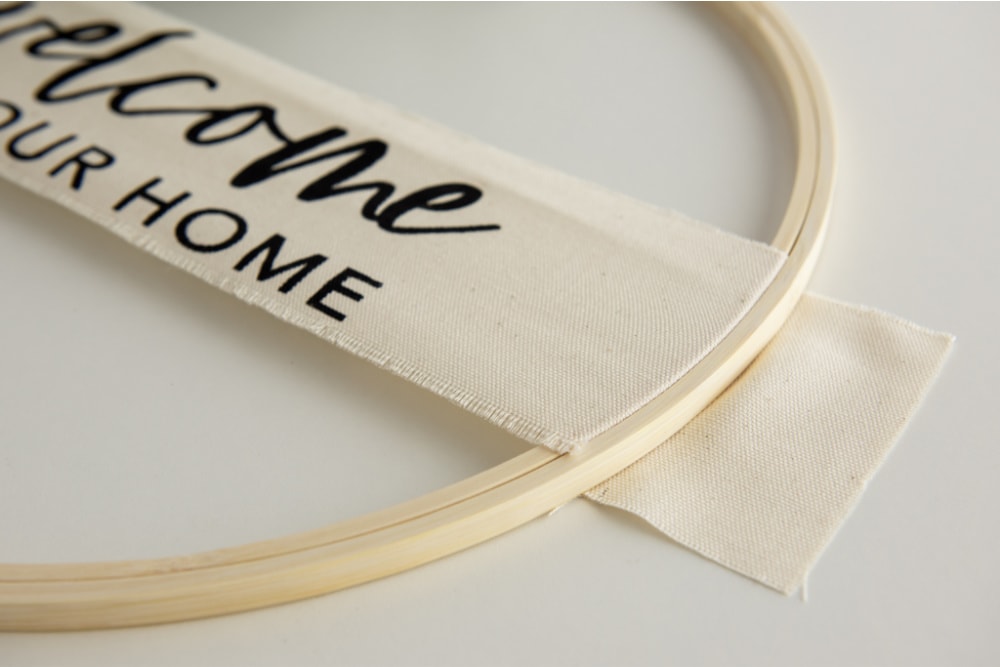
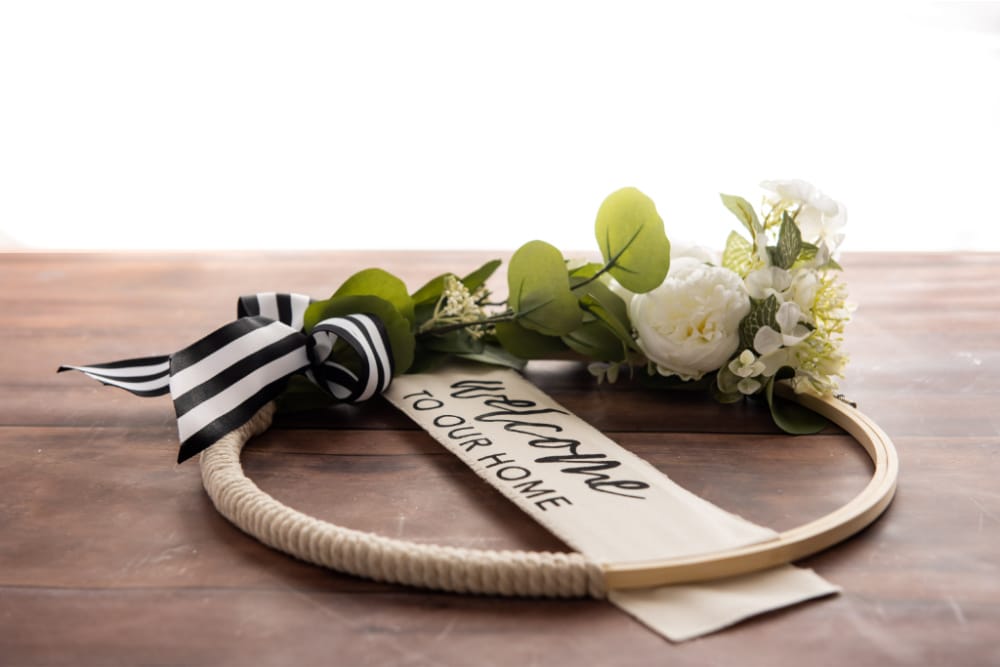
Step #11: Repeat step 2 and thread the stenciled fabric back through the rings of the hoop.
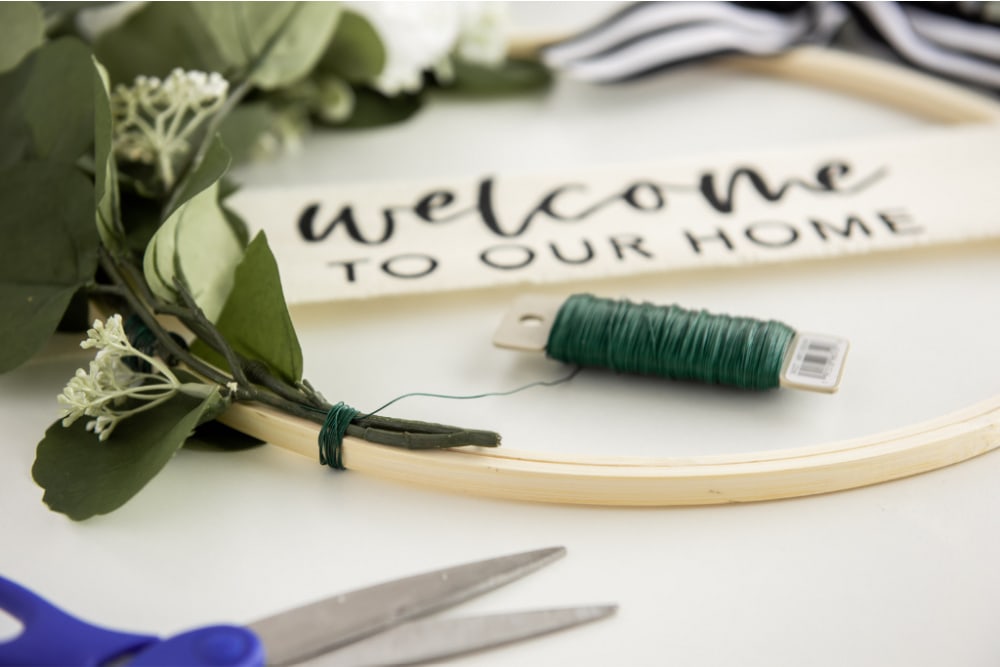
Step #12: Arrange the stems so they are how you like it and using the floral wire, tightly wrap the wire around the hoop to hold the floral stems in place.
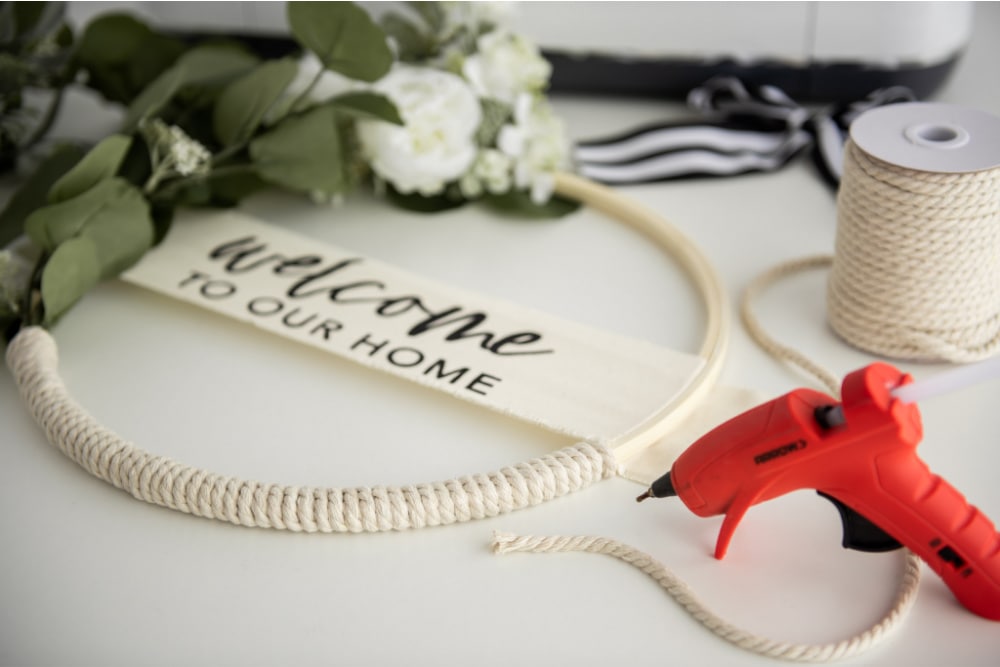
Step #13: Attach cotton rope to the opposite, bottom side of the hoop. Use a hot glue gun and continuously wrap the rope around the hoop (This helps not only hide the floral wire but balance out the weight of the floral).
Step #14: Lastly, add a ribbon and an optional hanging attachment (you could use part of the rope or attach a metal hanger on the back) & attach with hot glue so that it will stay secure
Printable Instructions for the Eucalyptus Wreath:

Here’s a printable version of the Eucalyptus Wreath instructions for you to print off . {This is usually our printable option for recipes, but we thought it would be helpful to have the instructions easy to print for this DIY, so don’t mind the spots where it says ingredients – those are just your items needed}

Eucalyptus Wreath
Description
Make this simple DIY Eucalyptus Wreath for your home using your Cricut or a stencil. It’s a classic piece that can work in any home & during any season.
Ingredients
Cricut machine
• Weeding tool
• Scrapper tool
• Standard green grip mat
• Transfer tape
• Permanent vinyl (to use as our stencil)
• Duck canvas fabric (less than 1/4 yard)
• Sponge brush
• Scissors
• Black outdoor paint
• Embroidery hoop (14”)
• Floral wire
• Ribbon
• Cotton rope
• Eucalyptus stems
• Floral picks
• Hot glue gun
Instructions
Step 1: Begin by cutting the canvas fabric to the size of your liking (my dimensions are
16×3.5” for a 14” embroidery hoop) leaving several inches to stretch on both sides.
Step 2: Once cut, unclamp the screw at the top of the hoop and feed the fabric through
pulling tight on both sides to determine where the stencil will need placed. Use a pen
to mark off where the fabric will need to reach once stenciled and threaded later on.
Step 3: In Design space, upload the provided SVG. Adjust the sizing of the SVG if
needed depending on the size of the chosen embroidery hoop and fabric (if cutting
fabric to be wider).
Step 4: Adjust the machines setting or material dial to vinyl. Load the permanent vinyl
(you can use scraps) into the cricut machine on the green standard grip mat
and hit “go”.
Step 5: When the cut is complete begin to weed the vinyl off and away from the design
using your weeding tool (looks like a dentist pick).
Weed the letters out and leave the small parts inside any letter that are enclosed
(ex. a,e,o ) as we will be creating a stencil with the vinyl.
*We are creating a stencil so the vinyl that is normally left will be weeded out.
Step 6: After the design is completely weeded, use transfer tape the size of the vinyl and
apply the transfer tape using pressure with the scrapper tool. This is done in order to
get the vinyl off it’s carrier sheet and onto the fabric.
Step 7: Turn the entire design face down and begin to gently apply pressure and pull the
vinyl’s carrier sheet off and away from the transfer tape.
Step 8: Place the vinyl with the transfer tape to the middle the fabric on the opposite
side of the pen markings, using those as a guide to find the middle later once pulled
through the hoop. Once 100% happy with the location of the design, apply pressure
and smooth over the design using the scrapper tool.
Step 9: Once enough pressure had been applied slowly remove the transfer tape and
very carefully apply pressure rolling it away and off the fabric. The vinyl stencil will
remain on the surface.
Step 10: Using the black outdoor paint and begin to stipple it onto the fabric using the
stencil method. Tapping the paint vs. using strokes is important so it doesn’t disrupt
the small pieces left in the middle of the letters.
NOTES:
*Use a sheet of paper under the fabric while painting to prevent stains from bleeding.
Step 11: Repeat step 2, threading the stenciled fabric back through the rings of the hoop.
Step 12: Arrange the stems and picks to your liking and using the floral wire tightly wrap
around the hoop to hold the floral in place.
Step 13: Attach cotton rope to the opposite, bottom side of the hoop using a hot glue
gun continuously wrapping the rope around the hoop (This helps not only hide the floral
wire but balance out the weight of the floral).
Step 14: Lastly, add a ribbon and optional hanging attachment.
More DIY Projects to Try:
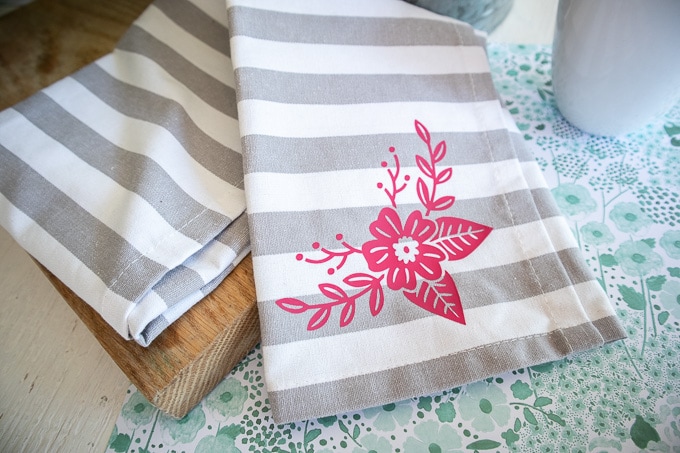
Floral Tea Towels made with Cricut & Iron On Vinyl
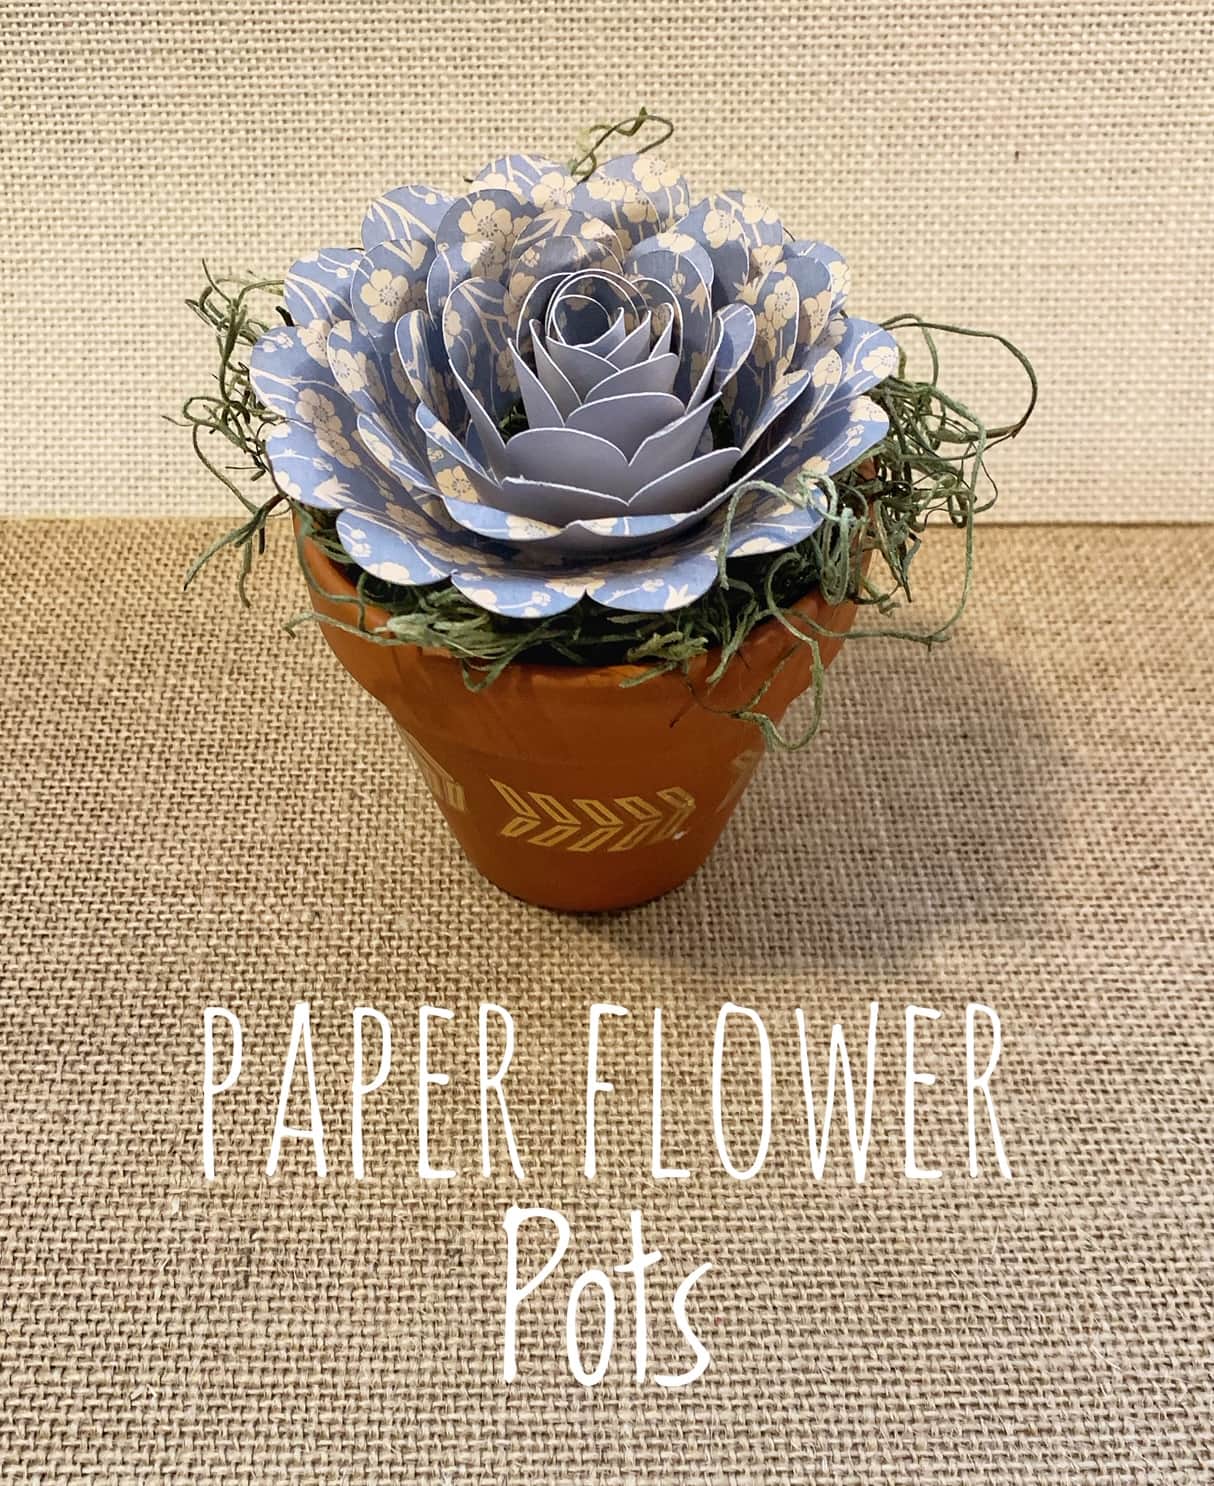
Mini Spring Flower Pots with Paper Flowers made by Cricut

