DIY Rustic Shelf Made From Reclaimed Railing
This post may contain affiliate links and I may be compensated for this post. Please read our disclosure policy here.
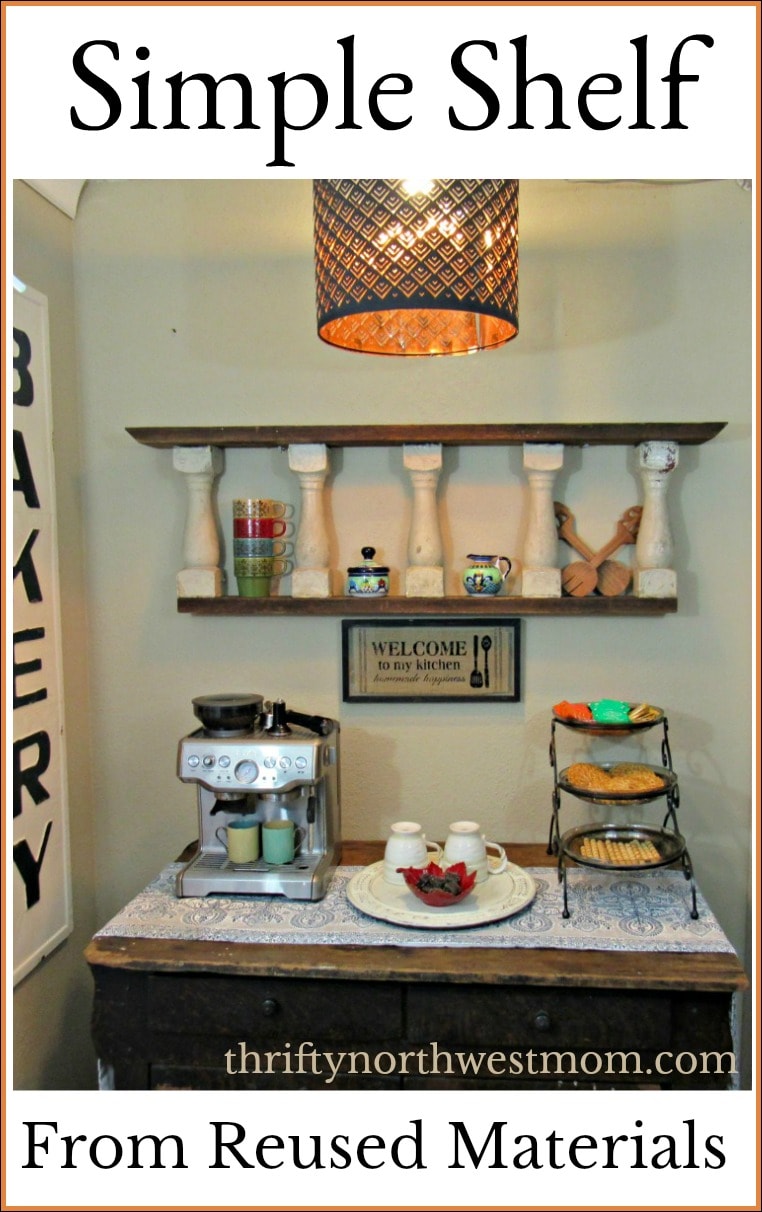
DIY Shelves, made from old railing parts
If you like the shabby chic look, or rustic design, we have a really simple wall shelf we made by recycling used materials. For us, this was free (we collected the materials), but it could be made at a low cost if you shop around for the right materials. This is a one of a kind, but we hope it inspires you to think out of the box in terms of remaking used items. We used old railing pieces from a demolition project in Seattle. My husband knows how I like anything that has some history behind it. One of my favorite things to do is to combine old things with new things. So when he saw these old historic railing pieces that were part of the demo of an old building in Seattle, he was sure I would love them, and brought them home. He was right, I loved them instantly. However, it took me over a year to figure out what to do with them. They sat on my dresser for ever, just so I could look at them, but they had no other purpose. I finally got tired of them taking up space, and decided to turn them into something useful, that I could continue to look at regularly.
If you find old pieces like we did, you will want to make sure you are using them someplace that young kids won’t get at them. I am guessing this old paint my have some lead in it, so its not great to use someplace that the paint could be chipped off. You could do something similar with old candle sticks though too, or hunt down your own railing pieces.
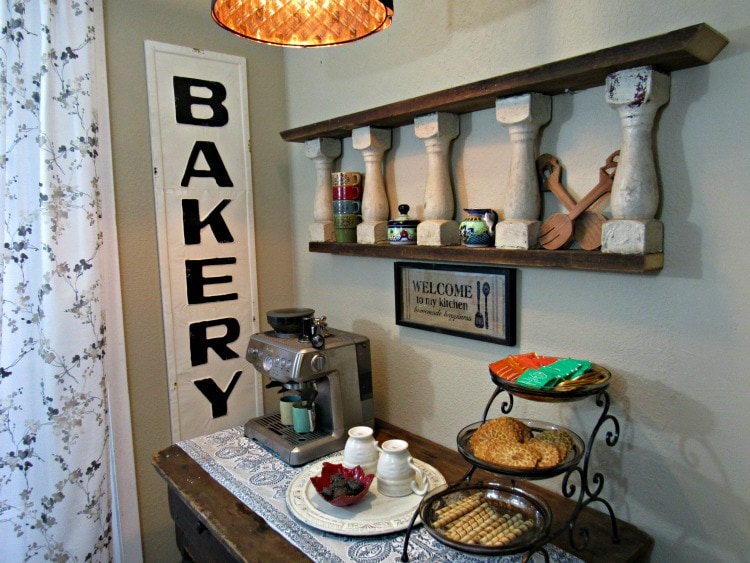
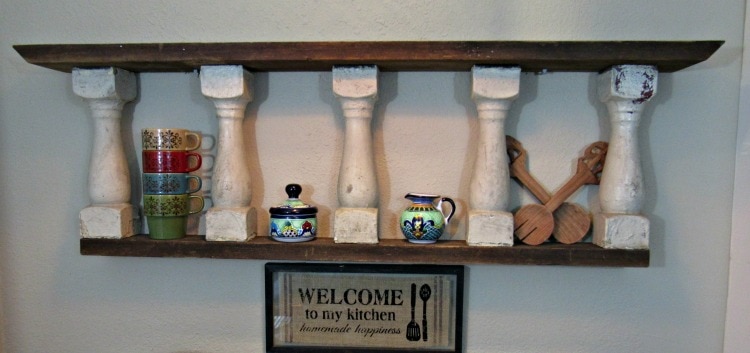
We made this Rustic Shelf for our coffee bar, by simply using reclaimed wood and some old rustic railing pieces that we took from a house that was being demolished. We made ours to go in our coffee bar nook. We were gifted this old bakers table that I instantly fell in love with, but if you are looking at thrifty ways to put together your own coffee bar we show you how we transformed a cheap dresser off of Offer Up, into a beautiful coffee bar here.
Other places that it would be great to use a shelf like this include:
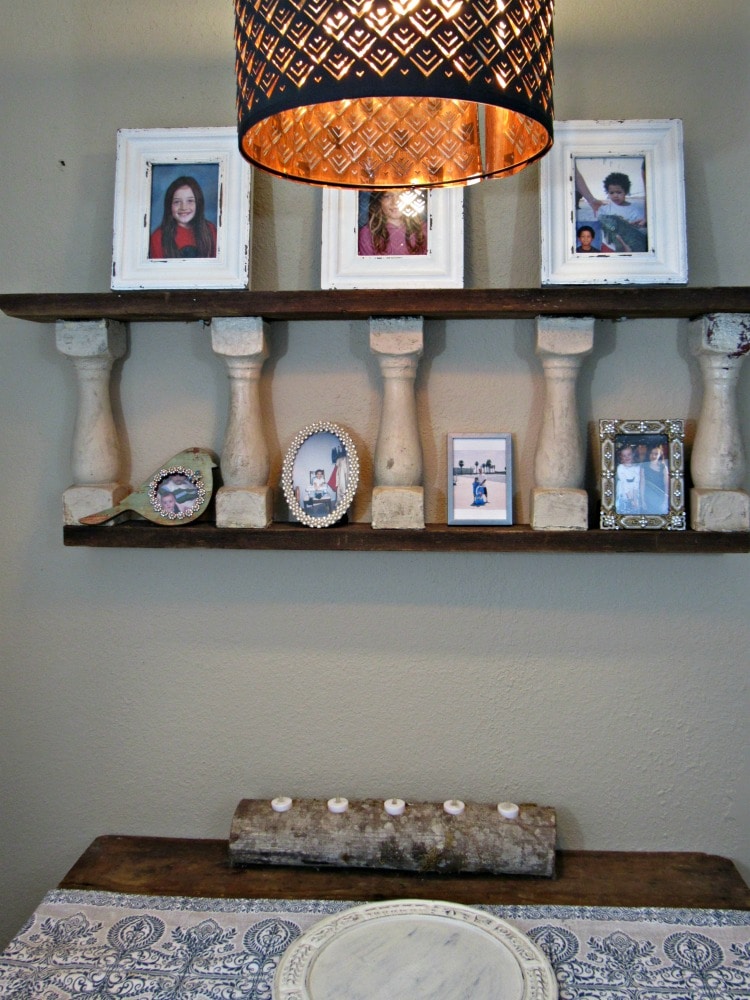
Over a fireplace as a mantle – I put a candle lit log underneath to give you the idea, but it really does not give you a great idea. It looks much nicer over a real mantle!
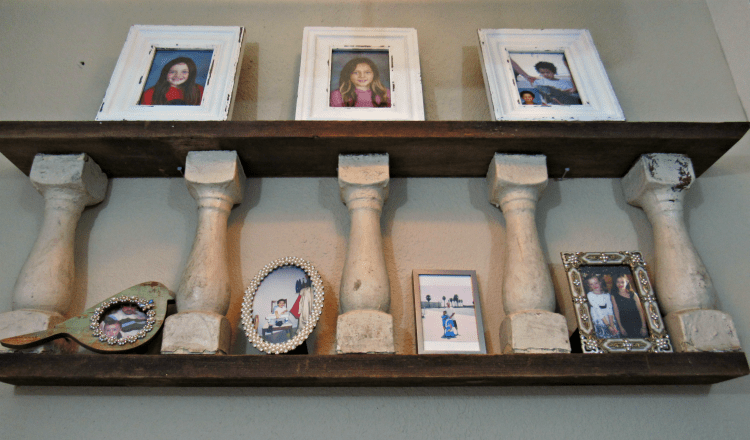
Any place you need some place to put pictures – Simply space them far enough apart when you are making the shelf to fit your desired picture frame size. We did it for 4×6 frames, but I was wishing I would have done it for the 5×7 frames. I think that may have looked even better.
What you will need to make the shelf:
- Interesting architectural piece that you can get more then one of (we have some tips on this below)
- Rustic wood (we used a reclaimed piece we had on hand. You could stain a 2×4 for a similar look too.
- Wood Glue
- A saw (If the wood is not already cut to the length you need. You could have it cut to size at a home improvement store if you buy something there)
- Nails and hammer (or nail gun)
- Tape measure
- Pencil
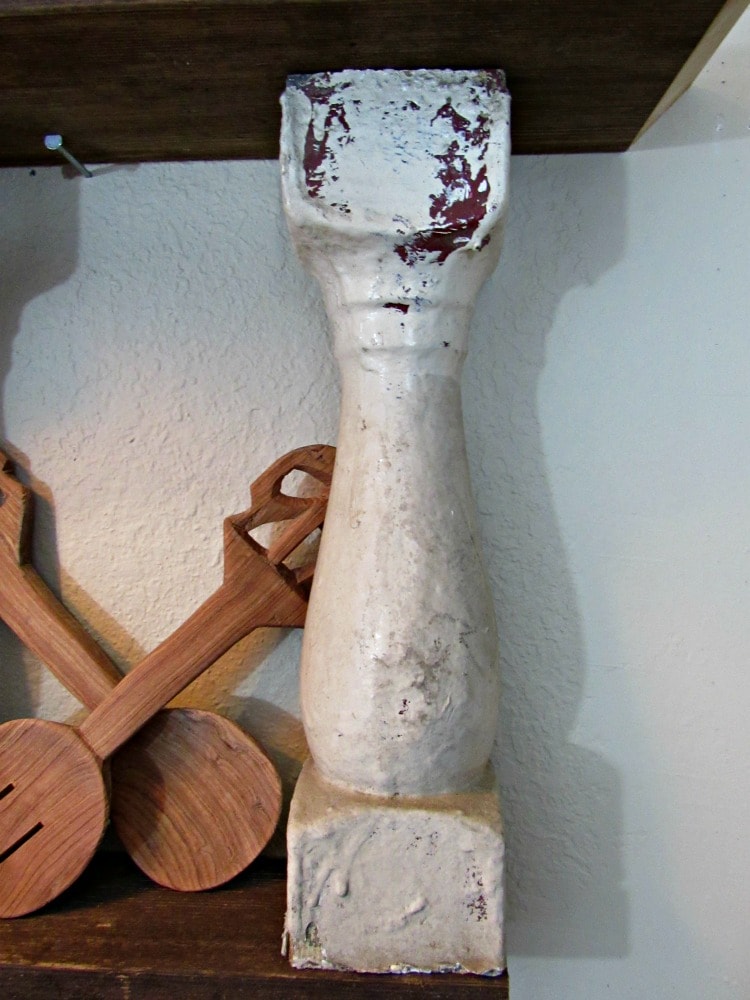
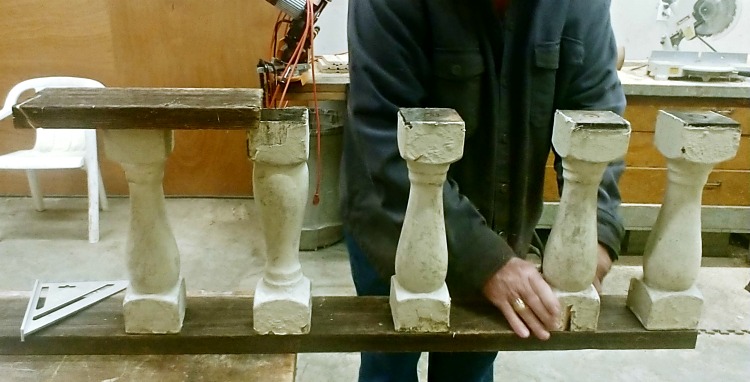
The first thing you will need to make a shelf like this is an interesting architectural piece that you can get more than one. We used these old railing pieces. I had 5 of them, but you could use less for a smaller shelf, or more for a larger one.
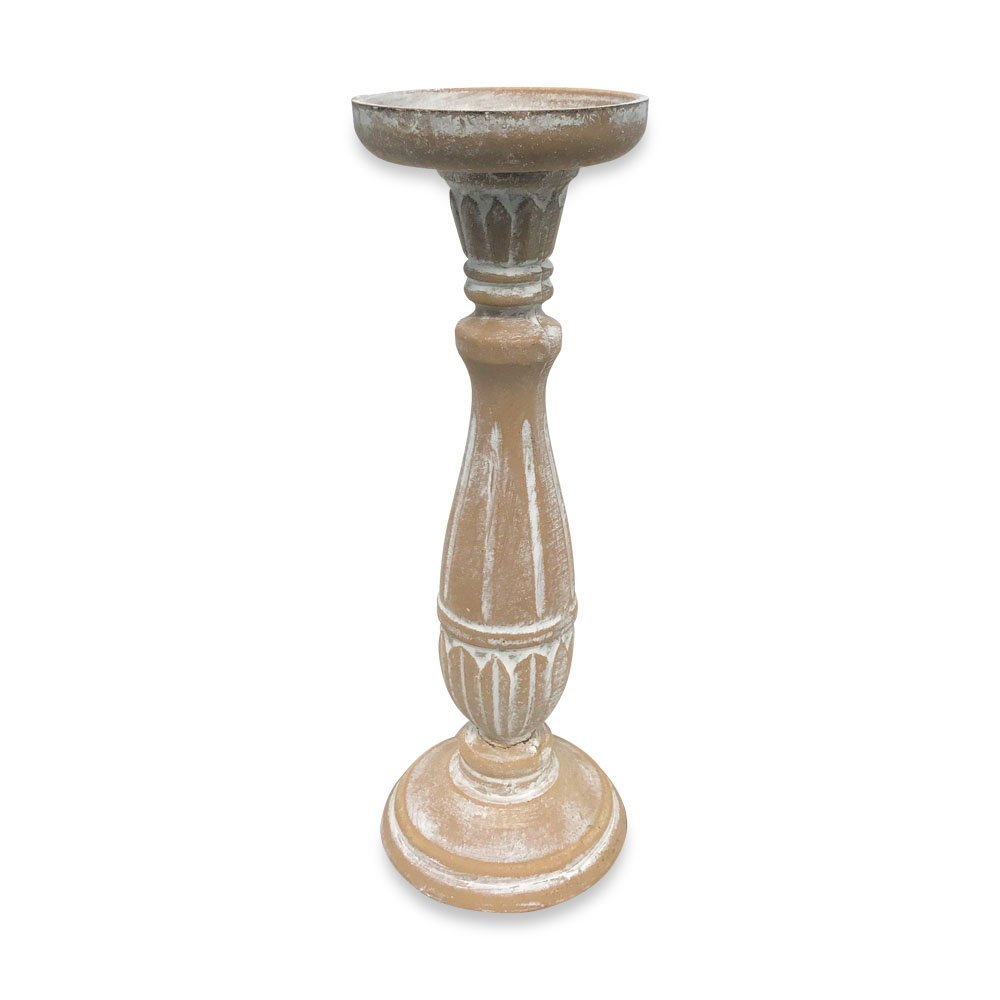
You could also keep your eyes peeled for candle pillars similar to this at a thrift store or look for corbels in the molding and mill work sections of home improvement stores.
Other places to look for old railing or corbel or various architectural pieces to make your own shelf:
- Thrift stores
- Garage sales
- Offer Up or Craigslist type sites
- Free neighborhood groups on Facebook
- Reuse stores – Here in the Northwest a couple of ideas are:
To Make Your Shelf:
Lay out the rustic wood you will use to create the top and bottom of your shelf. Line your architectural pieces at the width apart from each other you want for your shelf. As we mentioned above, we spaced ours far enough apart for a 4×6 frame, but it might be even better at a width that would accommodate a 5×7. We used ours above our coffee bar and store some of our coffee supplies on it, so the spacing was not as critical.
Once you have your shelf set up with the spacing how you like it, mark where you placed each piece on the bottom shelf. Add wood glue, and attach with a heavy nail or screw. Once those are all attached, add the top shelf in the same way.
When our shelf was completed it was heavy, so be sure to attach to studs in the wall when hanging if yours is too.
More articles you might like:
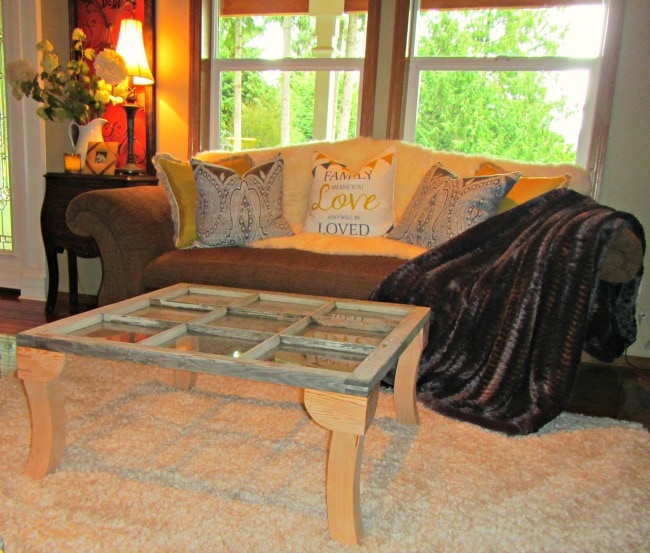
DIY Coffee Table Idea – Re-purposing an Old Window Into a Table!
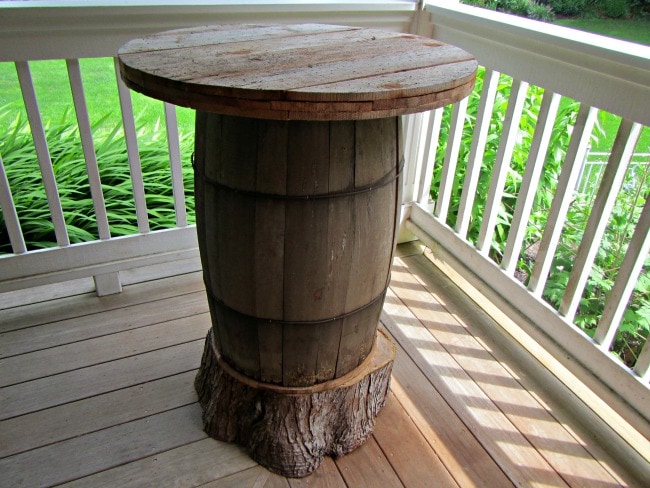
DIY Bar Table Made From A Barrel