DIY Wood Slice Ornaments + Free Cricut Ornament SVG
This post may contain affiliate links and I may be compensated for this post. Please read our disclosure policy here.
DIY Wood Slice Ornaments + Free Cricut Ornament SVG
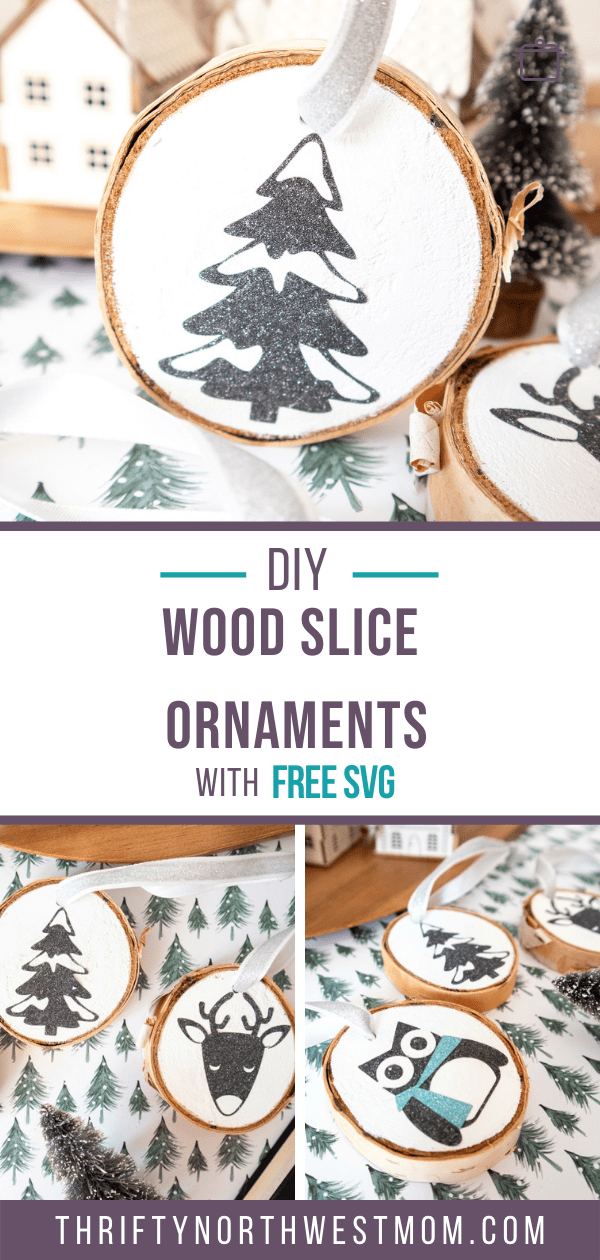
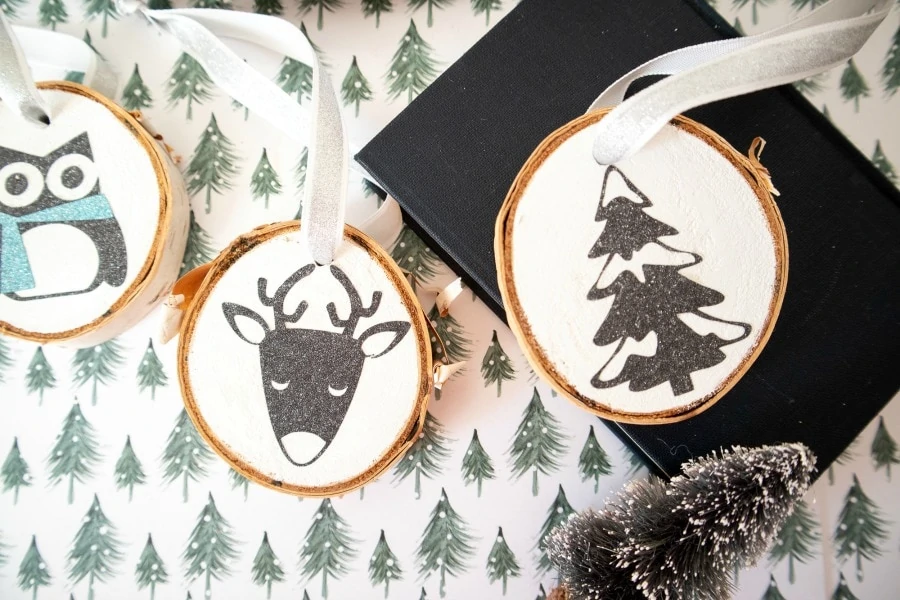
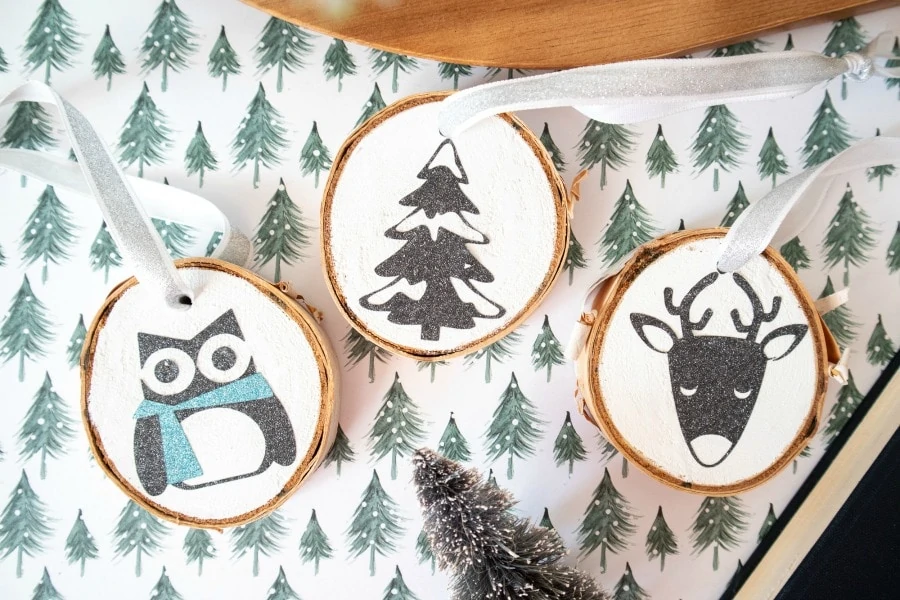
If you’re looking for a simple, affordable & cute ornament to make for your Christmas tree or to gift to family & friends, these DIY wood slice ornaments are the perfect to make your own designs for, or also make an easy Cricut project. We first made these Painted wood slice Christmas ornaments last Christmas season. We started with just adding vinyl to the wood slice directly, which also turned out really well for a rustic look. Or you can add the white paint first to make the vinyl cut out really stand out more, like we did with these ornaments. It gives them a nice polished look.
You could choose any design to put on these wood slice ornaments if you want to make them personalized to give as a gift. We love to make them unique & different for friends & family. But we also have included 3 Christmas designs if you’d like to make these Christmas themed. These designs are the SVG file that you can upload directly to Design Space for your Cricut or you can also use these with a Silhouette machine.
Materials Needed for DIY Wood Slice Christmas Ornaments:
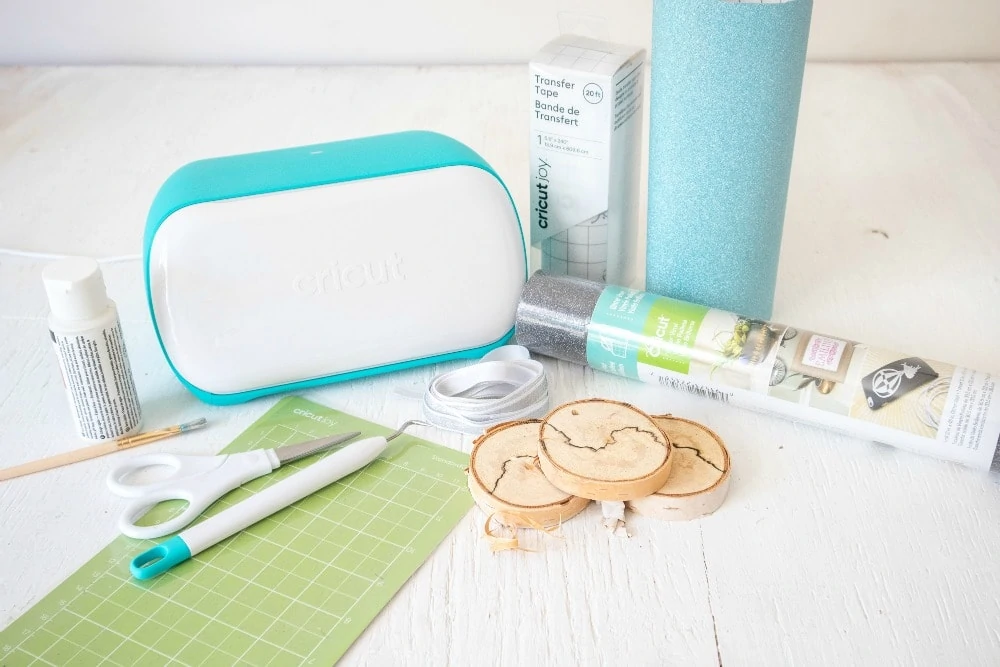
Here are the supplies you will want to gather to make your wood ornaments.
- Set of 3 birch wood slices, 2.25” diameter x ⅜” thick (we bought ours, but you could also make your own with a piece of wood)
- Crafter’s Acrylic paint in white (found in any craft store)
- Paintbrush
- Cricut Machine or Silhouette Machine (Cricut Joy, Cricut Explore Air or Cricut Maker will all work)
- Cricut Mat
- Glitter Vinyl in black and blue
- Weeder
- Scissors
- Cricut transfer tape
- Decorative glitter ribbon, 1/4” wide (here’s one that is similar)
Free Cricut Ornament SVG Download:
Plus, here is your free Cricut ornament SVG download for these Christmas/Winter designs of an owl, Christmas tree & penguin. You can save these directly into your program you use (like Design Space or the Silhouette Studio)
Directions for Wood Slice Christmas Ornaments:
These painted wood slice Christmas ornaments are really simple to make, and can be customized to your own personal tastes too.
How to Make these Christmas Wood Slice Ornaments:
Gather the supplies noted above to start out.
Painting the Wood Slices –
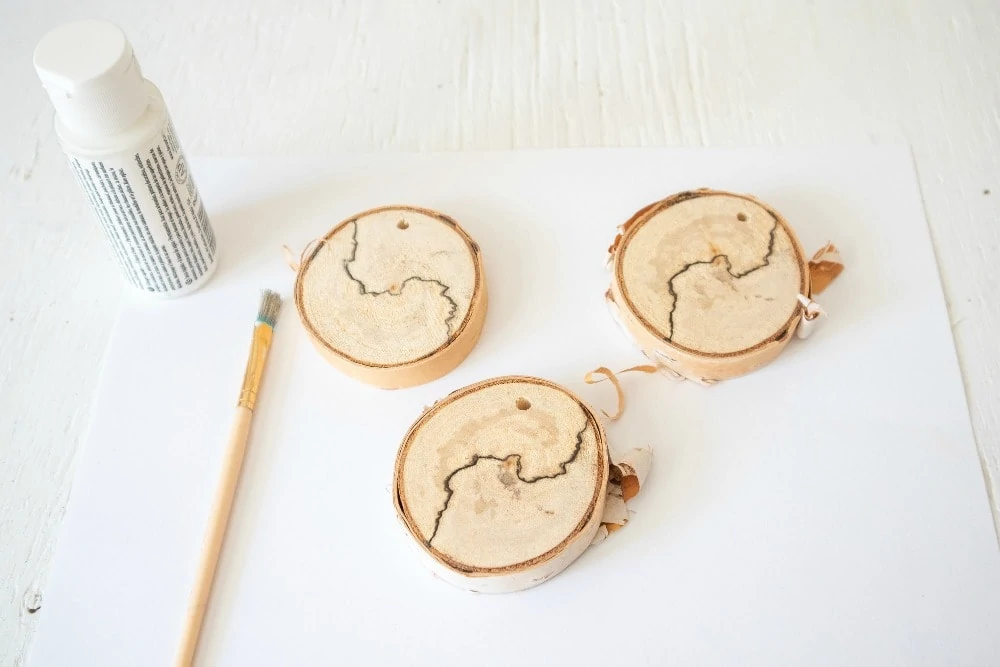
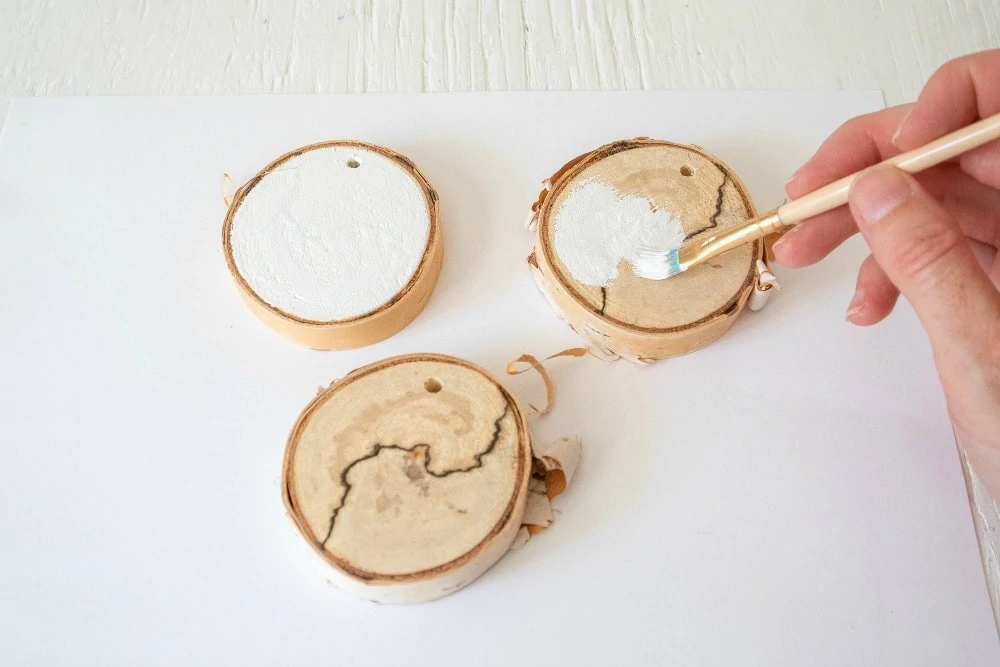
The next step is to paint your wood ornaments.
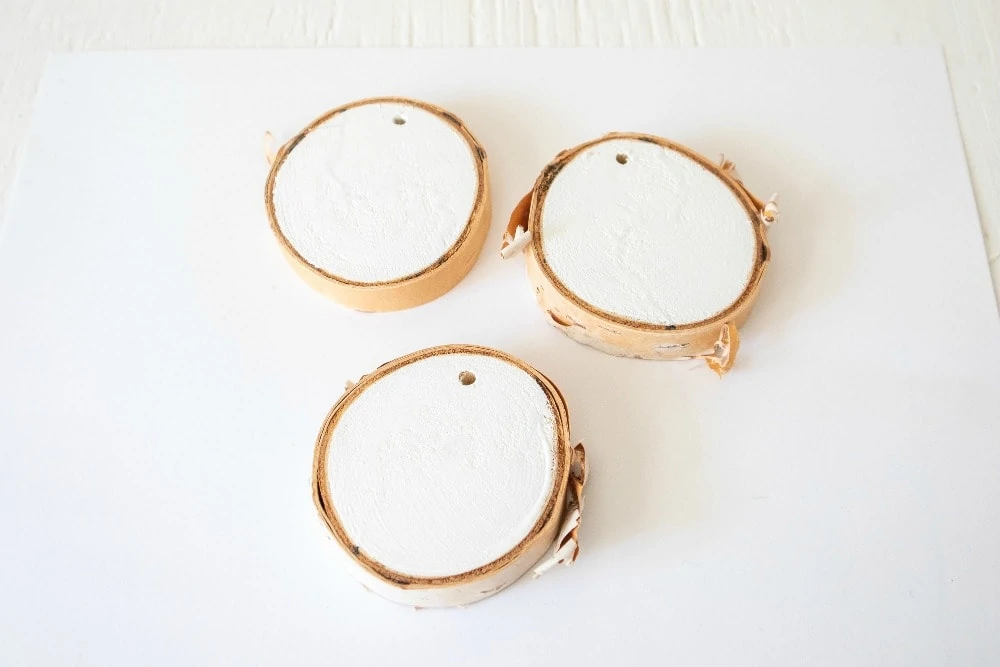
Paint both sides of the wood slices in white.
Ensure paint dries fully before proceeding.
Once your paint is fully dry this is where you can either draw your own designs (or paint them on), or mod podge a napkin or design you like, or move on to the next steps to add the Vinyl to your ornament like we have done here.
Uploading the Cricut Ornament SVG Pattern
- Upload the Owl.Deer.Tree SVG File into Design Space.
- With the image highlighted, click on “Ungroup” to separate the images.
- Adjust image sizes to fit your wood slices accordingly or maintain size as provided.
- Highlight the owl and click on “Attach”.
- Duplicate the images to have for both sides of the wood slice.
Cutting the Vinyl
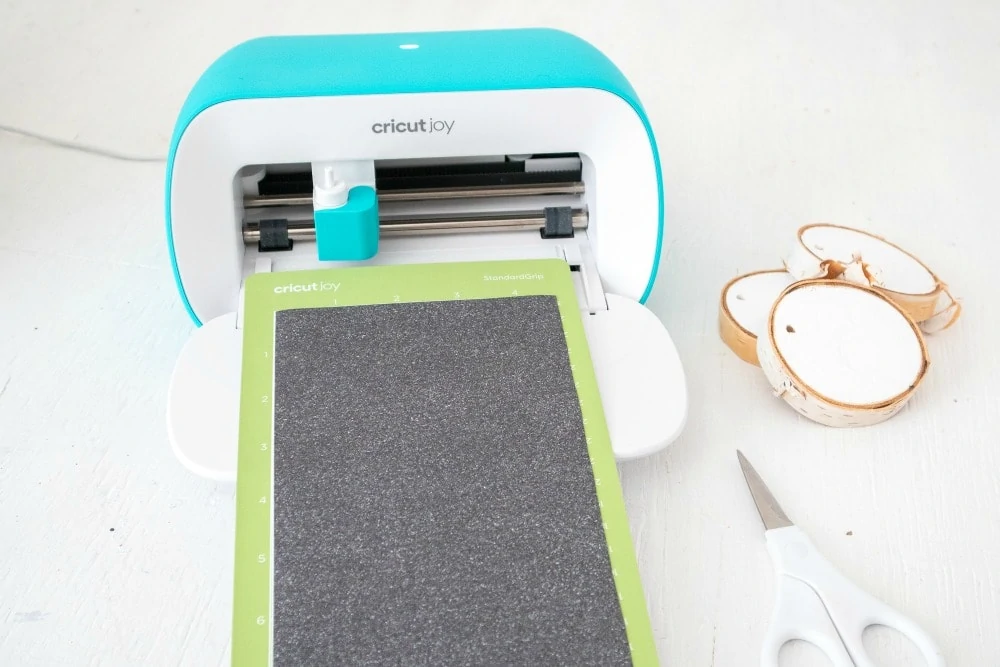
- Ensure the machine is set to Cricut Joy and select “Make It” in Design Space.
- Choose “With Mat” as the option for cutting when using regular Cricut Vinyl.
- Set material type to Glitter Vinyl.
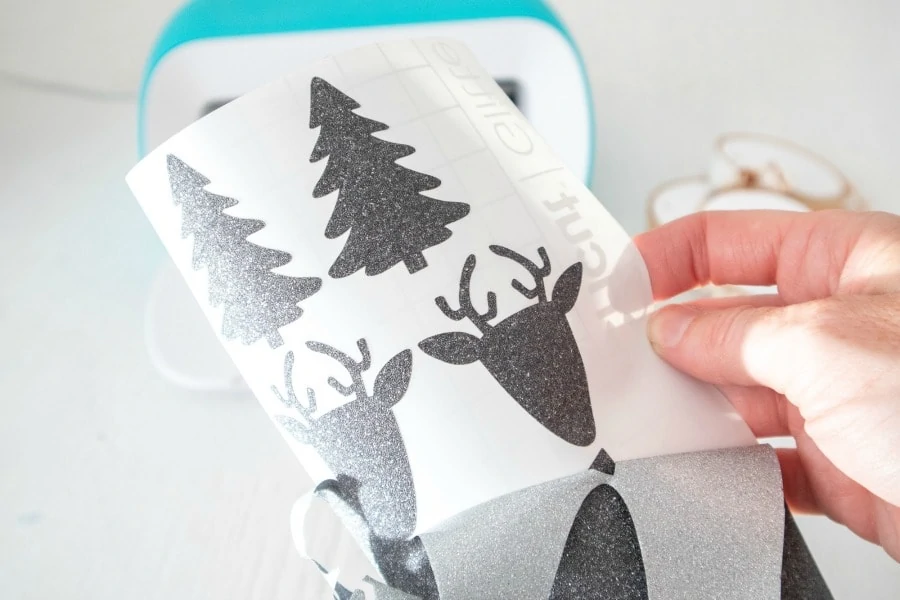
- Follow prompts for loading the mat into the Cricut Joy and cutting the Glitter Vinyl. When prompted, unload the vinyl from the cutting machine.
How to Apply the Vinyl to the Wood Slices
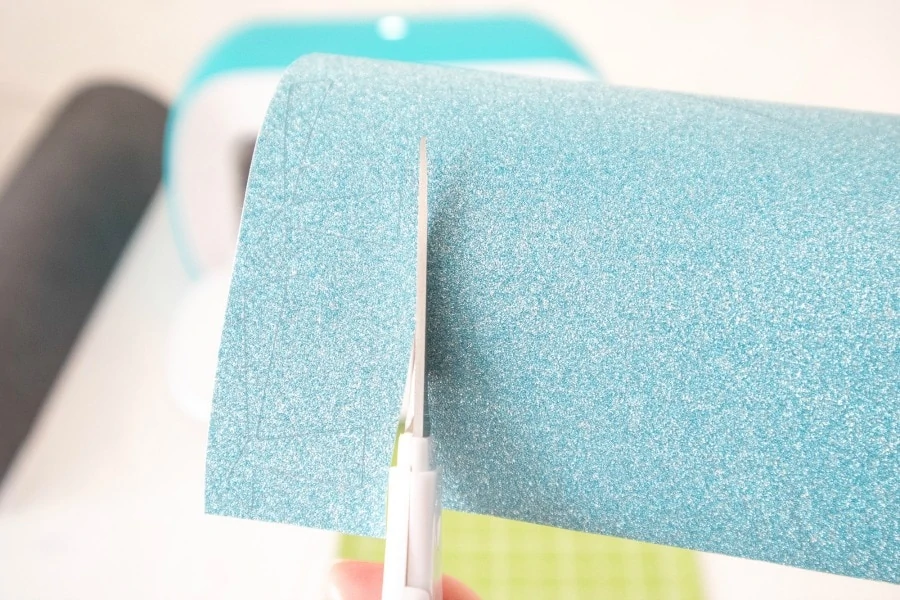
Cut around each word and image with a pair of scissors.
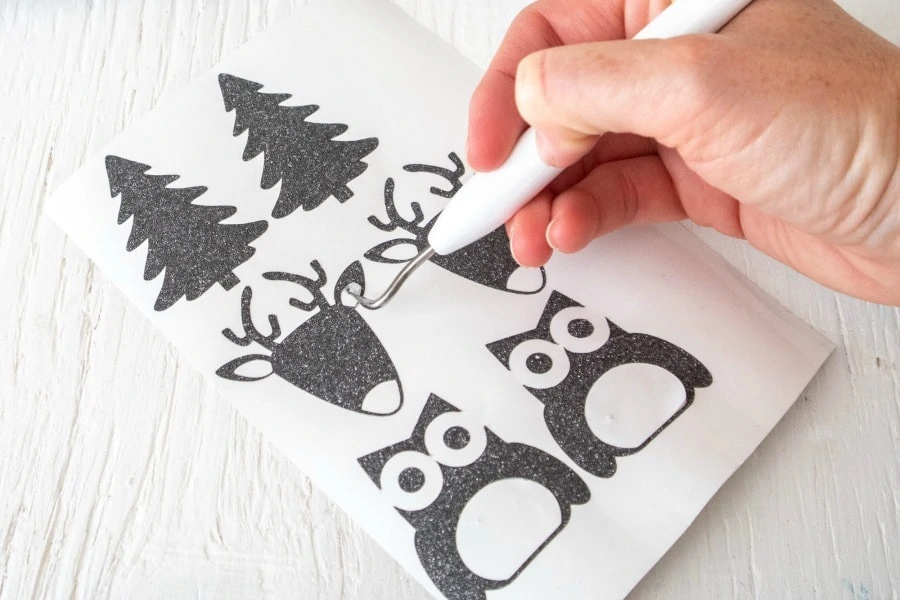
Using the weeding tool, peel away the excess vinyl and discard.
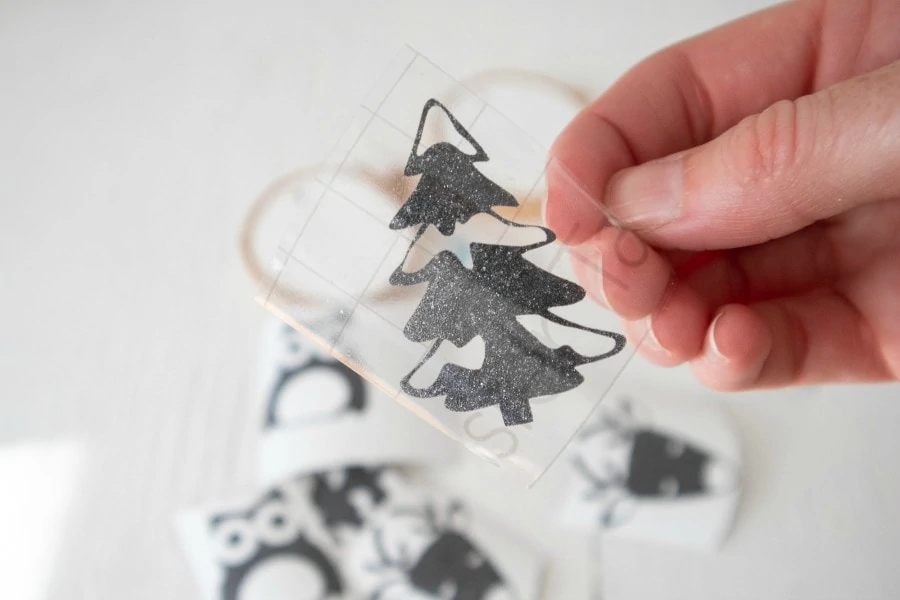
Cut a piece of transfer tape a bit larger than the size of the phrase or image.
Peel away the transfer tape backing and place the transfer tape overtop of the cut image. Gently rub the vinyl to help it stick to the transfer tape.
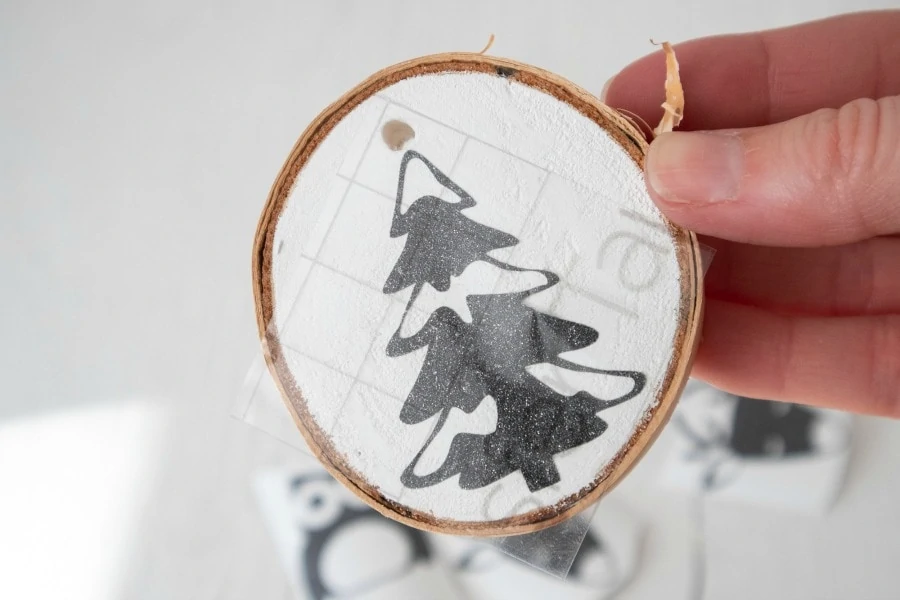
Peel away the vinyl backing and place the image on to the one side of the wood slice. Gently rub the vinyl to help it stick to the wood slice. You can use a Cricut scraper tool for this.
Carefully and slowly peel away the transfer tape.
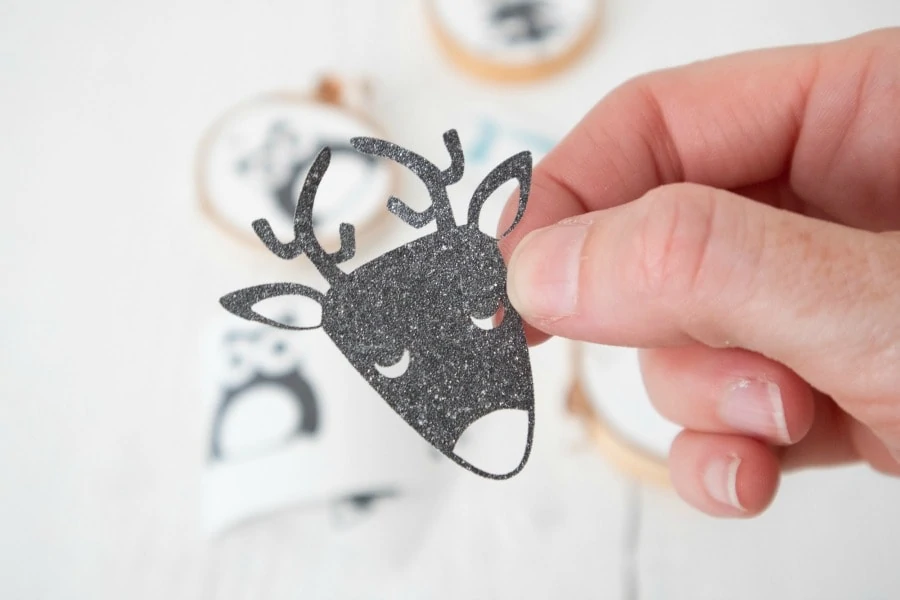
Alternatively, peel the glitter vinyl image off the backing and place directly on to the wood slice without using the transfer tape.
Repeat for the other wood slices. For the owl ornament, place the body of the owl on to the wood slice first, then stick the scarf piece over top.
Assembling the Cricut Wood Slice Ornaments
Cut three pieces of ribbon 9” long. Insert the end of the ribbon through the hole at the top of the wood slice and tie ends together.
Frequently Asked Questions:
Check out all of the ways to save on Cricut machines:
Cricut Machines, Materials, Tools & more – Sales, Discounts & Projects
Printable Instructions for Lettered Wood Slice Ornaments with the Cricut
Here’s a printable version of the instructions for the DIY Wood Slice Ornaments for your Cricut or Silhouette.
DIY Wood Slice Ornaments
Ingredients
- Set of 3 birch wood slices, 2.25” diameter x ⅜” thick
- Crafter’s Acrylic paint in white
- Paintbrush
- Cricut Joy
- Cricut Joy Standard Grip Mat
- Glitter Vinyl in black and blue
- Owl.Deer.Tree SVG file
- Weeder
- Scissors
- Cricut transfer tape
- Decorative glitter ribbon, 1/4” wide
Instructions
Instructions:
- Gather supplies.
Painting the Wood Slices
- Paint both sides of the wood slices in white.
- Ensure paint dries fully before proceeding.
Uploading the SVG Pattern
- Upload the Owl.Deer.Tree SVG File into Design Space.
- With the image highlighted, click on “Ungroup” to separate the images.
- Adjust image sizes to fit your wood slices accordingly or maintain size as provided.
- Highlight the owl and click on “Attach”.
- Duplicate the images to have for both sides of the wood slice.
Cutting the Vinyl
- Ensure the machine is set to Cricut Joy and select “Make It” in Design Space.
- Choose “With Mat” as the option for cutting when using regular Cricut Vinyl.
- Set material type to Glitter Vinyl.
- Follow prompts for loading the mat into the Cricut Joy and cutting the Glitter Vinyl. When prompted, unload the vinyl from the cutting machine.
Applying the Vinyl to the Wood Slices
- Cut around each word and image with a pair of scissors.
- Using the weeding tool, peel away the excess vinyl and discard.
- Cut a piece of transfer tape a bit larger than the size of the phrase or image.
- Peel away the transfer tape backing and place the transfer tape overtop of the cut image. Gently rub the vinyl to help it stick to the transfer tape.
- Peel away the vinyl backing and place the image on to the one side of the wood slice. Gently rub the vinyl to help it stick to the wood slice. You can use a Cricut scraper tool for this.
- Carefully and slowly peel away the transfer tape.
- Alternatively, peel the glitter vinyl image off the backing and place directly on to the wood slice without using the transfer tape.
- Repeat for the other wood slices. For the owl ornament, place the body of the owl on to the wood slice first, then stick the scarf piece over top.
Assembling the Ornaments
- Cut three pieces of ribbon 9” long. Insert the end of the ribbon through the hole at the top of the wood slice and tie ends together.
More Cricut Crafts to Try:
Floral Tea Towels Made with the Cricut
5 Cute DIY Christmas Projects with the Cricut




2 Comments