
Homemade Hummingbird Feeder (With Items You May Have At Home)!
This post may contain affiliate links and I may be compensated for this post. Please read our disclosure policy here.
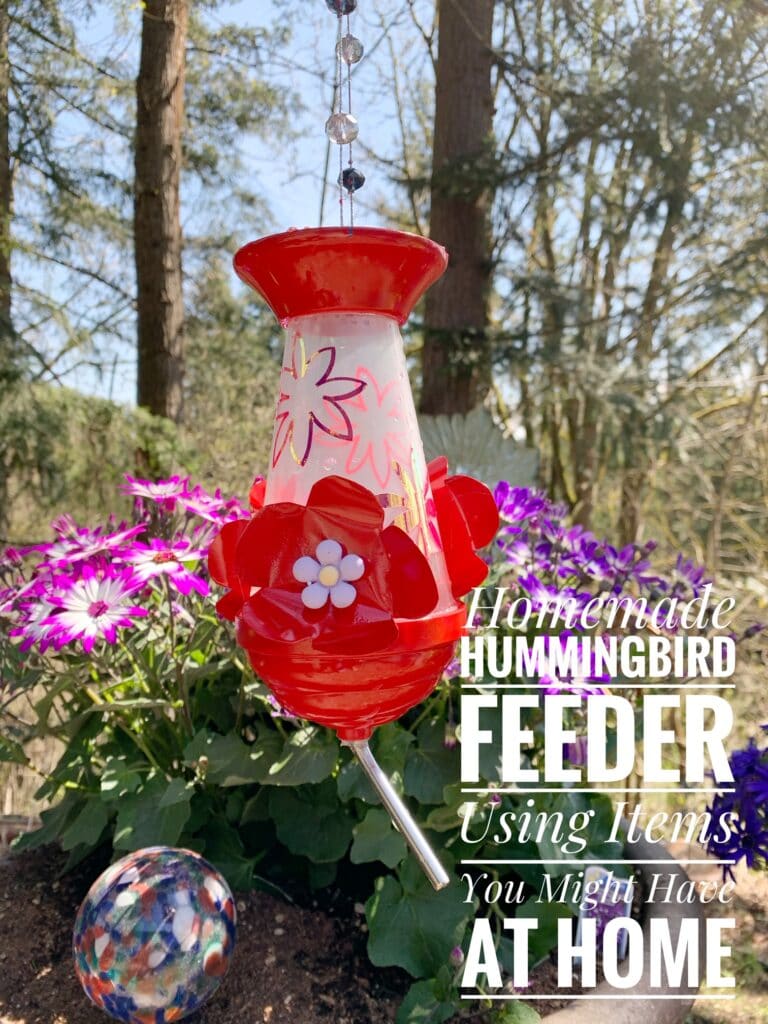
Beautiful Homemade Hummingbird Feeder (With Items You May Have At Home)!
I have been wanting to make a homemade hummingbird feeder with my kids, for my house right now. I love hummingbirds. We have some very special pictures of my son with hummingbirds, and so they are extra special to us here at our home. We have a small backyard, but we get some regular hummingbird visitors do to some of the honeysuckle we have back there. I wanted to get a beautiful bird feeder out there, that could help attract even more of them.
As I was researching how to make homemade hummingbird feeders, I was finding two things. Either they were make from recycled materials like water bottles, and I wanted something that was a little more decorative then that – or they were made with specialty materials that I would need to order online (and we all know shipping it slow these days).
So, I spent a couple of days thinking about what materials I had on hand that I could make my feeder with. I was planning to use a mason jar at first, but I was cleaning my cabinets out one day recently, and came across all of these cups I had bought for the kids when we were out at restaurants etc (the ones with lids and a straw coming out of them) and realized these could work perfectly!
I decided to use this cup we had from a Chuck E Cheese visit, because I thought that the shape mimicked that of traditional hummingbird feeders well. You can use this idea to apply to any similar type cups you might already have in your home. What I did was to research some DIY Hummingbird Feeder ideas online, and then adapted those ideas to what I had on hand in my house. I hope to inspire you to do the same. See how we did ours, and then see what kinds of supplies you might have around your own home that would work for your custom feeder!
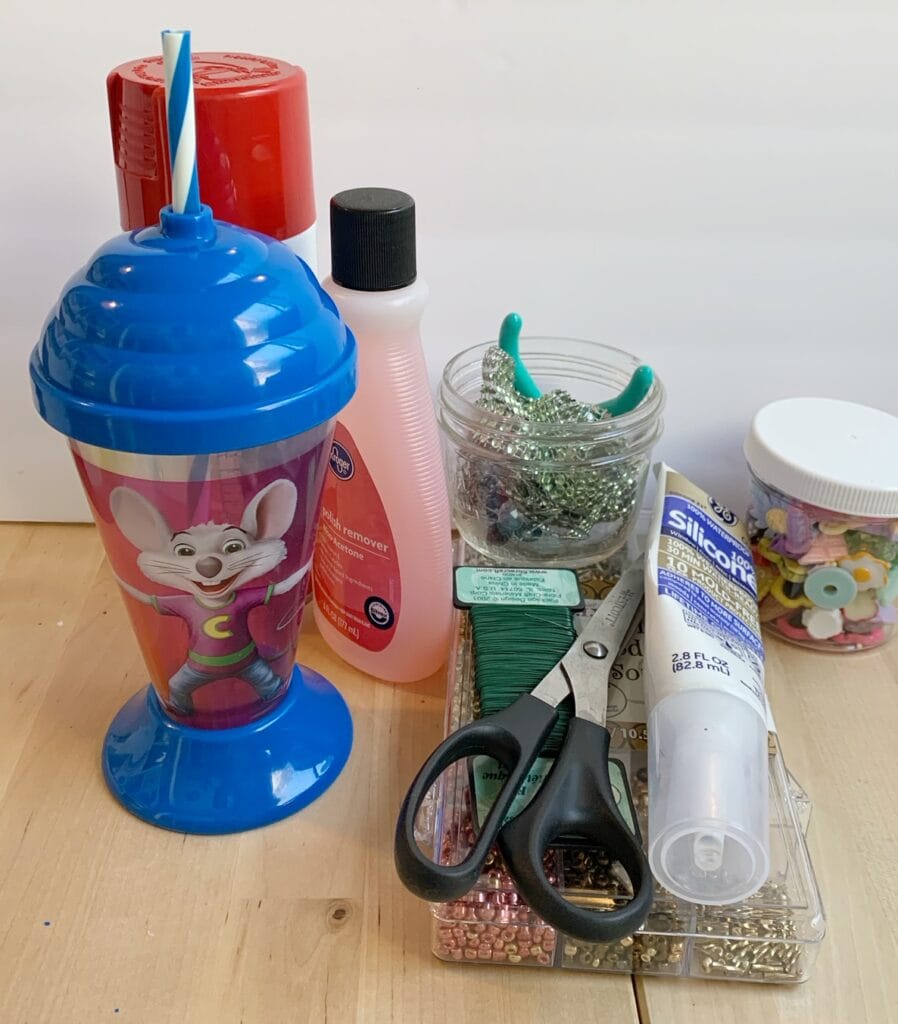
Supplies Needed for this Homemade Hummingbird Feeder:
The idea behind this supply list is to hunt around your house for items you can up-cycle that will fit the bill. These are the things I found around my house to use for this project.
- Plastic cup, with straw opening.
- Nail Polish Remover (if you have a decoration on your cup you want to remove)
- E6000 glue (or any waterproof glue or sealant of your choice)
- Bendable straw, metal straw with a bend in it, or bird feeder tube
- String or wire to hang it with
- Tin Can to cut flower decoration (or any embellishments you want to glue on)
- Red spray paint (optional)
How To Make a Homemade Hummingbird Feeder With Supplies Around Your House:
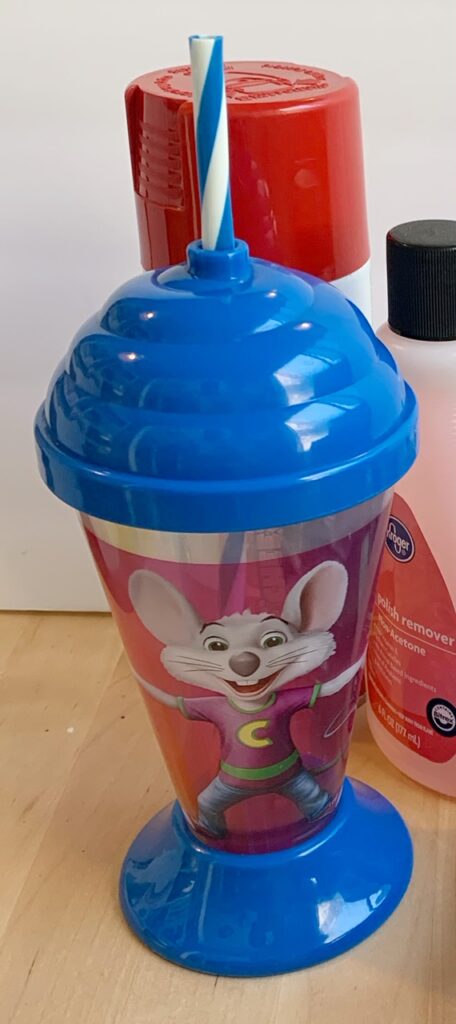
We started with this Chuck E Cheese cup, search your cupboards for similar style plastic cups with straws that you might be able to up-cycle into your bird feeder.
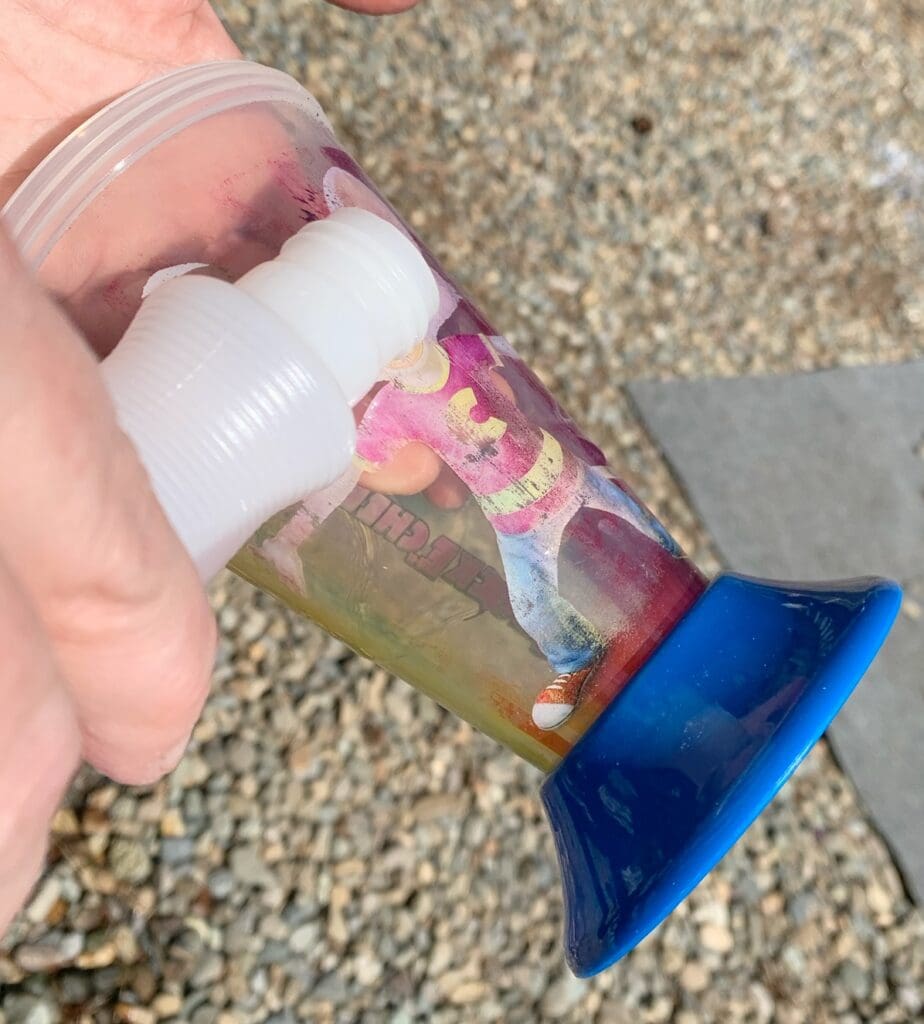
Clean Your Cup
I knew the first thing we would need to do was to get rid of the Chuck E Cheese character and colors on the cup. To do this I used some nail polish remover we had. This was probably the most time consuming part of the project. It took me about 20 minutes to get it all removed. Its best to do this step outdoors where things are well ventilated, as nail polish remover has a strong smell to it. I did this by pouring a light coating over part of the picture and letting it sit for about 30 seconds, then scrubbing off with a kleenex. I then repeated this step as many times as needed until the picture and colors where gone from the plastic part of the cup.
Decorate Cup (Optional – and use what you have on hand)
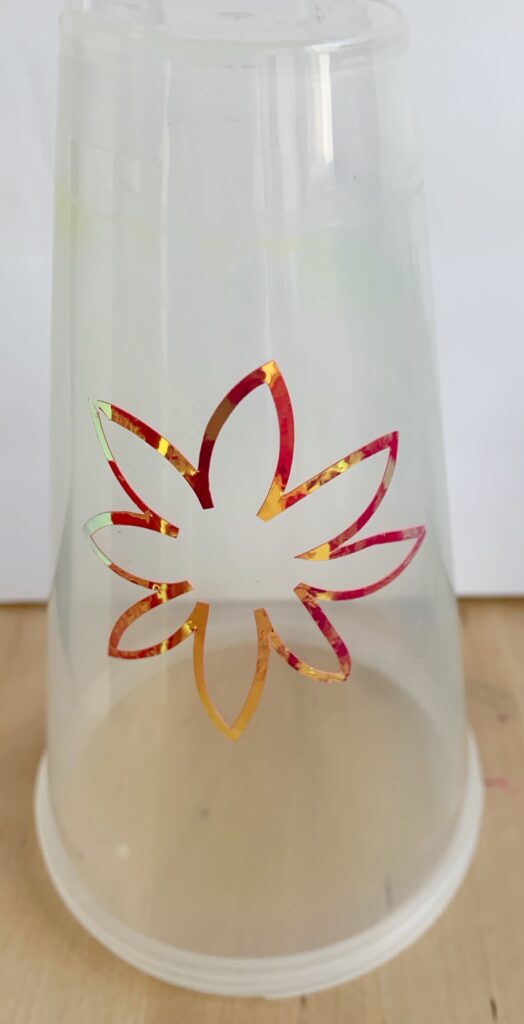
Once I was done, the plastic was still a little milky looking, but I was ok with that as I planned to decorate that part too some. Decorating the plastic is completely optional, most feeders do not decorate this part so it makes just as much sense to clean it and move on to the rest of the project. To decorate mine, I used my Cricut and cut out some flower shapes on a holographic vinyl to apply to the cup.
Paint Your Parts (optional again)
The next step is to cut out metal flowers from a tin can we had in our recycle bin (we have specific directions on how to make the tin flowers below. This step is completely optional, as again, these are used just for decor.
You will then want to remove the top and bottom part of the cup and spray paint those and your tin flowers red (or whatever color you choose). I have heard Hummingbirds are attracted to bright colors, so I went with the traditional colors that many feeders come in.
It is a good idea to lightly sand the plastic cup parts, or to use a primer first, as paint can easily peel off of plastic. I had a spray paint that was meant for plastic, so I skipped these steps, but keep them in mind if you do not have a spray paint that is intended to adhere to plastic surfaces.
![]()
Assemble Body Of Your Hummingbird Feeder
Let paint completely dry between coats. I used three coats of spray paint for my project.
Once paint is completely dry, you can move onto the next step.
In case you want to do the decorative metal flowers for your feeder, we will share those instructions here and then get to the rest of the bird feeder project directions below.
How to Make These Hummingbird flowers for your feeder:
The decorative metal flowers are so easy to make. Simply use and tin can you might have in your recycle bin. You can either paint the center of the flowers yellow (or color of your choice), or if you have charms or jewels at home you can glue those in the middle. I had these charms leftover from a Slime project we did with the kids, so used those.
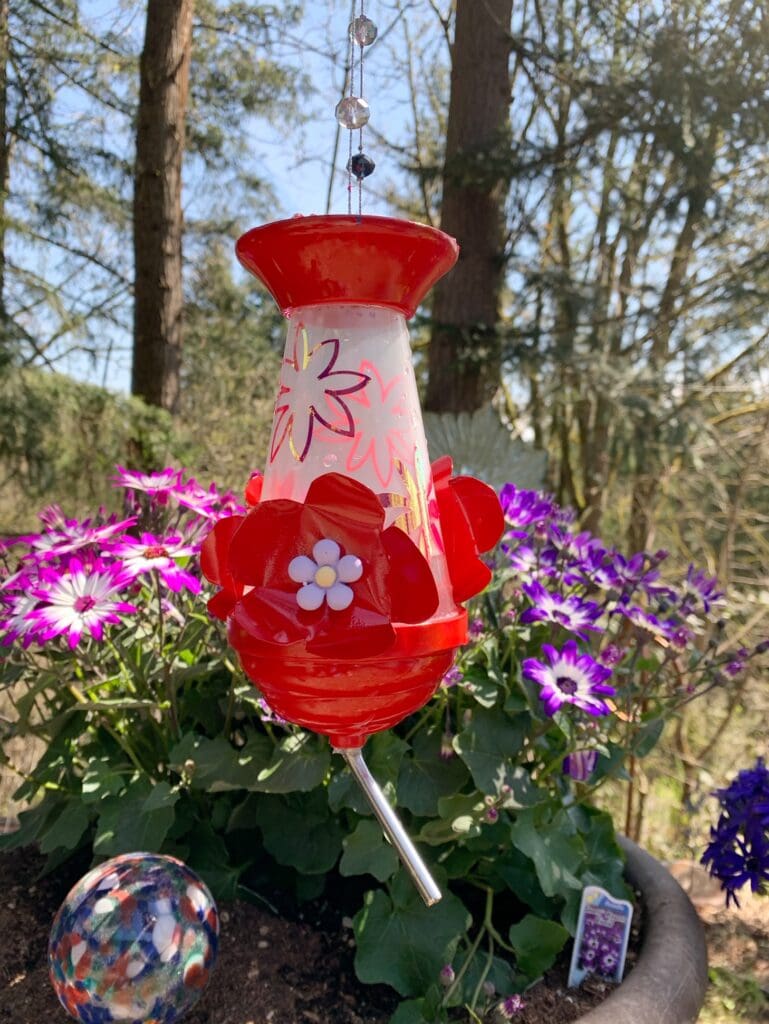
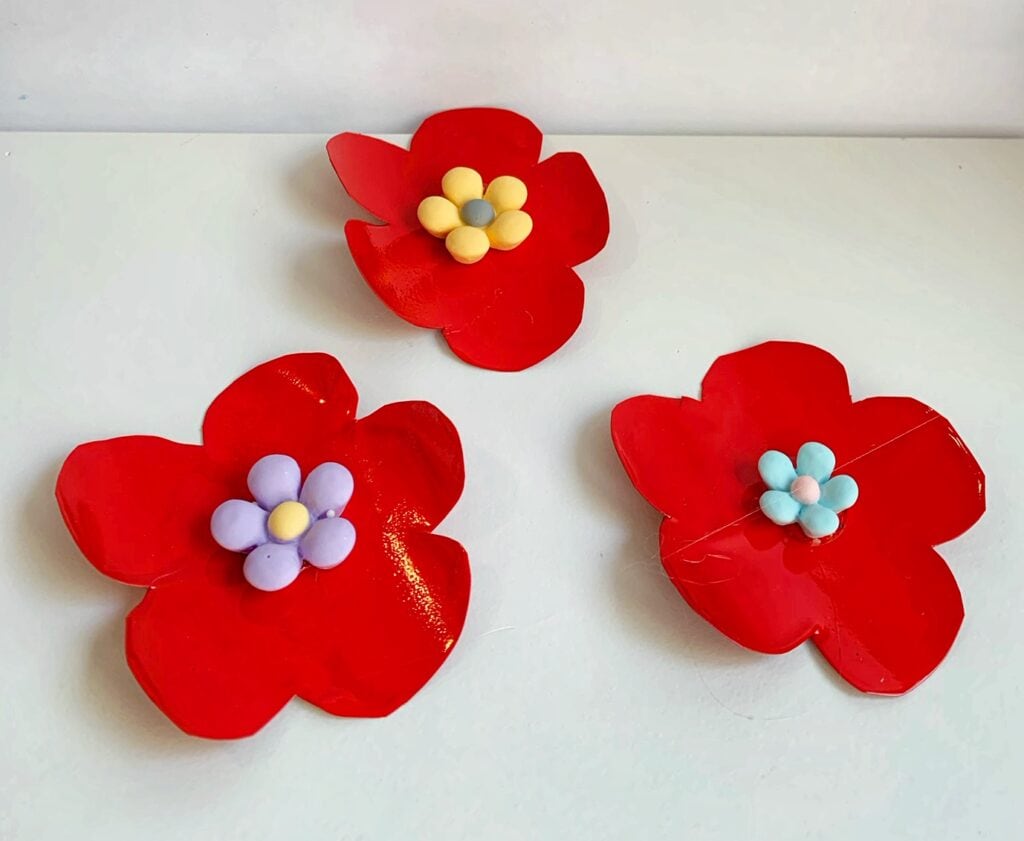 This is what the finished product looked like for me. Now how to make them!
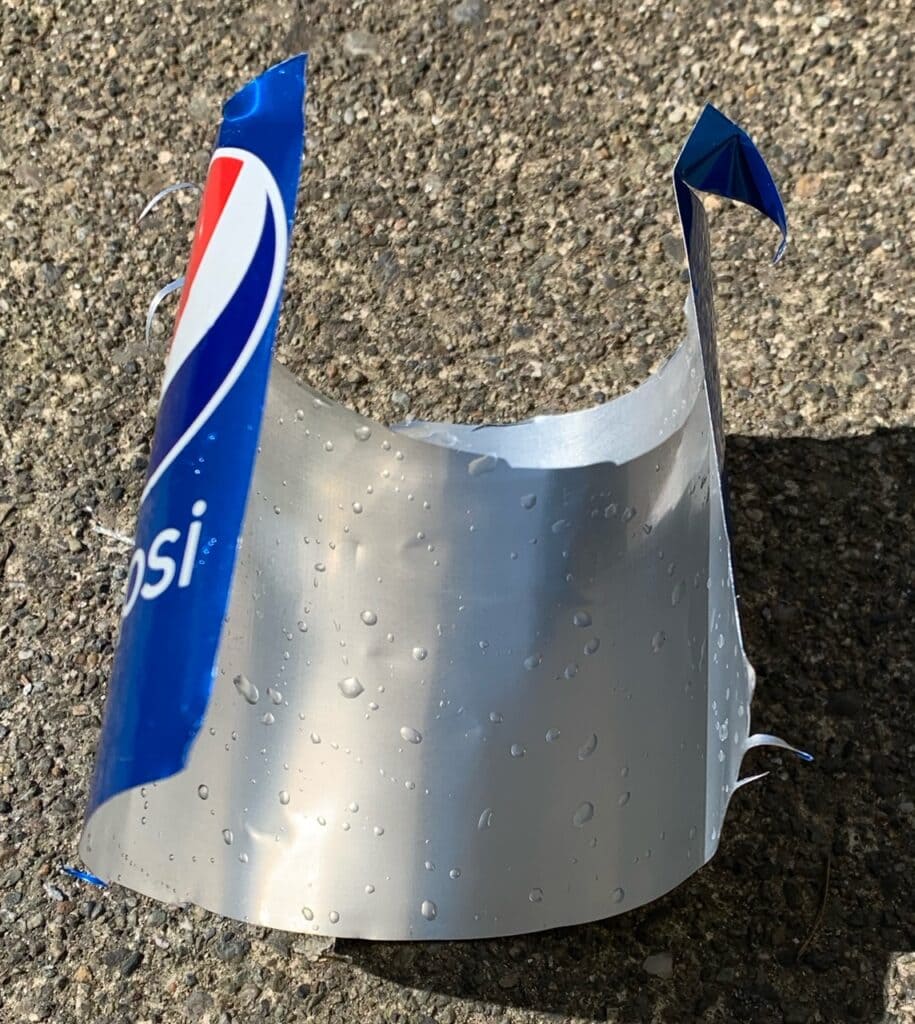
Start by rinsing out the tin can you will use. You will need thin tin (like a soda can) not the heavier vegetable and soup cans. Once you have cleaned your can, simply cut off the top and bottom with your scissors. You can do this by poking a hole into the top and then cutting around, and then cut a slit down to the bottom and around there. Be careful with this step not to cut your hands on the tip. Wearing protective gloves is a good idea here, and this is a step parents will want to help kids with.
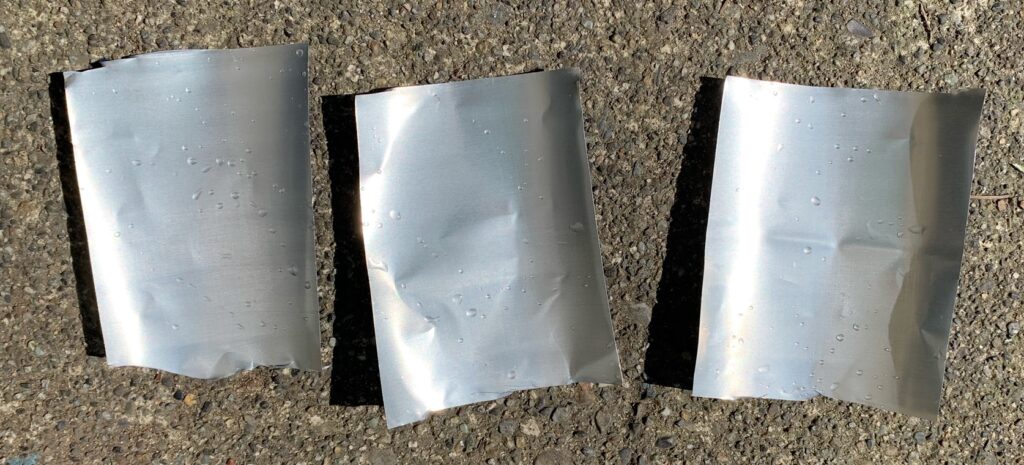
Once I had the main strip cut out, I then cut my into three squares as I wanted to get three flowers out of the one can. 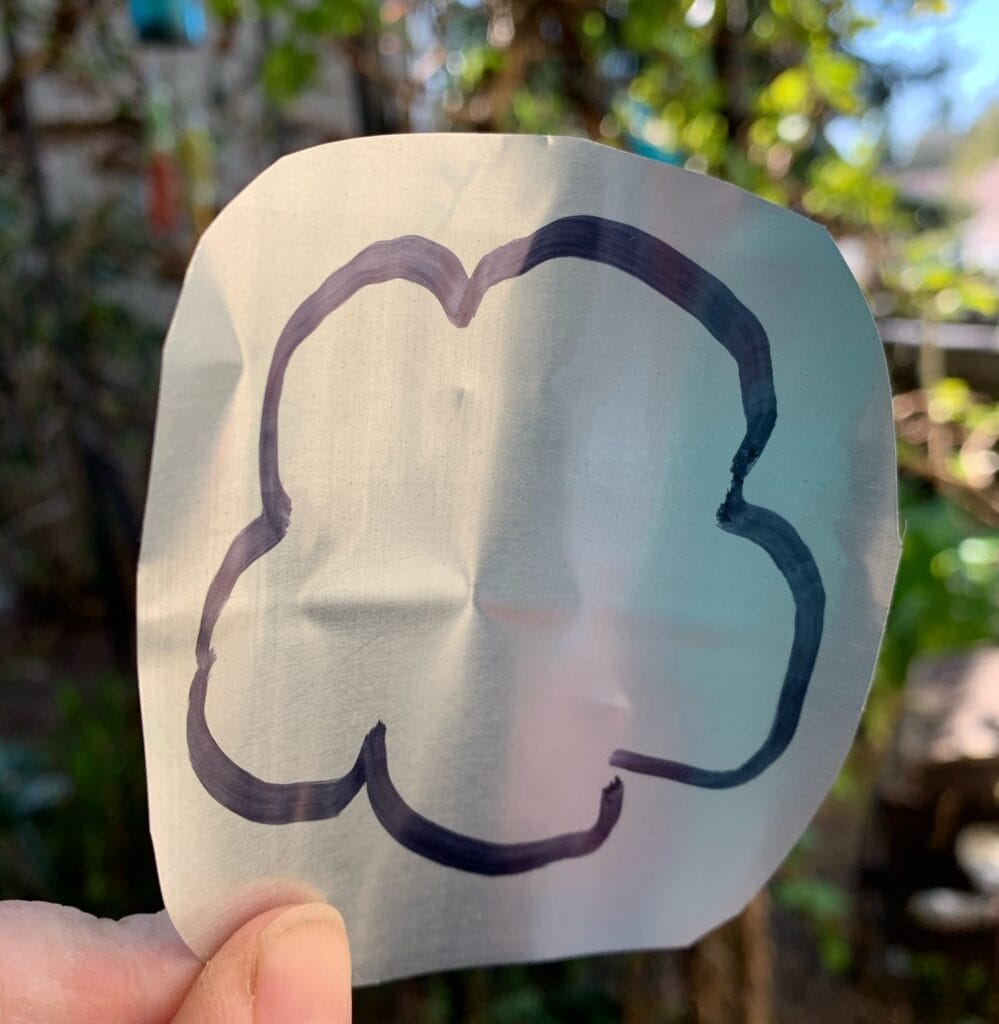
I then took a sharpie and did a rough sketch of the flowers, and cut each of those out.
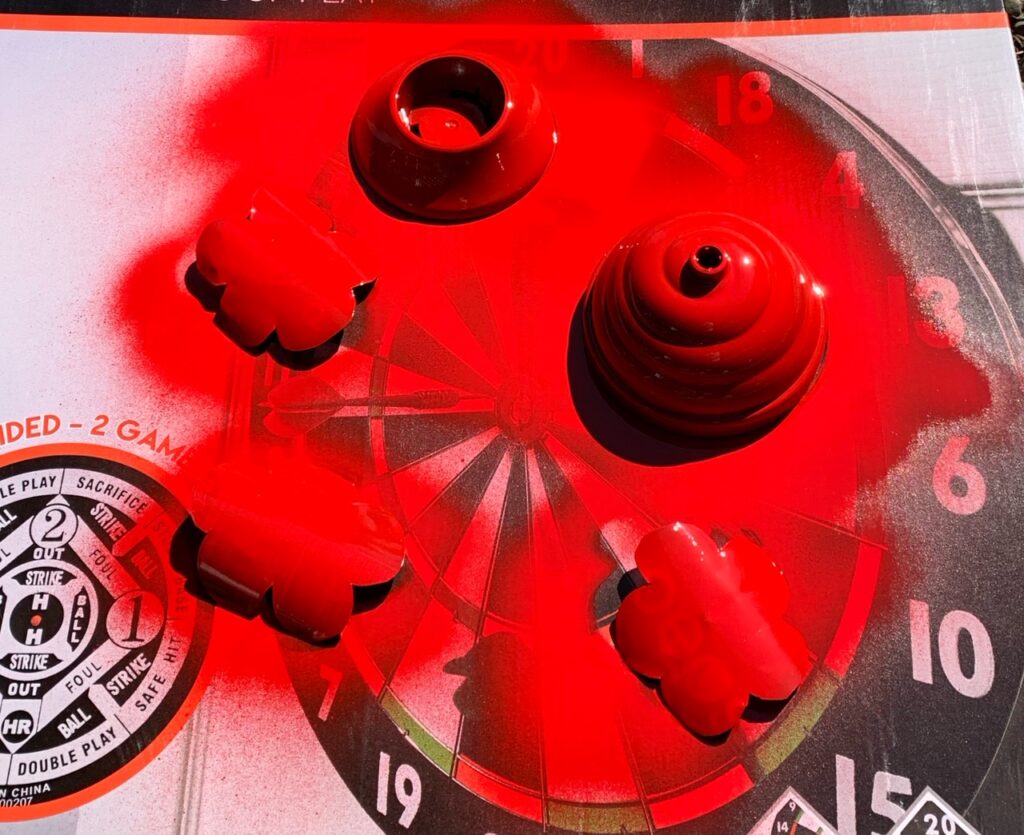
After that spray pain them the color of your choice (we used red) and let it dry, and then flip it over and paint the back side too. I did three coats on each side. Let it dry thoroughly, and then you can either paint the center of the flower or glue on any embellishments you have.
Finishing up your Homemade Hummingbird Feeder:
You will now need to create the feeder tube part of your project. Many of the online projects I saw recommended using bendable straws – so if you have any of those you should be able to use those as well. I was not able to get the straw that came with this cup to bend right and stay that way, but I did have a metal reusable straw on hand, that was able to snip off to about 6 inches, and use that.
Once you have your straw set at about a 45 degree angle, thread it through the straw hole, and now you will want to seal it so water does not leak out. You can do this by using glue, or sealant – depending on what you have on hand. We had some 100% waterproof sealer on hand from a plumbing project we did at the house, so that is what I used. Simply cover both the inside and the outside hole of where the straw goes in, with either glue or sealant and let it dry thoroughly before adding hummingbird food to the feeder.
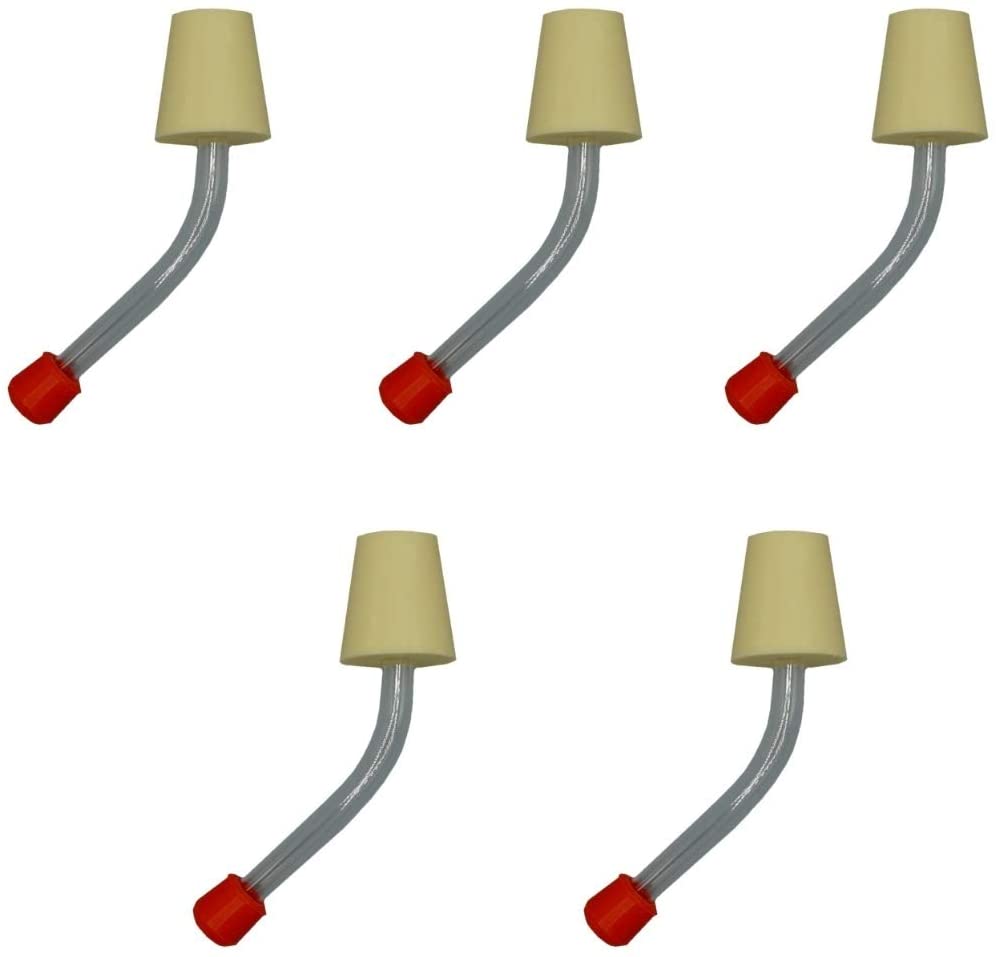
If you really want to make sure to get this step correct, you can purchase the bird tube feeders off of Amazon (they are pretty affordable) too. I did find a little extra dripping occurred with my homemade version, so if I was going to purchase any new parts for this homemade feeder, this is the one I would grab. ![]()
Next you will want to decide how you want to hang your homemade hummingbird feeder. I had a broken bead necklace that I decided to use, but you can use wire, or twine, or whatever you have on hand that will work. I turned my cup around and used E6000 glue to attach mine, and let it dry overnight.
Fill Your Homemade Hummingbird Feeder with Hummingbird Nectar.
If you want to get the colored nectar, I would suggest purchasing that. They have it on Amazon here. Some recipes will tell you to add red food coloring, but most will tell you not to do that as it is bad for the birds, so I would stay away from adding food coloring to your own recipe, and spend a few dollars on pre-made nectar if you are looking for the vibrant colored foods.
You can find a number of hummingbird food recipes to fill your new hummingbird feeder with online We used this one from the Smithsonian Zoo (which is basically 1 part white sugar to 4 parts water – mix until dissolved).
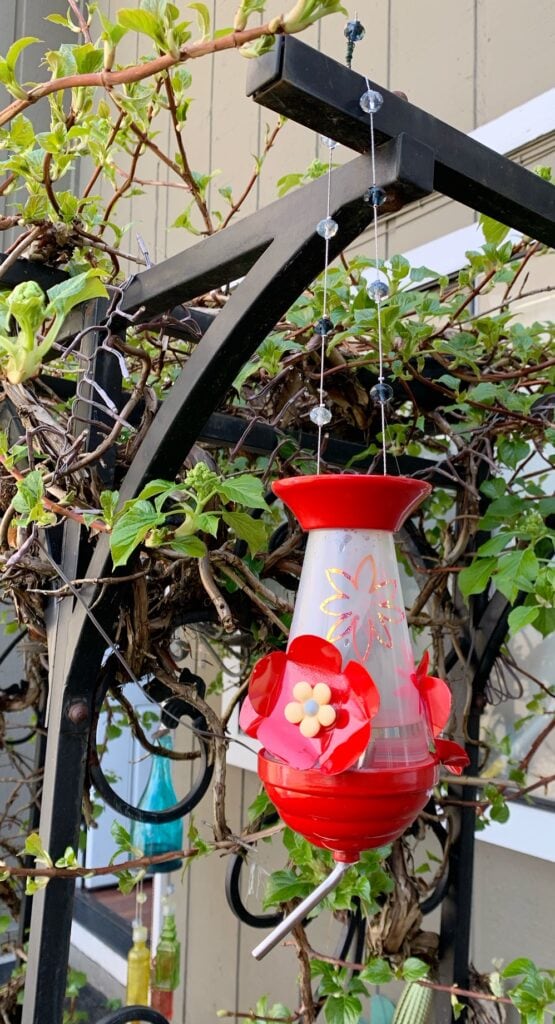
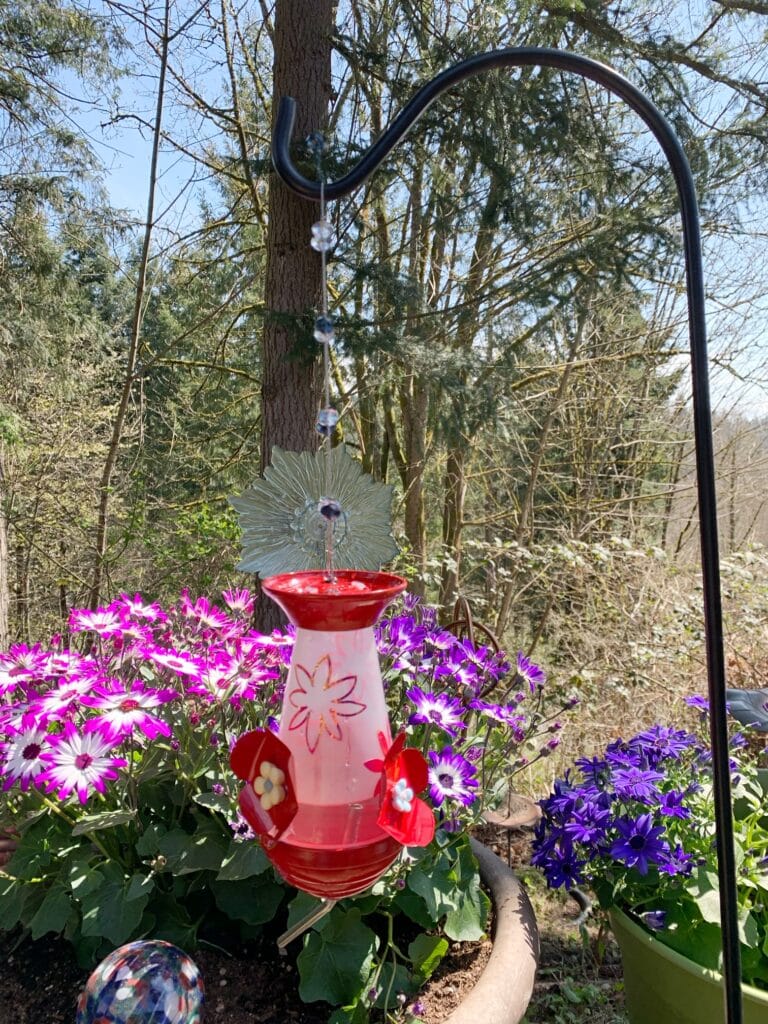
Now all you have to do is to decide where you want to hang it, and wait for the birds to visit.

Hello there. Your article was posted several years ago so I’m not sure if you still check the comments on it anymore or not lol! Thanks you for sharing this idea! Did I miss the part where you talked about how you got the metal straw the correct angle? I have some bendy straws but I would like to have some more durable such as the metal straw, I just wasn’t sure how you got it bent to the correct angle from a straight, metal straw.
Hi RuthAnn. I used a metal straw that was already bent (I did not have to bend it on my own). Many that can purchase come already bent like the one shown in the picture. Hope that helps some.
Thanks!