
Easy Buttermilk Waffles – Freezer Friendly for Busy School Days
This post may contain affiliate links and I may be compensated for this post. Please read our disclosure policy here.
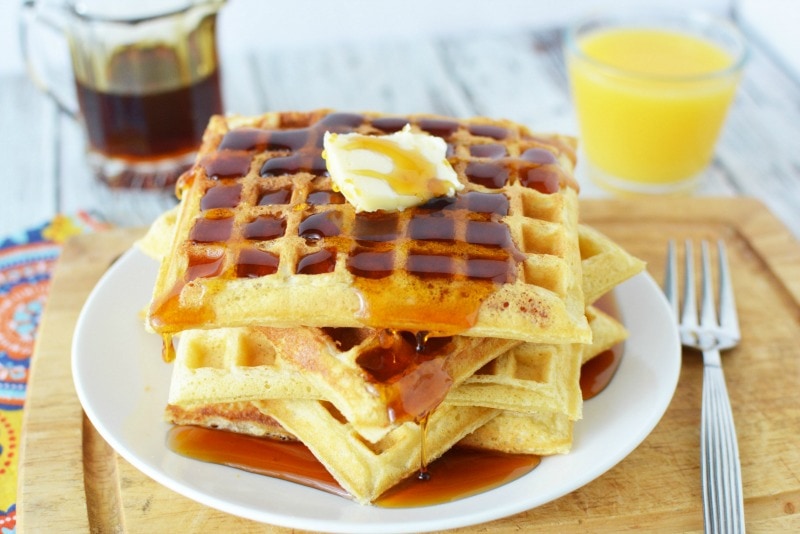
These easy Buttermilk Waffles are freezer friendly! Make a double batch of waffles & flash freeze the extras for a quick meal on busy school mornings!

Easy Buttermilk Waffles – Freezer Friendly
I love to find easy ways to get a fast but hearty breakfast on the table for my kids on those busy back to school mornings. None of us are morning people, especially me, so it’s rare for me to make a hot breakfast in the mornings. That’s why we love these Easy Buttermilk Waffles to freeze ahead & heat up in the mornings. We’ve found it works well when we make up a few batches of these and flash freeze them individually. My girls can then grab them from the freezer and pop them in the toaster for a hearty but fast breakfast.
Easy Buttermilk Waffles:
Ingredients:
- 8 tablespoons (1 stick) melted unsalted butter
- 2 cups all-purpose flour
- 2 Tablespoons sugar
- 1 teaspoon baking soda
- 1 1/2 teaspoons baking powder
- 1/2 teaspoon salt
- 2 large eggs
- 2 cups buttermilk, room temperature
- 1 teaspoon pure vanilla extract
Directions:
Grease waffle iron with a small amount of melted butter, and heat.
In a large bowl, sift together the flour, sugar, baking soda, baking powder, and salt.


In a separate bowl, whisk together egg, buttermilk, and vanilla. Pour into dry mixture, and combine.

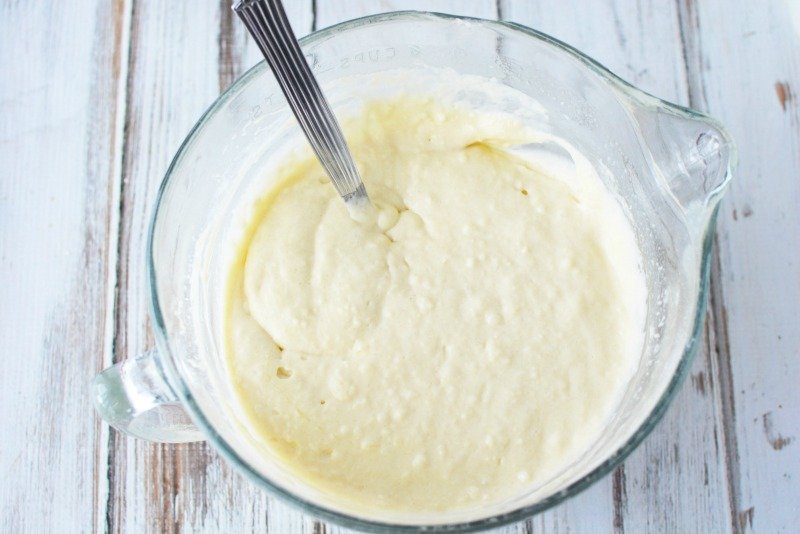
Add melted butter (may get clumpy-that is ok, just mix)
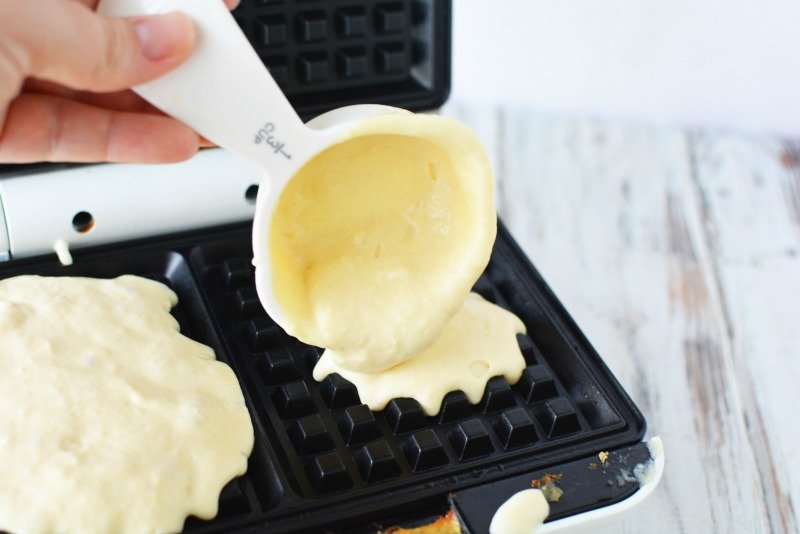
Ladle about 1/3 cup batter onto each section of the waffle grid; spread batter almost to the edges. Close lid, and bake 3 to 5 minutes, until no steam emerges from waffle iron.
Transfer cooked waffles to a baking sheet; place in an oven set to low heat, about 200 degrees, while using remaining batter.
This recipe made about 14 waffles using our waffle maker.
Tips for Flash Freezing:
The key to getting a good thawed product is flash freezing and using the proper freezing containers. Flash freezing is freezing the items separately on a cookie sheet for 10-20 minutes before placing together in a freezer bag. This technique helps the waffles not to stick together in the freezer bag. Freezer bags work very well as long as you make sure to get all the air out first.
Printable Recipe for Easy Buttermilk Waffles:
Here’s a printable version of the Buttermilk Waffles recipe for you to print off to put in your recipe binder or notebook.
Easy Buttermilk Waffles – Freezer Friendly for Busy School Days
Description
These easy Buttermilk Waffles are freezer friendly! Make a double batch of waffles & flash freeze the extras for a quick meal on busy school mornings!
Ingredients
- 8 tablespoons (1 stick) melted unsalted butter
- 2 cups all-purpose flour
- 2 Tablespoons sugar
- 1 teaspoon baking soda
- 1 1/2 teaspoons baking powder
- 1/2 teaspoon salt
- 2 large eggs
- 2 cups buttermilk, room temperature
- 1 teaspoon pure vanilla extract
Instructions
- Grease waffle iron with a small amount of melted butter, and heat.
- In a large bowl, sift together the flour, sugar, baking soda, baking powder, and salt.
- In a separate bowl, whisk together egg, buttermilk, and vanilla. Pour into dry mixture, and combine.
- Add melted butter (may get clumpy-that is ok, just mix)
- Ladle about 1/3 cup batter onto each section of the waffle grid; spread batter almost to the edges. Close lid, and bake 3 to 5 minutes, until no steam emerges from waffle iron.
- Transfer cooked waffles to a baking sheet; place in an oven set to low heat, about 200 degrees, while using remaining batter.
More Breakfast Recipes to Try:
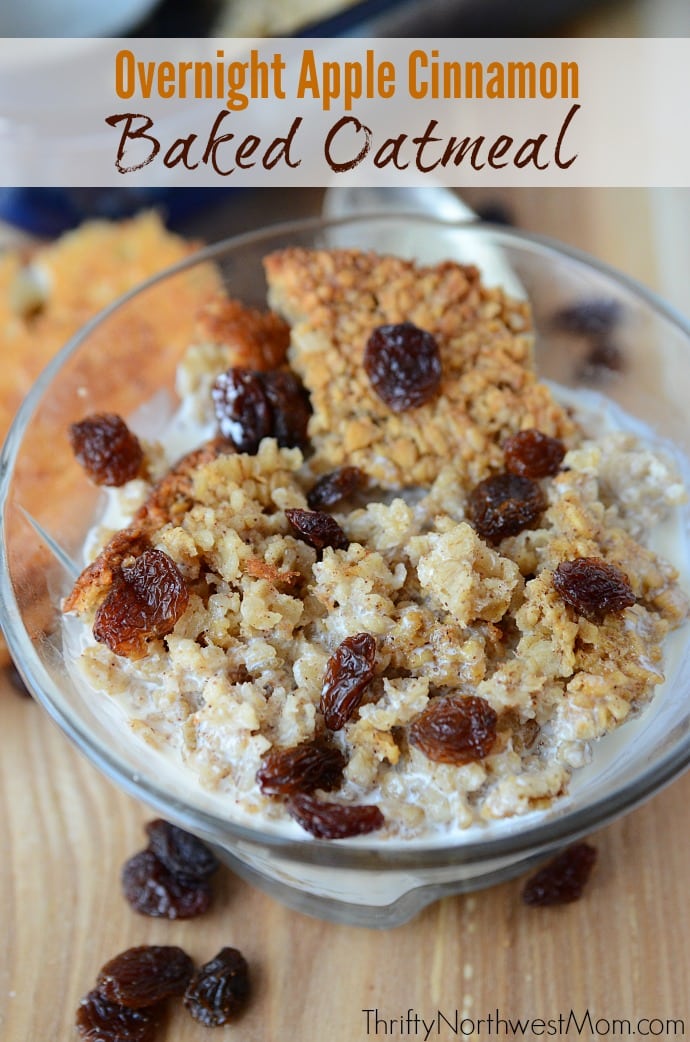
Overnight Apple Cinnamon Baked Oatmeal – make this ahead to bake in the morning

Crustless Quiche in Muffin Tins – great for freezing ahead
Recipe from previous contributor, Sarah Giampapa
