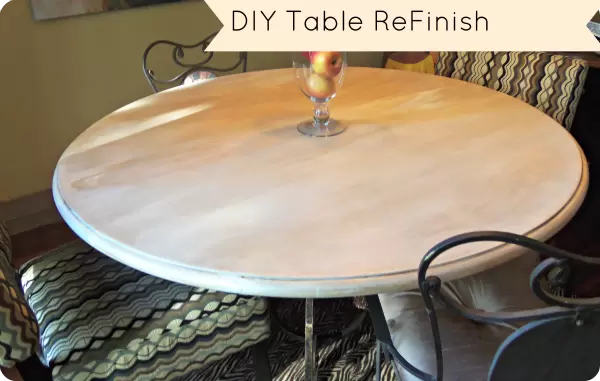
DIY Table Redo For Less Then $20
This post may contain affiliate links and I may be compensated for this post. Please read our disclosure policy here.
Looking for a way to freshen up a table for under $10? Here are some ideas to help you re-do free or affordable furniture for a fresh current look. There are so many great products on the market today to make these projects really easy.
We have never bought a dining set. Someone has always been giving one away, and we love to fix old stuff up. You can also hit up your local Goodwill, or keep an eye on Craigslist to get an affordable set (be sure to check the free section on Craigslist too).
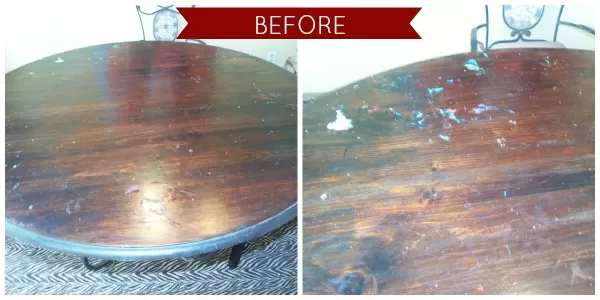
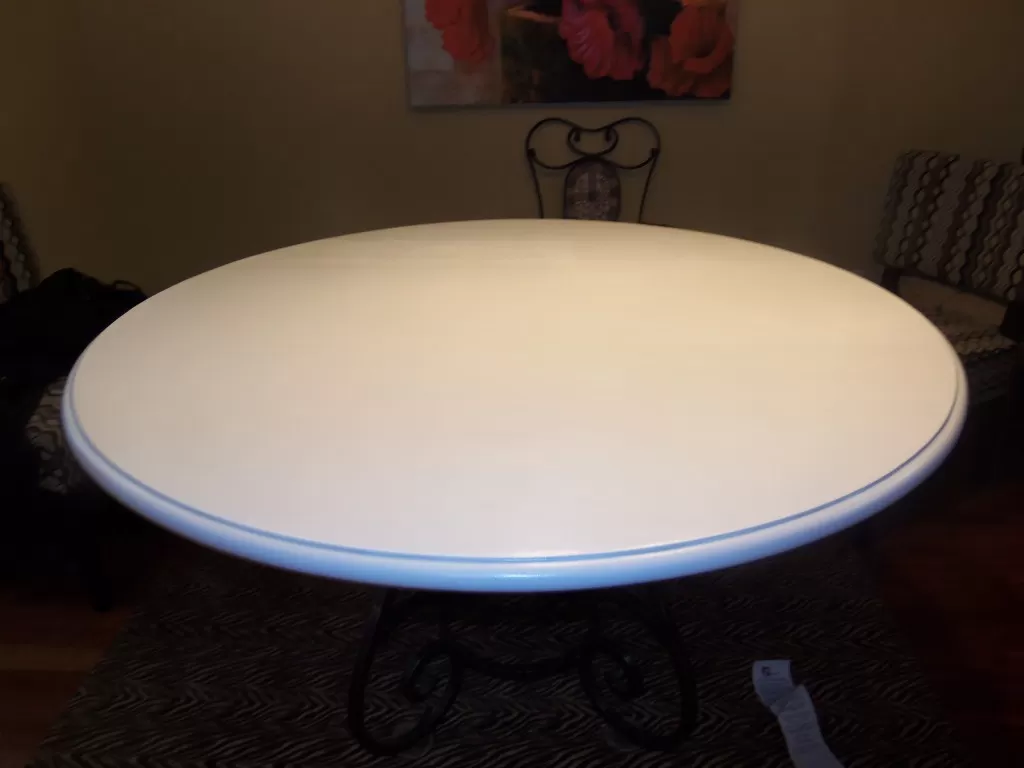
We came across this table at a house in Mercer Island where the home owner was remodeling. The home owner had purchased a new kitchen set and did not want this table any longer. Initially it was a blond wood – but I loved the iron base – so we grabbed it and my husband refinished the top in a dark walnut stain. Fast forward a few years, and too many art projects (yes, that I allowed my kids to do on the table), and I was left with this table. I always felt the need to throw a table cloth on if we had company over to hide my messy table.
We plan to redo our kitchen one day, and I want my husband to build me a farm table like this the one shown above on the base. In the meantime though, I wanted a fresh clean look, but wanted something different then just sanding and restaining.
So I headed to Home Depot and grabbed a small can of oops paint for $2. Ooops paint is paint that a customer did not end up purchasing for whatever reason, and so they are now selling it at a steep discount. I love oops paint. We pick up whatever colors or hues we like, and then we have mixed paint colors to come up with our own, and painted many of our rooms for much less then retail price that way.
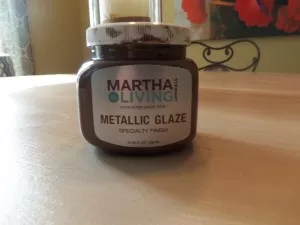
Next I grabbed this jar of Martha Stewart glaze for $5.97
I took these steps to antique my table:
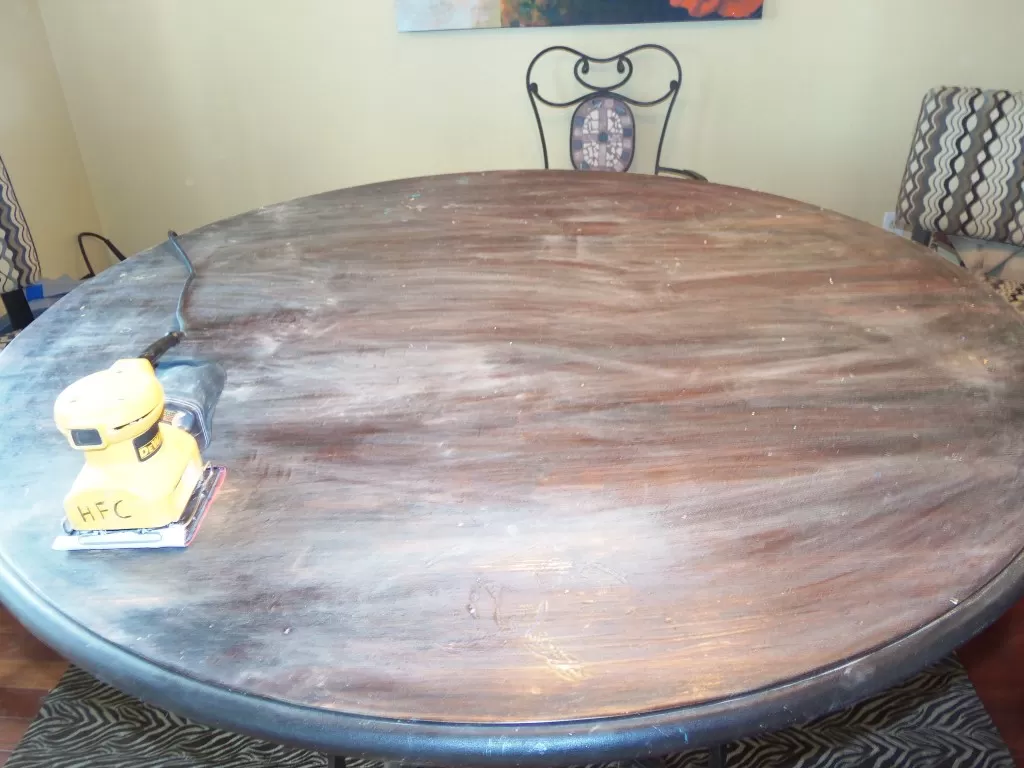
Start by cleaning and giving it a light sanding (if you have a finish on the table this step is important so that the paint will adhere). It is also just as important to make sure you have cleaned the table well after sanding.
Once your table is prepped and ready to go, you will need an undercoat of paint. We used white for ours, but this technique will work with any light colored paint.
Let the paint dry overnight.
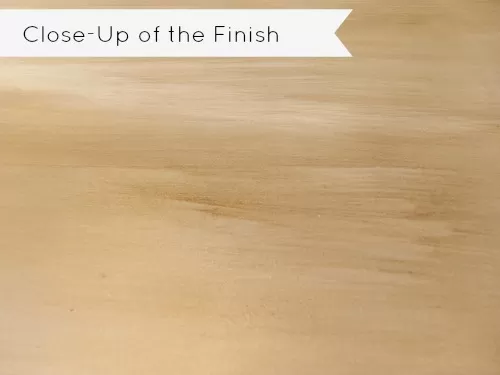
Make sure your table is clean, and the next step is to add the glaze finish to the top. If you have a surface with some kind of raised texture on it then I find rubbing it on with a rag. For my table, which is a flat surface, I found that brushing it on with a dry brush , provided better dimension.
To do the glaze finish, I put some water in a bowl, and some glaze in a second bowl. I then dipped the tip of the paint brush lightly in the water, and then lightly into the glaze and brushed in one direction across the table. If you wanted more of a linen look you could brush in one direction, and then do a second layer in the other direction. Don’t be afraid to play around with this step until you get the look you want. It’s just paint!
Once you have achieved the look you want, you will need to let it dry and then cover with a protective coat (so the paint won’t peel off). We had some on hand from a previous project, but you can get it for around $5 for the small cans (which should be enough to cover the table). Ask your local Home Depot or Lowes paint department for recommendations on the best finish for your table. I prefer the wax coating, for a more natural look (but you will need about three coats of this.
One last note – you will want to go easy on your table for the first week to give the paint finish and top coat enough time to fully dry and give you the best durability.

