
DIY Bath Bombs
This post may contain affiliate links and I may be compensated for this post. Please read our disclosure policy here.
 DIY Bath Bombs
 DIY Bath Bombs
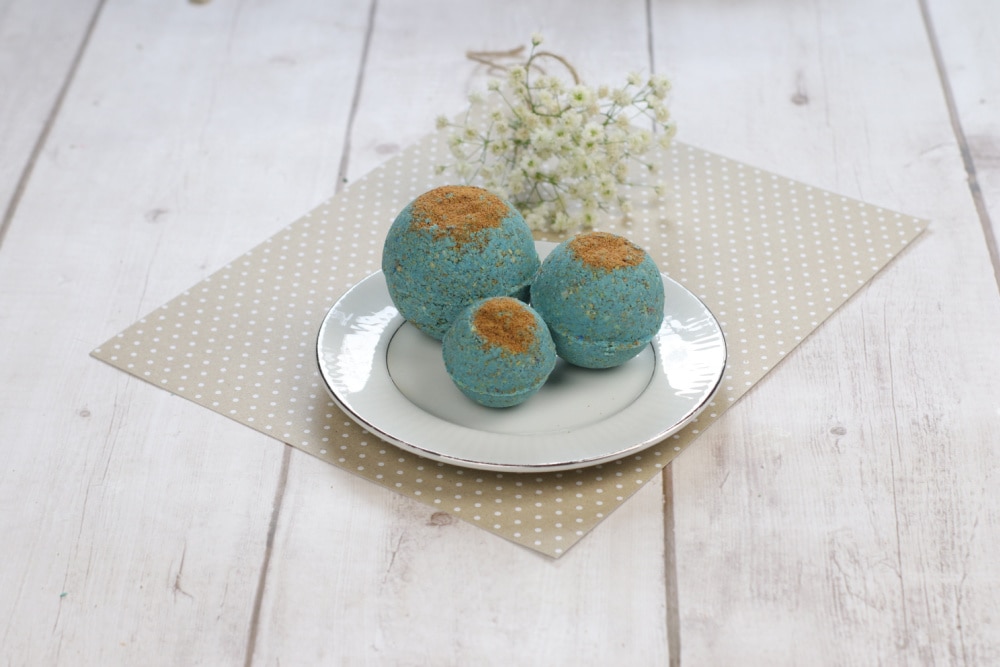
We all need to make time for self care & one of the best ways for self care at home is to relax & take a bath. Bath bombs just elevate that experience & make it even more relaxing & luxurious feeling. I love having the extra fizz & the nice scents to relax me when I add a bath bomb to a bath. However, bath bombs can get quite pricey to buy, so we love to make bath bombs at home to save money.
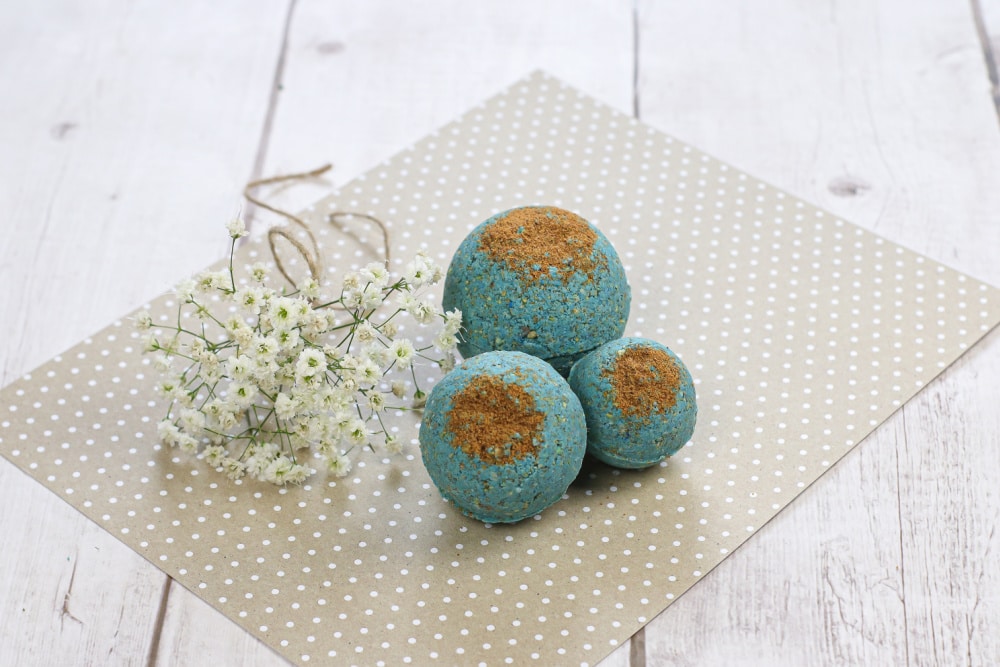
Plus, they are a fun craft activity to do with your kids or teens or with your friends for a fun DIY beauty night. These are so simple to make & very inexpensive, too. What I love is that you can vary the colors and the scents, adding in essential oils if you’d like too for some added benefits from the oils. Feel free to get creative with the shapes, too. We just stuck with the round shape for these homemade bath bombs, but you can buy other fun molds to make all sorts of fun shapes. What fun gifts these would make for birthdays or Christmas, too. I love getting homemade gifts from others as they are so thoughtful & you know they put time & effort into making them for you.
DIY Bath Bombs:
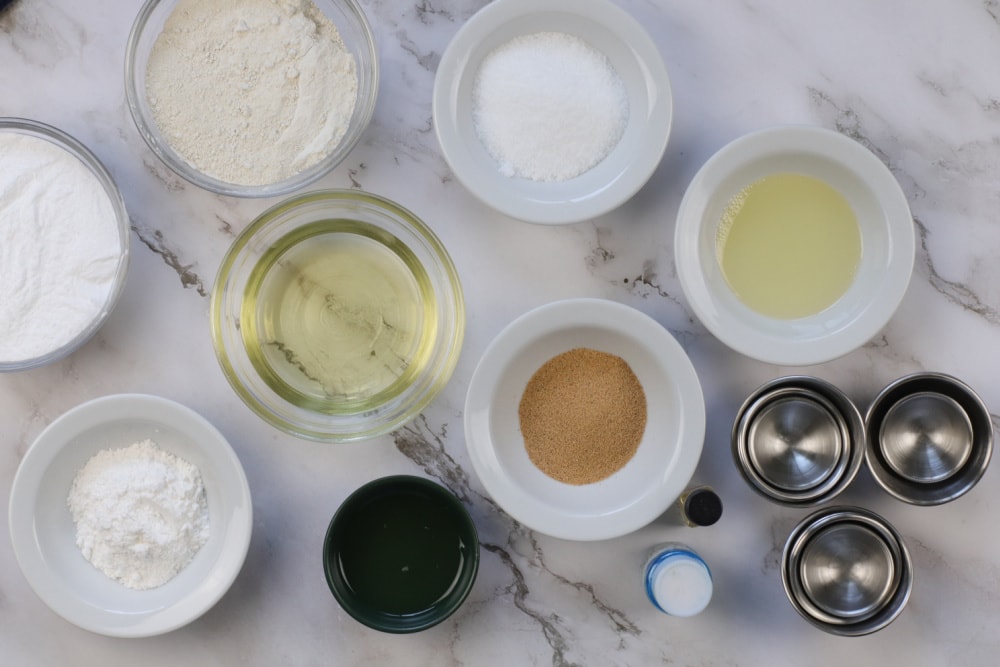
Supplies:
- *1-pound of unscented clear melt & pour suspension soap (I get mine from Candle Science)
- Ground lemon peel (I get mine from Amazon)
- Ground walnut shell powder (I get mine from Amazon)
- 3 teaspoons *Polysorbate 80 (I get mine from Amazon)
- Blue mica colorant (I get mine in a set from Amazon)
- **Floral scented oil (I get mine from this set from Amazon)
(Makes six 3 ounce, 2.6” size soaps approximately)
Equipment Needed:
- Silicone mold (I get mine from Amazon)
- Spray bottle filled with rubbing alcohol
- 1 large mixing bowl
- 1 heat resistant measuring cup
Directions:
Heat the clear soap in the measuring cup in 30 second bursts. Stir in between each. Continue until completely melted.
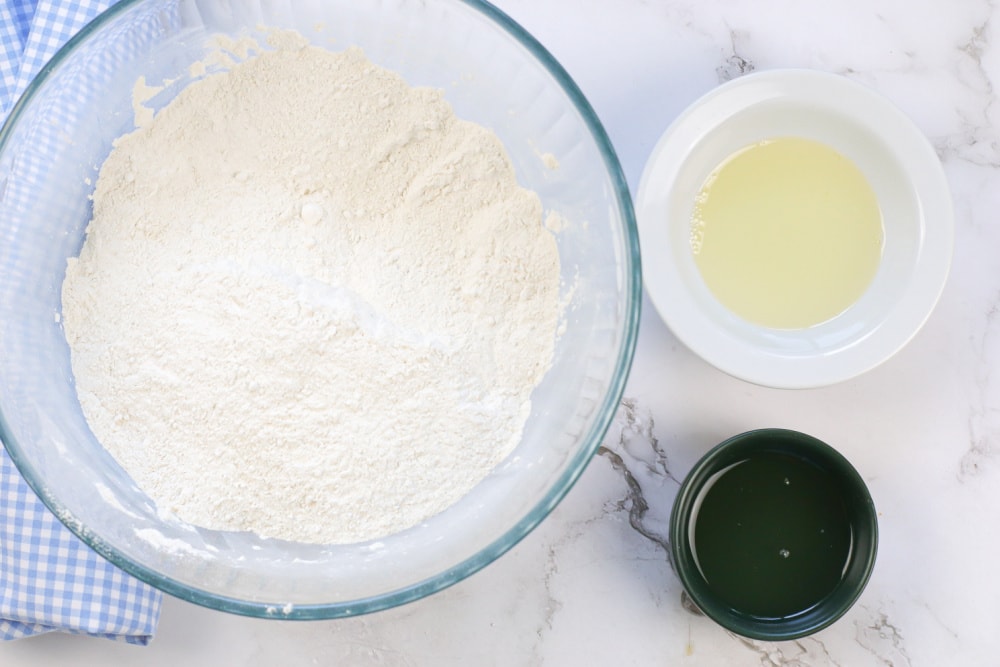
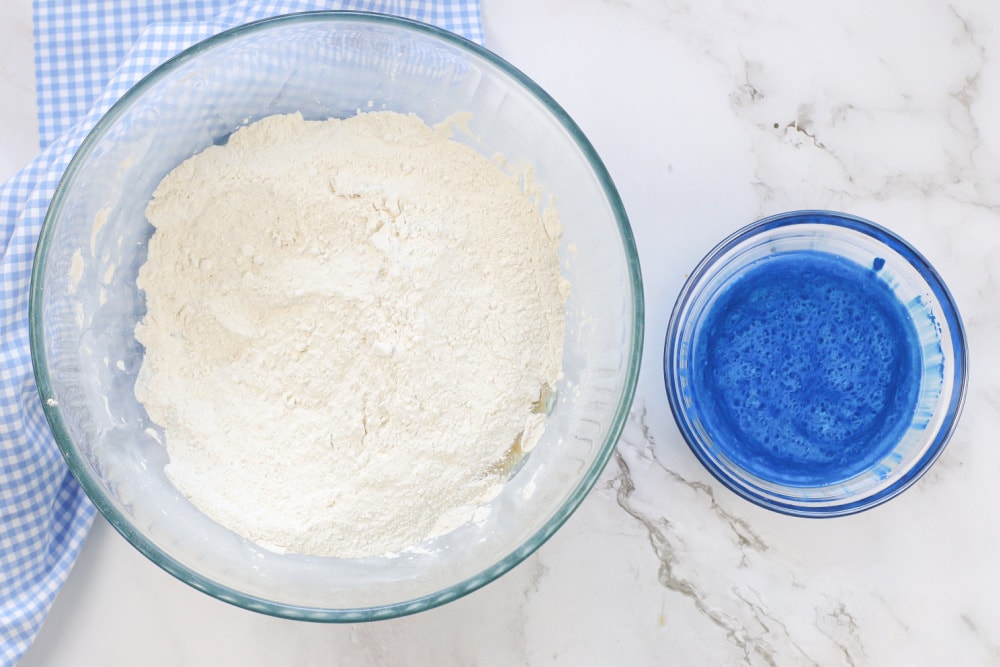
Add 1 teaspoon of the Polysorbate 80, 2-3 drops of the scented oil and ½ teaspoon of the blue mica colorant to the measuring cup.
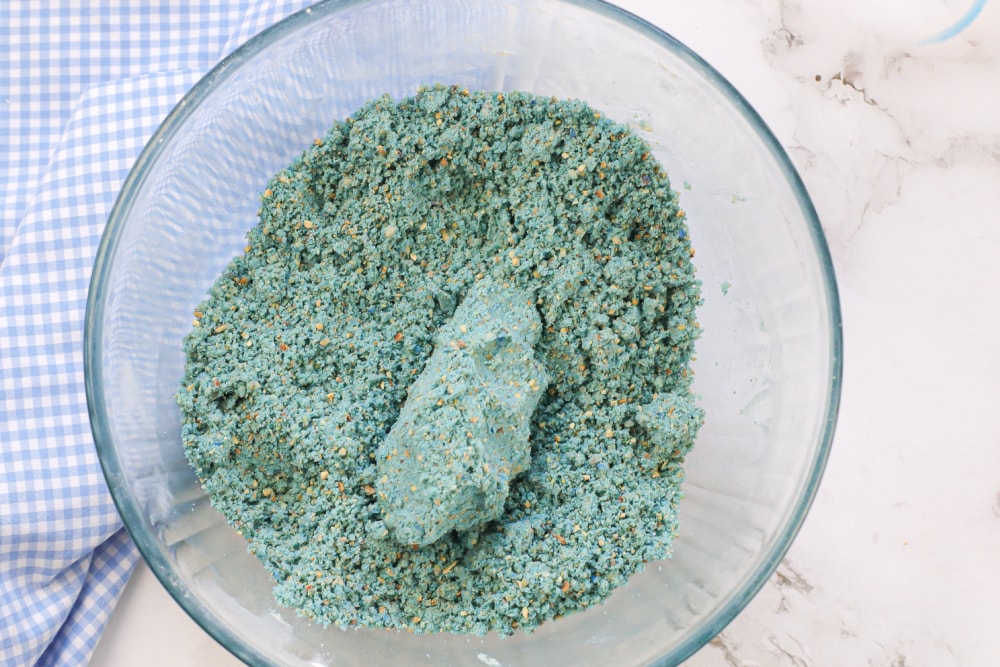
Stir until fully incorporated.
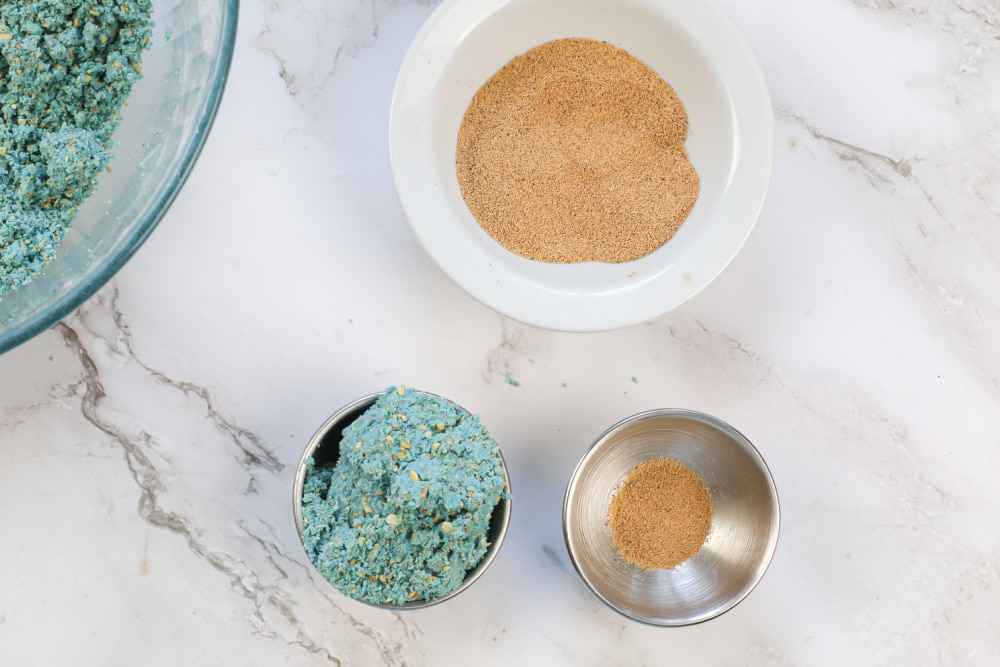
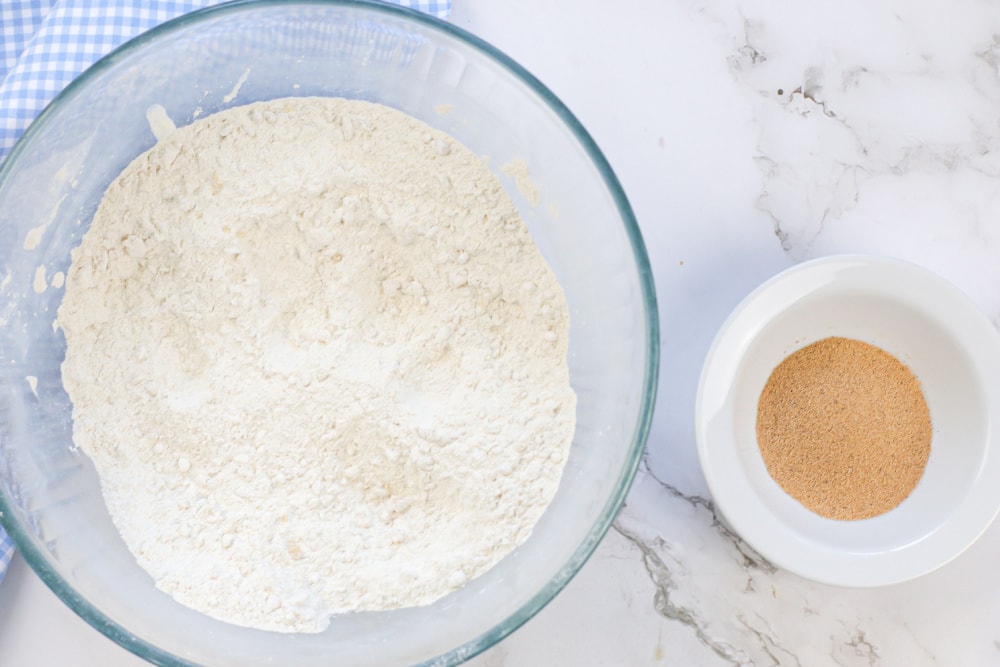
Spray each cavity of the mold with the rubbing alcohol. Add 1-2 teaspoons of the ground lemon peel and ground walnut shell powder to each cavity.
Add the soap mixture to each cavity of the mold, leaving about ¼” free at the top.
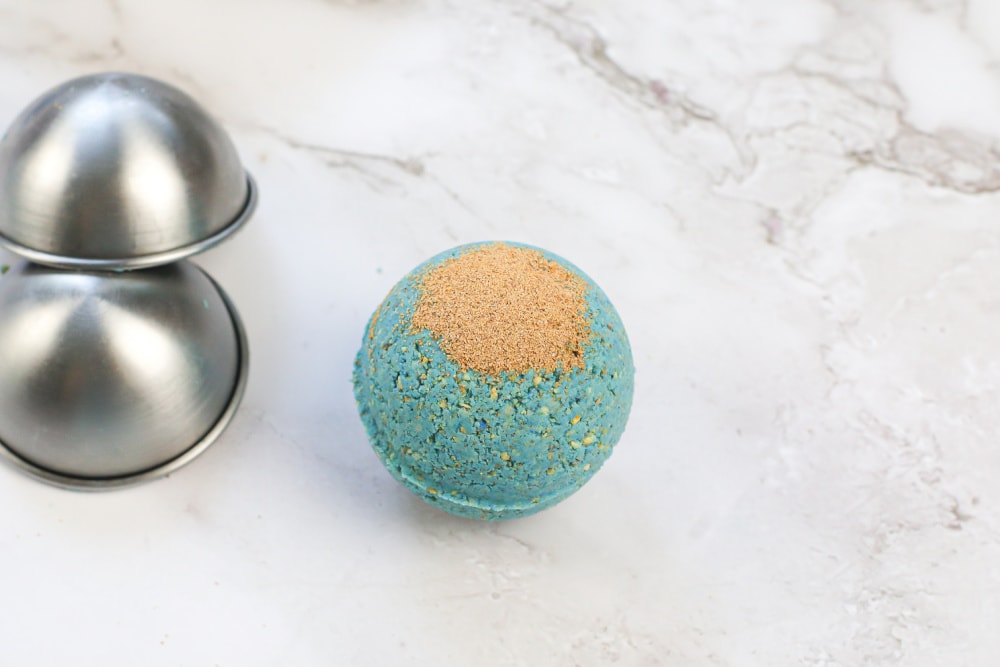
Add ½ teaspoon of the lemon peel and walnut powder to the top of the soap mixture in each cavity. Spray the soap with the alcohol and allow the soaps to harden completely (at least an hour). Gently pop the soaps from the mold and enjoy!
Additional Tips:
- *You can substitute regular melt & pour soap. The glitter will just settle to the bottom of the mold instead of floating in the layers.
- **If using on children, please check a trusted source for the safe amount to use.
- The use of the rubbing alcohol in between layers is to help them stick together. Spraying the alcohol on the top layer is to prevent bubbles from forming.
- You can melt the soap in all 3 measuring cups in one “assembly” line or you can do each one before each layer. If you do all 3 ahead of time, you may need to re-heat the soaps as they will have begun to harden before you get to the following layers.
Printable Directions for DIY Bath Bombs:
Here’s a printable version of the DIY Bath Bombs directions for you to print off for easy viewing.
DIY Bath Bombs
- Yield: Makes six 3 ounce, 2.6” size soaps 1x
Ingredients
- *1-pound of unscented clear melt & pour suspension soap
- Ground lemon peel
- Ground walnut shell powder
- 3 teaspoons *Polysorbate 80
- Blue mica colorant
- **Floral scented oil
Equipment Needed:
- Silicone mold
- Spray bottle filled with rubbing alcohol
- 1 large mixing bowl
- 1 heat resistant measuring cup
Instructions
Heat the clear soap in the measuring cup in 30 second bursts. Stir in between each.
Continue until completely melted.
Add 1 teaspoon of the Polysorbate 80, 2-3 drops of the scented oil and ½ teaspoon of the blue mica colorant to the measuring cup.
Stir until fully incorporated.
Spray each cavity of the mold with the rubbing alcohol.
Add 1-2 teaspoons of the ground lemon peel and ground walnut shell powder to each cavity.
Add the soap mixture to each cavity of the mold, leaving about ¼” free at the top.
Add ½ teaspoon of the lemon peel and walnut powder to the top of the soap mixture in each cavity.
Spray the soap with the alcohol and allow the soaps to harden completely (at least an hour).
Gently pop the soaps from the mold and enjoy!
Tips:
- *You can substitute regular melt & pour soap. The glitter will just settle to the bottom of the mold instead of floating in the layers.
- **If using on children, please check a trusted source for the safe amount to use.
- The use of the rubbing alcohol in between layers is to help them stick together. Spraying the alcohol on the top layer is to prevent bubbles from forming.
- You can melt the soap in all 3 measuring cups in one “assembly” line or you can do each one before each layer. If you do all 3 ahead of time, you may need to re-heat the soaps as they will have begun to harden before you get to the following layers.
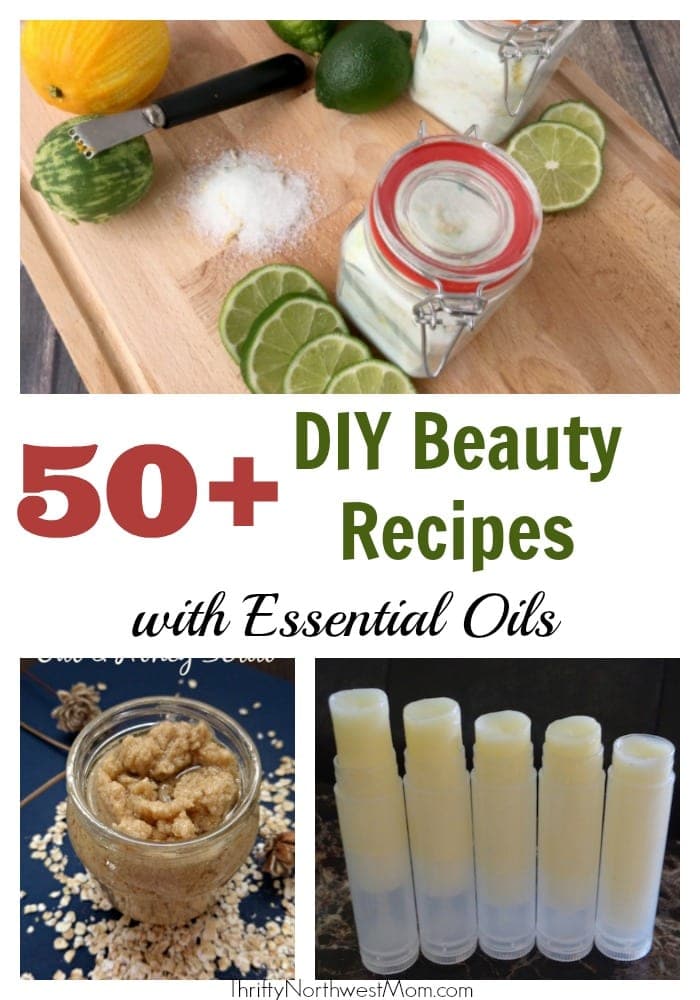
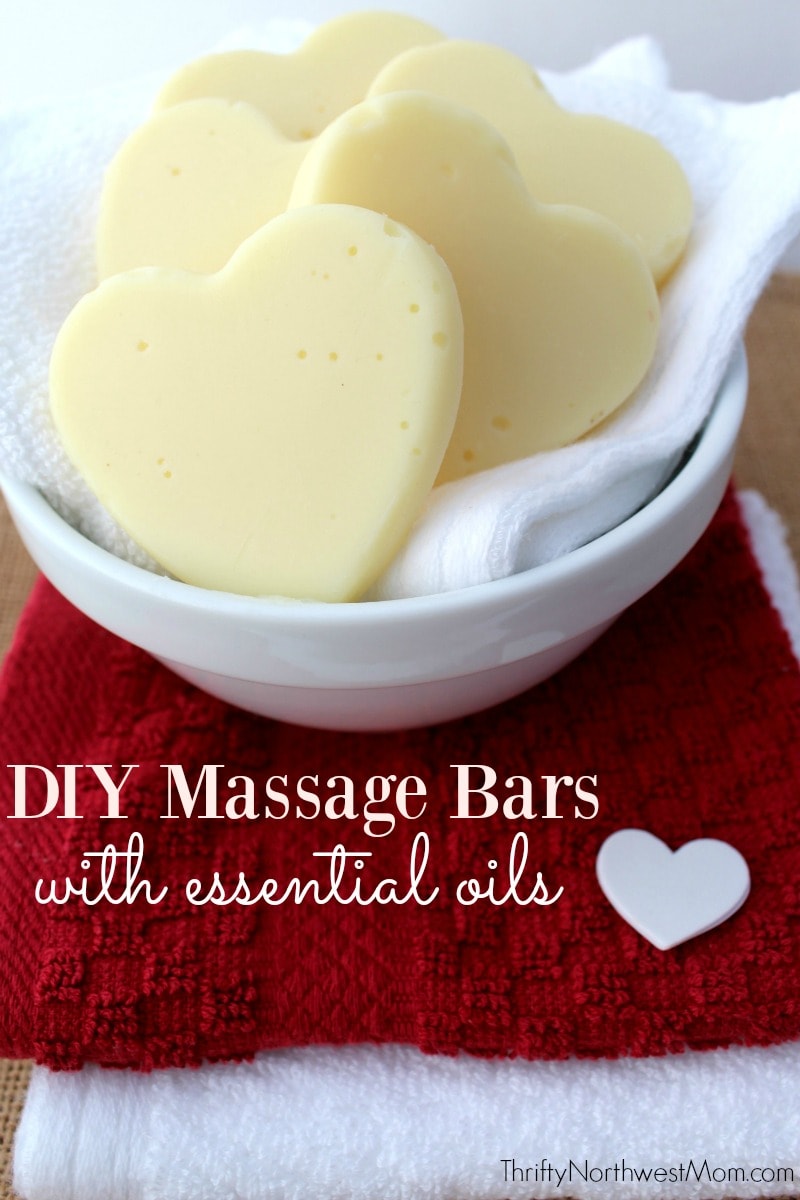
More DIY Recipes to Try:

One Comment