
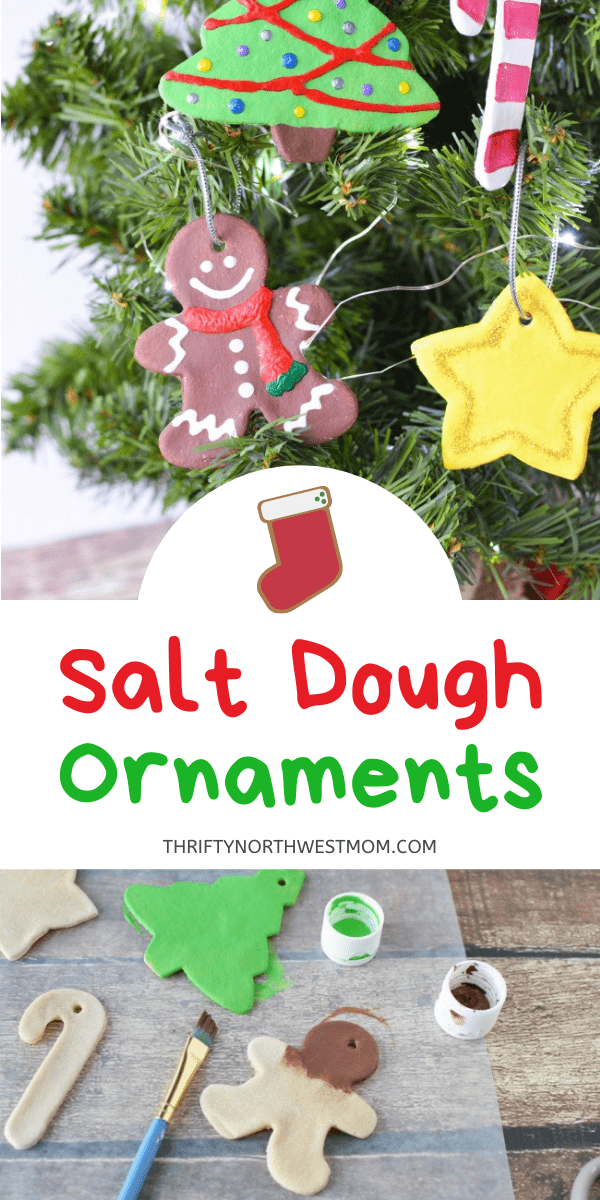
Salt Dough Ornaments for Christmas Activity
This post may contain affiliate links and I may be compensated for this post. Please read our disclosure policy here.
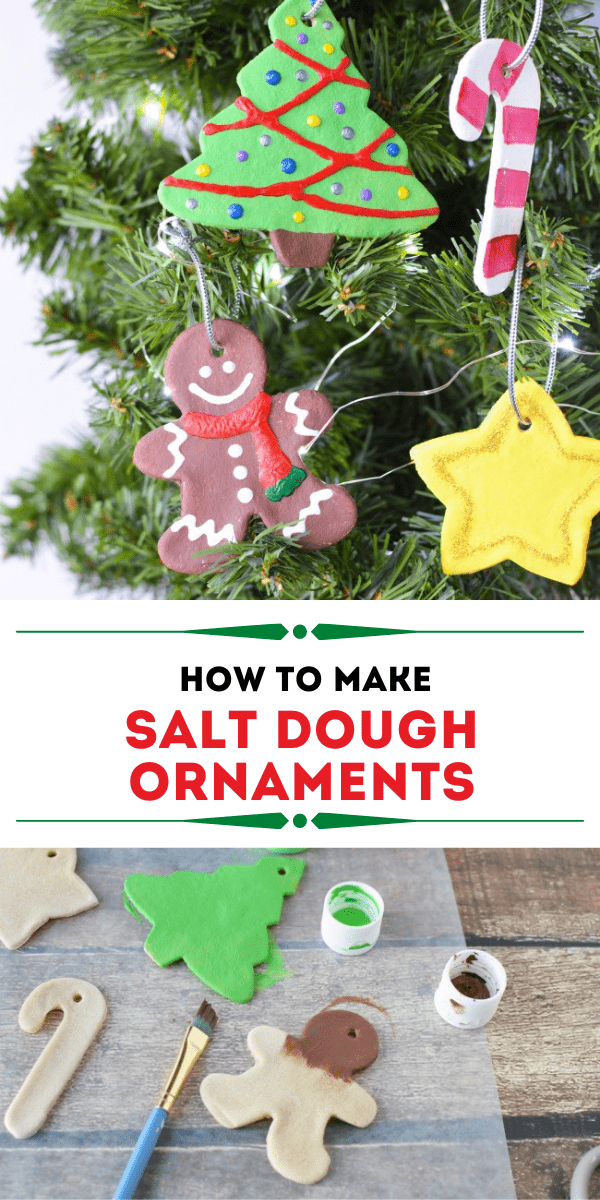
Salt Dough Ornaments for Christmas Activity
Most years in my childhood we would make salt dough or cinnamon ornaments. My aunt is also the queen of these and I have so many on my tree that she would decorate and give each niece and nephew over the years. My sister and I hosted a cookie exchange a few years ago and so I thought making salt dough ornaments would be perfect for the party favor. They turned out cute and some even have teeth marks from my then two year old trying to “eat” them. I used the recipe listed below and then when they were cool, I used puffy paints and glitter glue to decorate them. I have heard that you can also use real sprinkles!! Never tried it, but maybe this year!
This is definitely a great activity to do as one of your 25 Days of Christmas activities! If you haven’t heard of this before, it’s basically doing a fun family activity together each day in December leading up to Christmas. Check out all the details and free printables with lists of activities.
How to Make Salt Dough Ornaments
Ingredients:
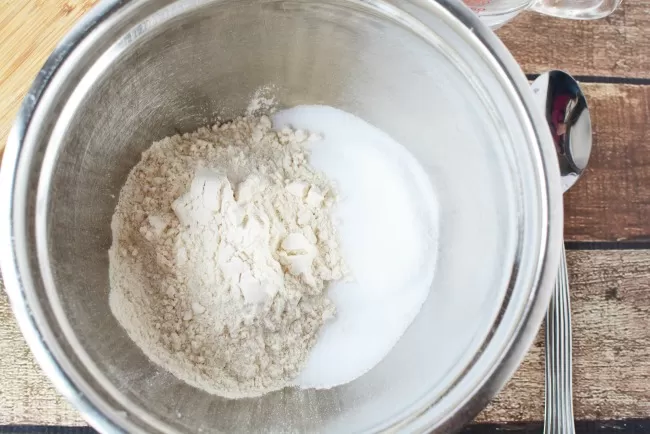
- 2 cups flour
- 1 cup salt
- 1 cup water

Directions:
1. Mix salt and flour.
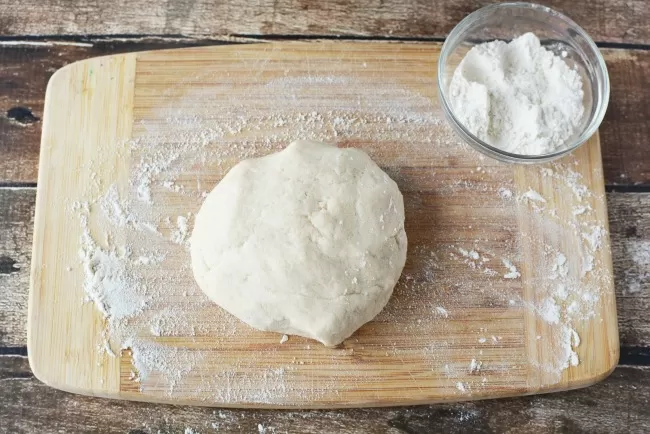
2. Add in half the water, then gradually add the remaining water.
3. Knead until the dough is smooth, this can take up to 10 minutes
4. For flat dough ornaments, roll out the dough on baking paper.
How to Create Your Ornaments:
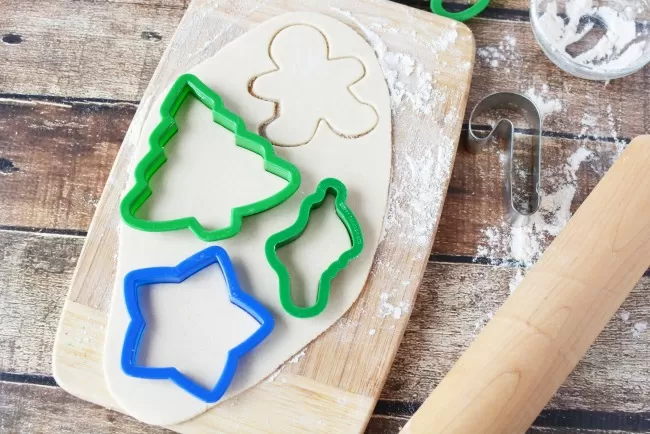
- For desired shape, use cookie cutters, cut-out templates, or just use your hands to shape the dough into the shape you want.
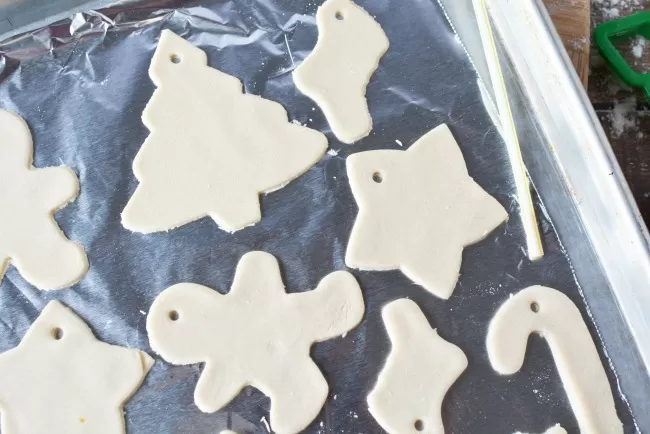
- Place your cut outs onto a foil lined baking sheet and then use a straw to cut the hole. This ensures if you move the cut out and it bends or distorts a bit, the hole doesn’t get distorted.
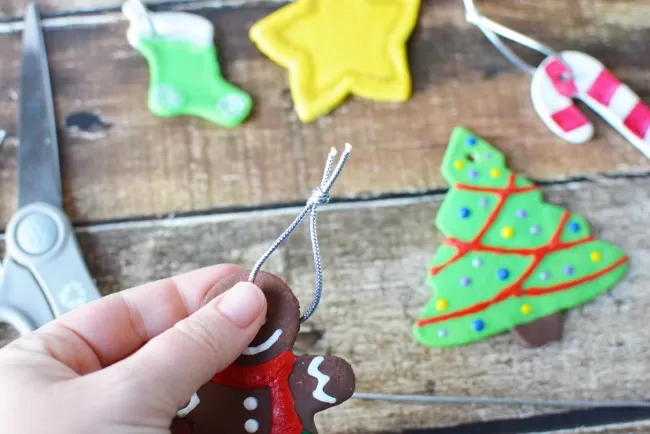
- Dust dough with flour, then begin to add details to the ornaments with a toothpick, popsicle stick, and knife.
Tip: Don’t forget – use a straw to make a hole so you can hang the ornament or use a small piece of wire inserted while the dough is soft. (I use a 34 gage wire, cut it about an inch then fold it to a horseshoe shape and stick the two ends in the dough)
What temperature do you bake salt dough ornaments?
The time will vary based on thickness of ornament. The temperature should be at 225 degrees for at least 1 1/2 hours or until dry.
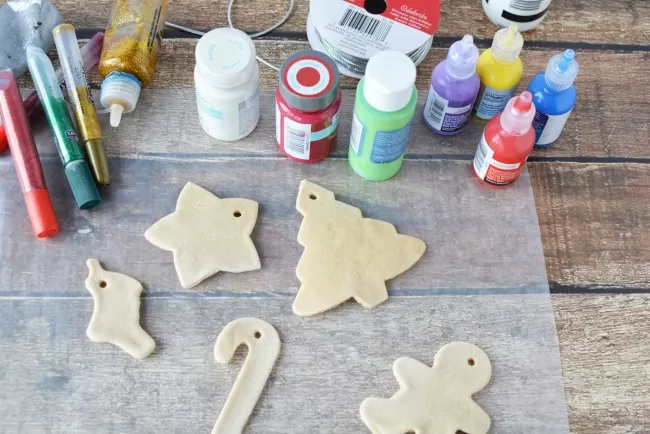
How to Decorate Salt Dough Ornaments & What Kind of Paint to Use on Salt Dough Ornaments
- Let ornaments cool before you begin
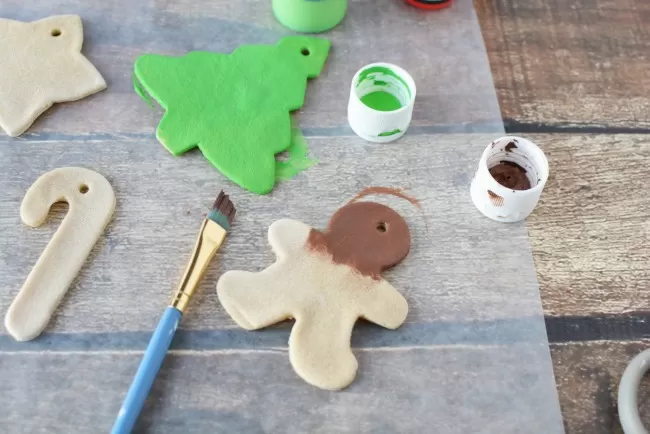
- Paint your salt dough ornaments using regular acrylic paints
- Glue on beads, buttons, or any fun accessory
- Finish with twine or ribbon to hang your ornaments on the tree
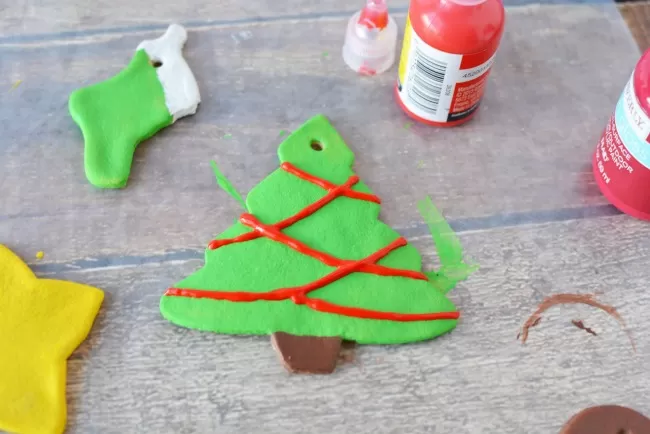
I like to use puffy paints and glitter glue for added embellishments!
Do Salt Dough Ornaments Need to be Sealed?
Yes, it’s best to coat salt dough ornaments with acrylic varnish when everything is dry. You could use this polyurethane spray or glossy mod podge to seal it as well.
How long can salt dough ornaments last? When you use a sealer to protect them, salt dough ornaments can last for many years (10+ years) and provide a lasting keepsake of your child’s artwork from this age.

Salt Dough Ornaments Recipe:
Make sure to print off this Salt Dough Ornament recipe so you can keep it in your recipe binder or notebooks for DIY recipe/gifts for the Salt Dough Ornaments.
Print
Homemade Gift Idea: Salt Dough Ornaments
Ingredients
- 2 cups flour
- 1 cup salt
- 1 cup water
Instructions
- Mix salt and flour.
- Add in half the water, then gradually add the remaining water.
- Knead until the dough is smooth, this can take up to 10 minutes
- Dust dough with flour, then begin to add details to the ornaments with a toothpick, popsicle stick, and knife.
- Tip: Don’t forget – use a straw to make a hole so you can hang the ornament or use a small piece of wire inserted while the dough is soft. (I use a 34 gage wire, cut it about an inch then fold it to a horseshoe shape and stick the two ends in the dough)
- Baking:
- Time varies based on thickness of ornament. The temperature should be at 325 degrees for 1 1/2 hours or until dry.
- Decorate:
- Let ornaments cool before you begin
- Paint with acrylic paints
- Glue on beads, buttons, or any fun accessory
- Preservation{so they’ll last a long time}:
- Coat with acrylic varnish when everything is dry.

Make sure to check out more homemade gift ideas:

If you seal them very well with varnish, they will last for years! I have 2 that I made as a child with my grandmother 35 years ago hanging on my tree! But they must be moisture-proofed!
I think 325 is too high a temperature. We tried it and our ornaments puffed up and turned brown while baking. Next time I’ll use a much lower temp.
Yes! 325 is too high!! They came out burnt. Maybe 225?