
Simple DIY Countdown to the Holidays Sign
This post may contain affiliate links and I may be compensated for this post. Please read our disclosure policy here.
Simple DIY Countdown to the Holidays Signs
We know how much you all love your Advent Calendars, so we thought you might enjoy this fun project from Merri Cvetan, teaching you how you can make this simple DIY Countdown Calendar that you can use for many different holidays!
The anticipation of an upcoming holiday celebration is often overwhelming for children. It can be overwhelming for moms, too—especially when you’re asked 10 times a day “When is Easter/Christmas/summer vacation?” Instead of pulling out the calendar for the umpteenth time, make a chalkboard countdown sign that you can reuse over and over. Got a blank wall you don’t know what to do with? Use this sign as the base of a rotating holiday-themed gallery wall. The kids can even help you count down the days and swap out decorations!
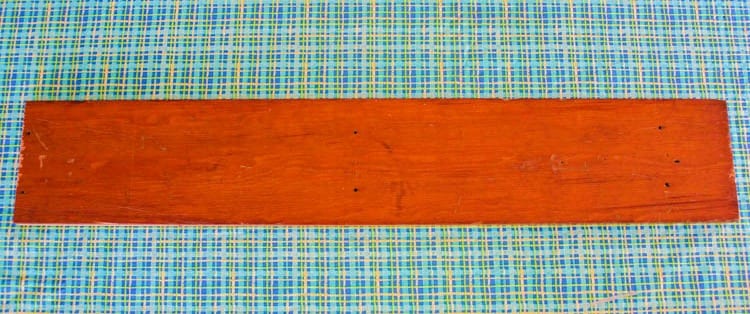
For starters, you need a wood board. You can make a sign from almost any wood and any size—it just needs to be big enough to be able to write legibly. I happened to have a scrap piece of wood in my shed measuring 34 by six inches.
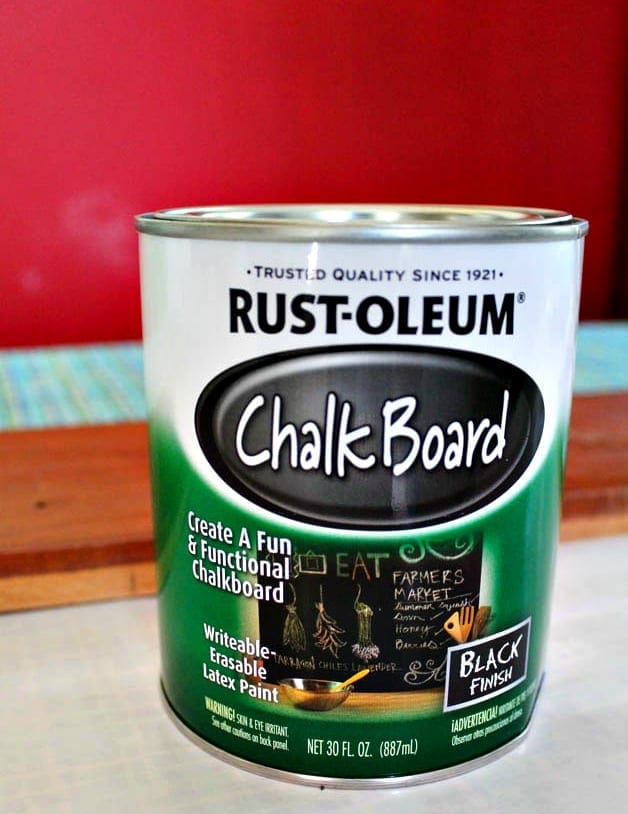
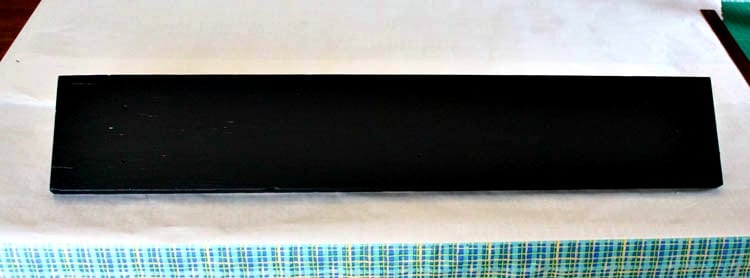
My board had a coat of stain, so I lightly sanded the finish and drilled two holes at the top edge for the eye hooks. Then, following the directions on the can, I gave the board three coats of black chalkboard paint.
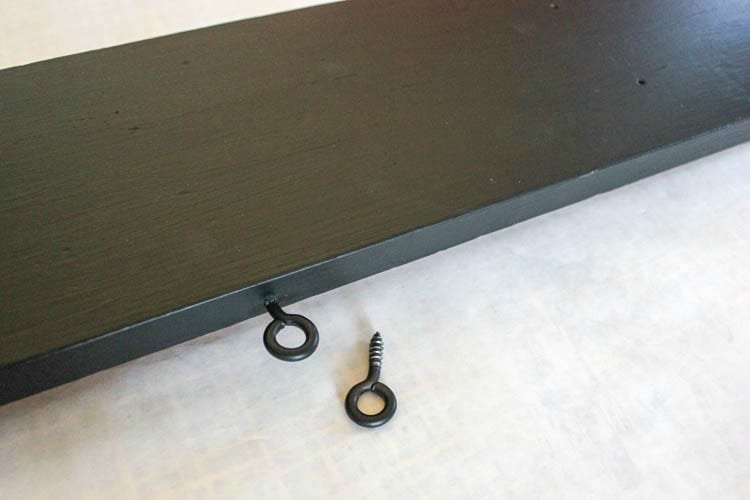
After the paint was completely dry, I screwed the two eye hooks into the top of the board for easy hanging.
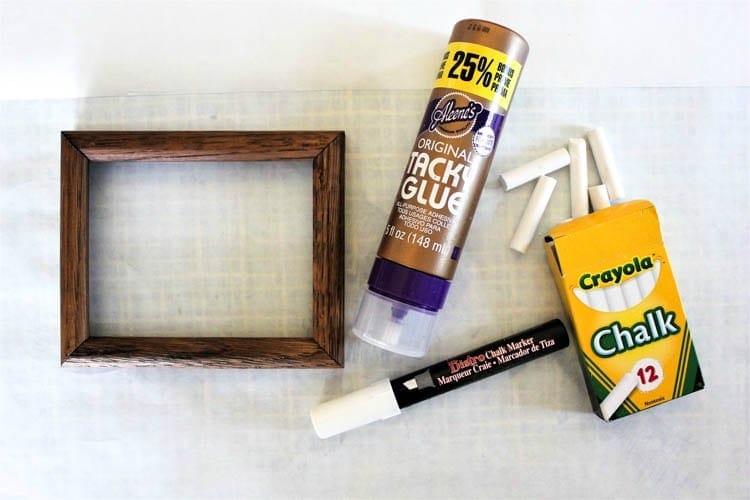
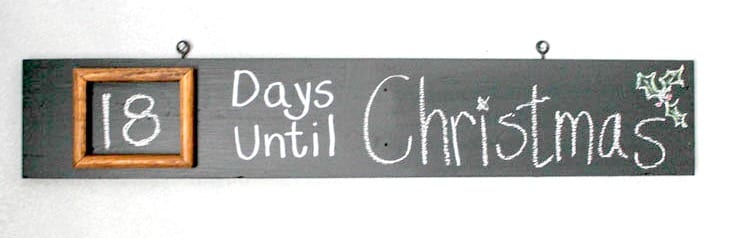
The only other supplies you will need are craft glue, a permanent chalk marker, chalk, a white pencil and a frame (mine measured five by six inches).
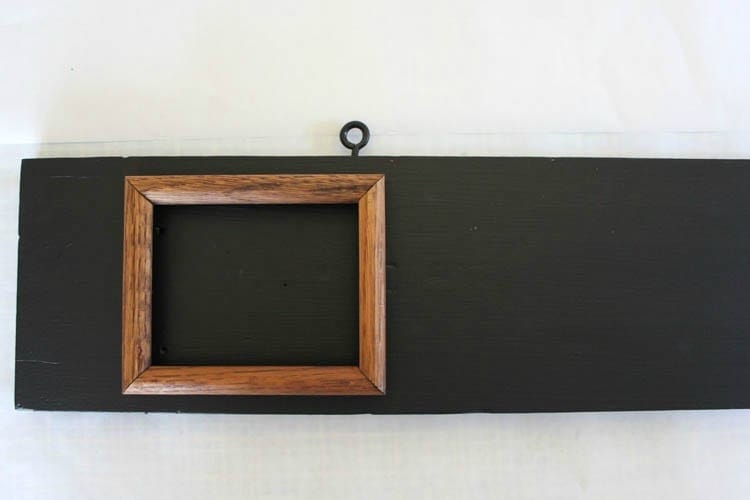
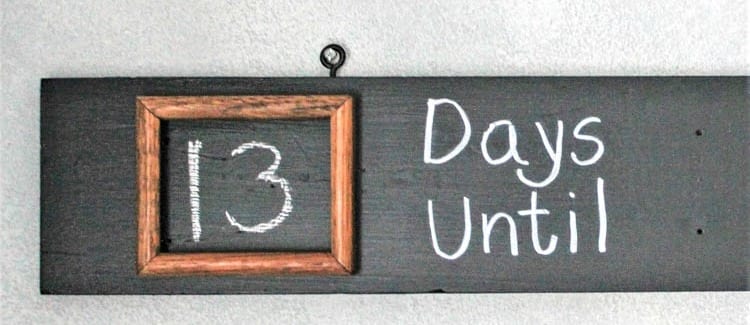
I glued the small wood frame to the painted board three inches from the left edge. The frame gives the sign dimension and texture. Another option is to paint the frame in a contrasting color or a color that matches your home’s decor. Once you have the frame in place, allow the glue to dry thoroughly.
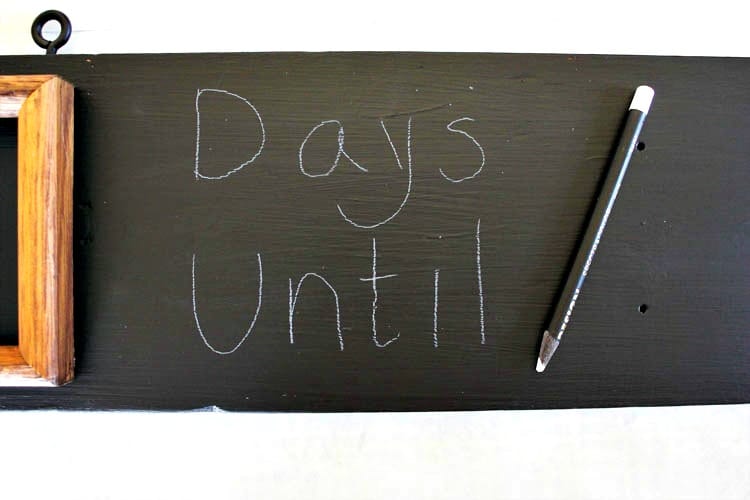
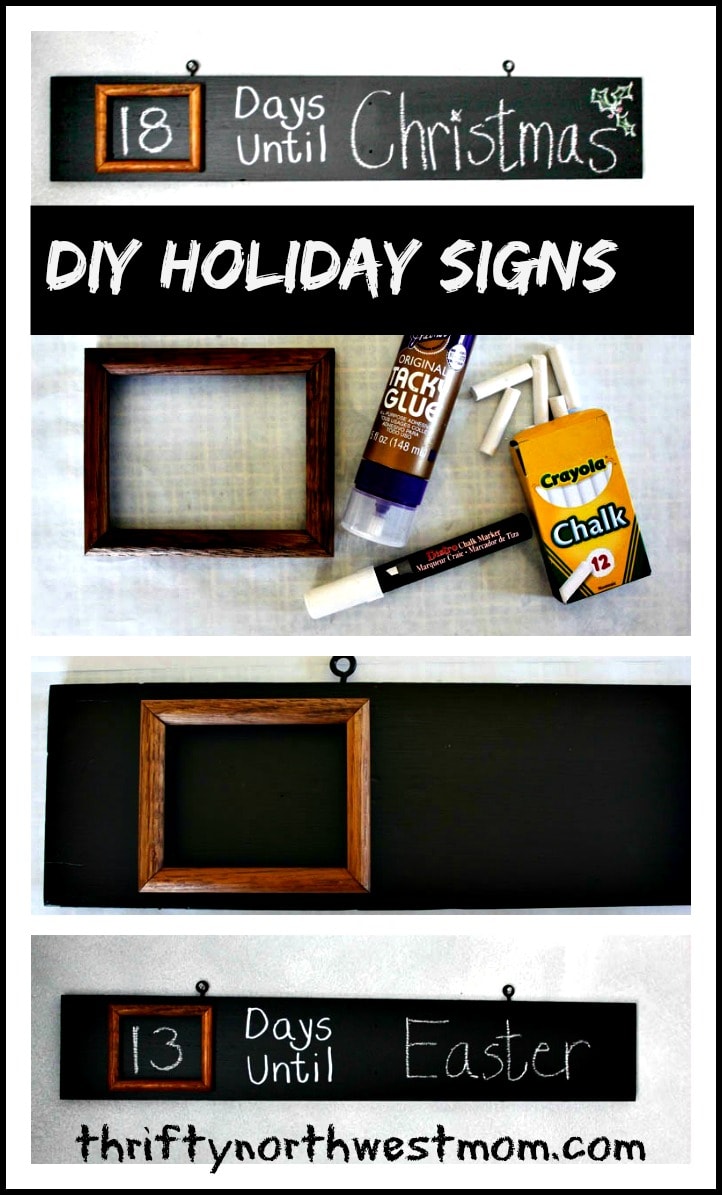
I used a permanent chalk marker to write “days until.” If you’re not quite sure of your handwriting, or need to practice centering the words, start with a white pencil to lightly print “days until.” Use a clean eraser if you need to start over.

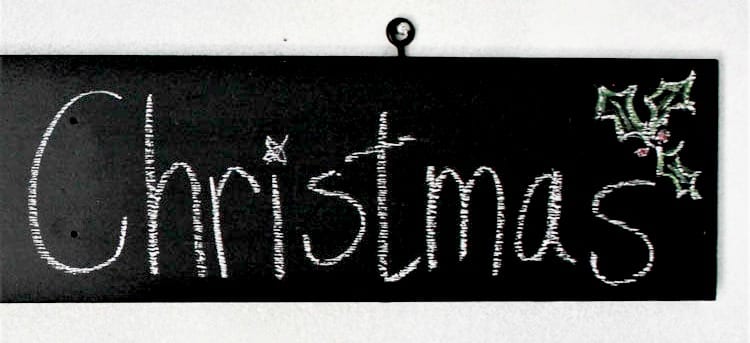
Write the number of days inside the frame and fill in the holiday at the right side. Invest in colored chalk to add holiday-specific drawings and designs. The best part is that if your children can hold a pencil, they can change the countdown number every day. When a particular holiday is over, go on to the next. It’s perfect for upcoming birthdays, too!
More articles you might be interested in:

Find more DIY Christmas Projects here!
More about the author of this article:
Merri Cvetan is an interior designer who writes about home decor DIYs and beautiful crafts for The Home Depot. She provides design advice on everything from updating your home with interesting furniture to creating wall decor that’s fit for every season. Visit The Home Depot to get more wall decor inspiration here.
