
How to Make a Lighted Canvas Sign (For the Holidays, or Any Occassion)!
This post may contain affiliate links and I may be compensated for this post. Please read our disclosure policy here.
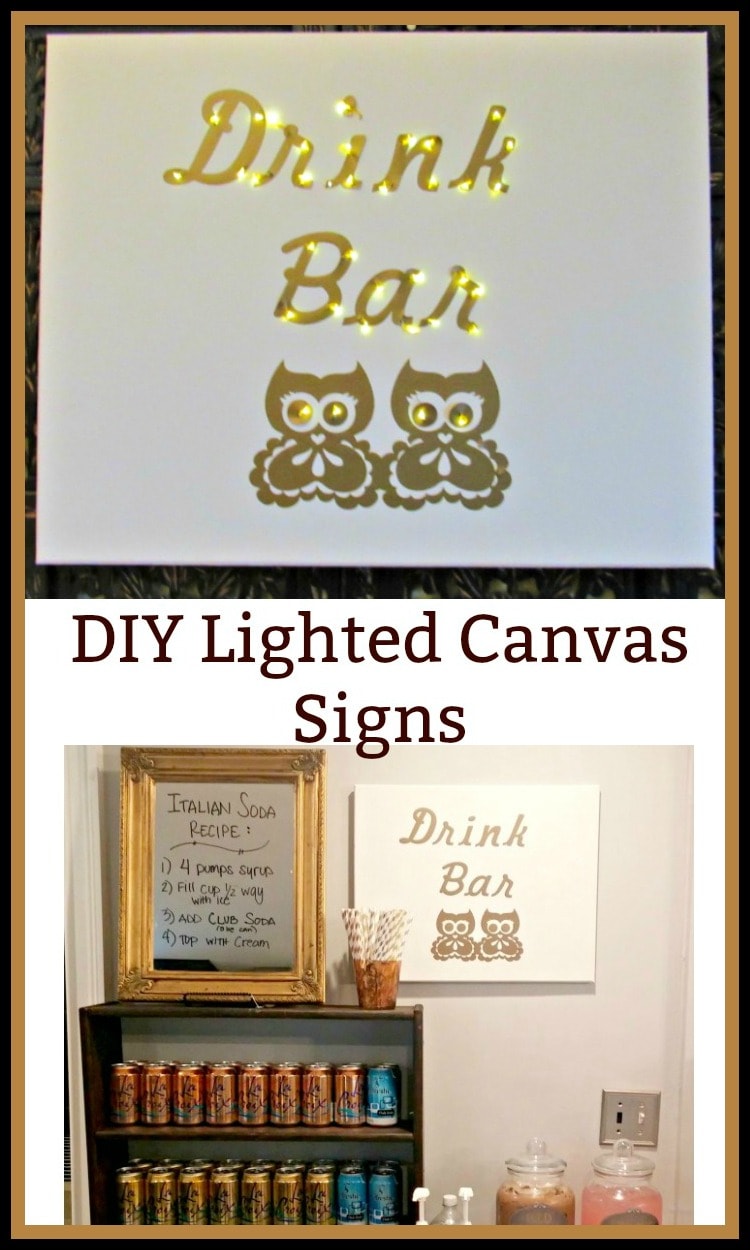
A good friend of mine is having a baby, and we recently threw her a baby shower. My task was to put together a drink bar for the shower, and I wanted one of those signs that light up to above the drink bar. They are fairly expensive to find in the store, and then you have to find something that matches your color and wording exactly. As a result I decided to make my own. You can make this project for under $10. Your cost will depend on the materials you choose to use, and what supplies you might already have on hand.
These are also great ideas to use for holiday decorating. You could do one that says Merry Christmas or Silent Night, or Happy New Year (or any theme you want to use).
I used my Cricut to make my sign, but you could buy the letter stickers at places like Walmart, or paint on the wording on your sign if you do not have a Cricut machine.
Here are the supplies you will need:
- Canvas Board in the size you want your sign (I got mine for $3.99 at Walmart – bought it in a two pack for $7.97). You will want to make sure you get a stretched canvas, so you will be able to cut through to put the lighting threw the canvas.
- Battery operated light string (you could also use white christmas lights if you want a brighter sign, but those strings are often longer and so they may be tougher to work with)
- Exacto Knife, or sharp pointed scissors
- Either:
- Vinyl color of choice if you are using a Cricut (you will need mod podge and a paint brush or small paint roller, if you are using either vinyl or sticker letters too)
- Sticker letters if you are not using a Cricut
- Or paint color of choice if you are going to paint on your wording.
To Make the Sign:
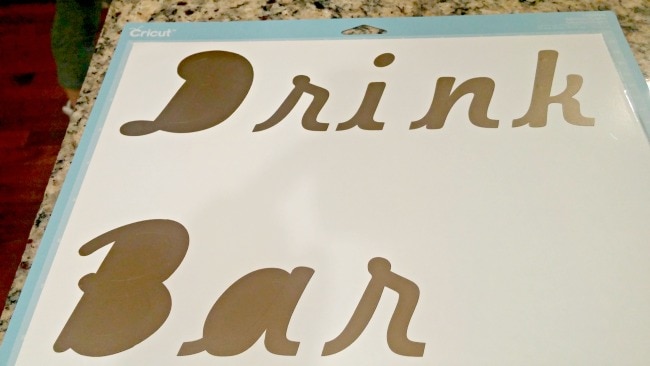
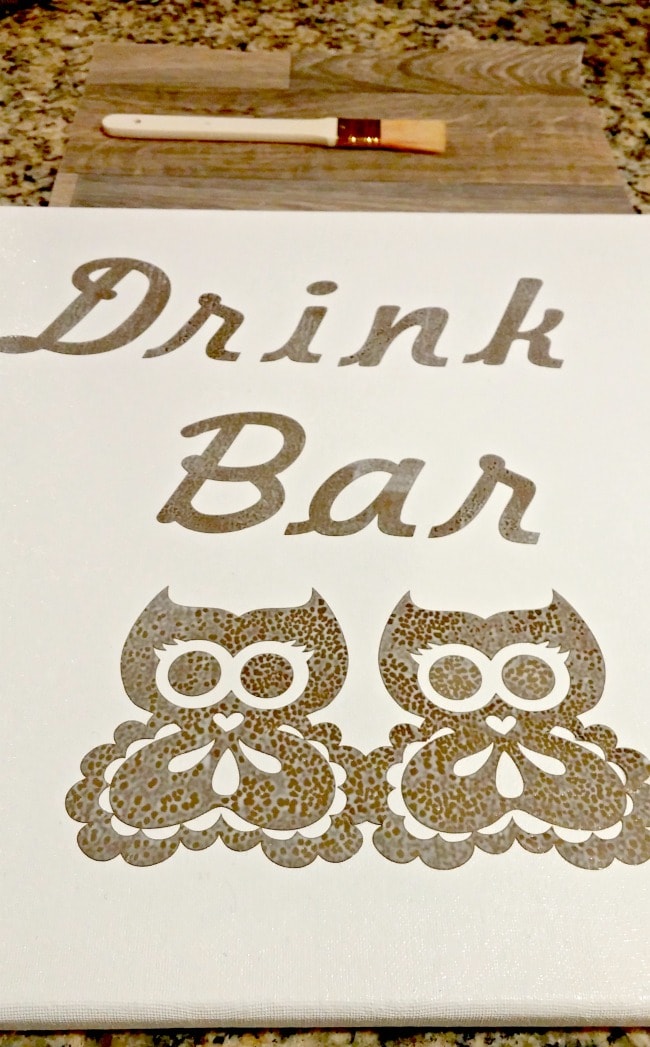
This is the lettering I cut out from my Cricut. I chose a free font, and wrote out the saying I wanted and then used Gold Vinyl to cut it out from.
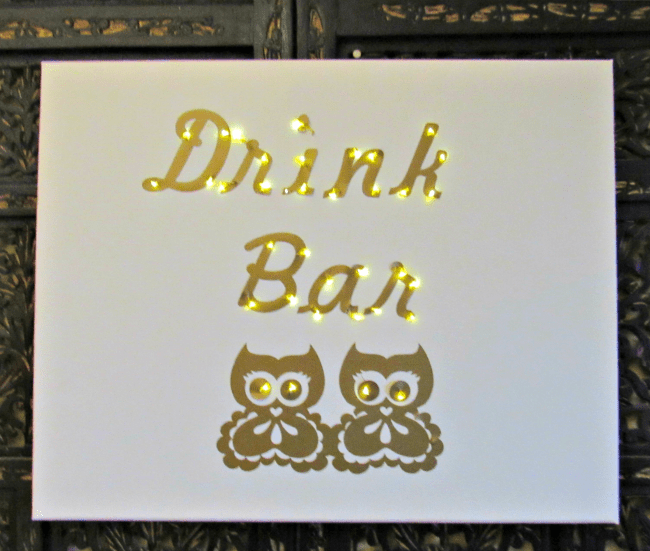
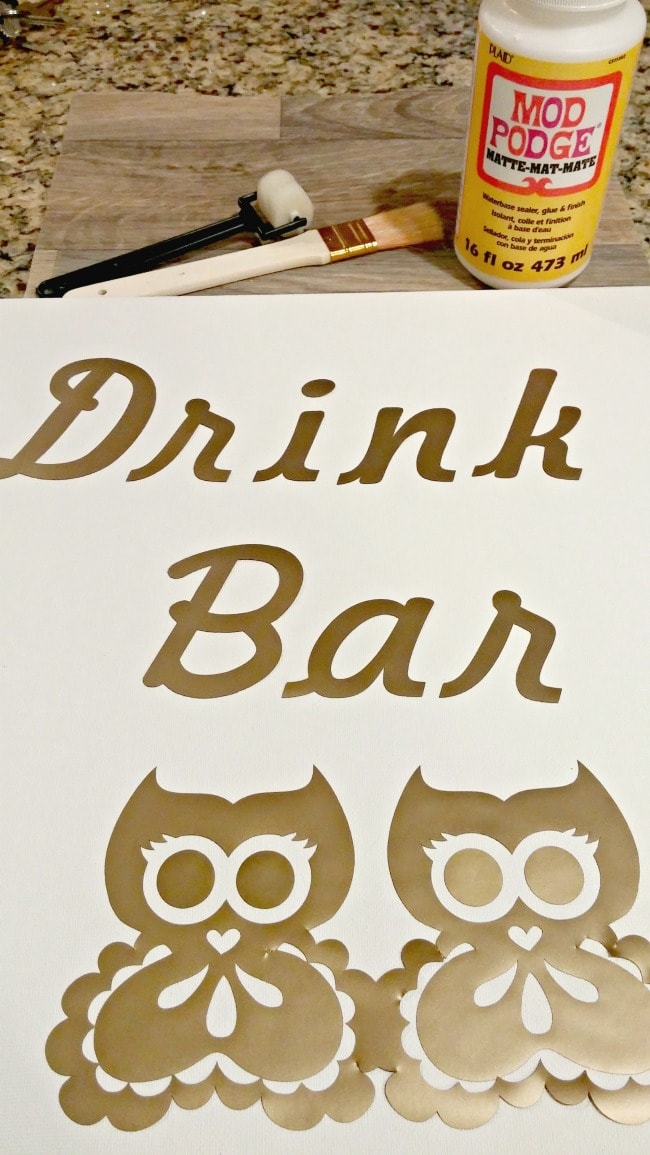
Start by adding whatever lettering and images you want to your canvas. We were doing a sign to put above a drink bar we were doing for a baby shower, so we used our Cricut to cut out Drink Bar, and then found the owl images that we liked, and cut those out as well.

The vinyl that we used has a sticky backing, but it would not be enough to hold it once we started poking lights through, so we added a couple of layers of Mod Podge to our signs. We started by adding one layer under the letter (covering the full canvas), and then applying the lettering over this under layer. Let that dry, and then add a layer over the top of your entire sign. the underlayer is important, even if you have sticky letters. You will be poking the lights through the back of the canvas, so you want to make sure your lettering is adhered really well, so it does not come loose during that process.
Let that dry, and add another layer on top of that. We did thin layers, and did 4 of them, letting it dry in between layers.
You could alternatively paint on your wording and any design you wanted to use. If you are using paint, you can skip the mod podge layering process, as you will not have to worry about those letters coming off.
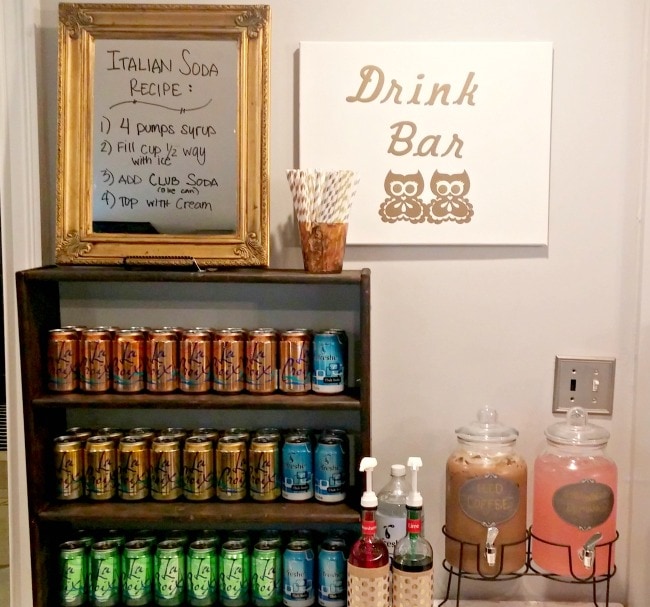
We used the sign during the day, prior to adding the lighting, and this is what it looks like.
Once you have your sign finished, now its time to add the lighting. To do this, you will need to figure out how and where to string the lights on the sign. I started by counting how many lights where on my string, and then dividing that number by the number of letters I had on my sign to figure out how many lights I would have per letter, to cover the full sign. I had enough lights to do 4 per letter, and that left me with two for each of the owls eyes.
Once I figured out how many lights I would have to use for each letter, I held my sign up to the light, and on the back end I used a pencil to mark where I wanted each light to go on each letter.
Once you have all of your pencil marks made on the back side of your canvas, you will want to go over each marking with an exacto knife or sharp point of scissors to cut a hole there for the lights to fit through. I used the exacto knife (with a cutting pad underneath so I did not mark my counters up). You will want to make sure that whatever you use is sharp, so it cuts right through your lettering and does not pull it off the canvas.
Its also important to make sure you are only cutting a hole big enough for the lights to get through, so they fit snugly (and the canvas holds them in). Its better to start small, and you can make it a bit bigger if you need to.
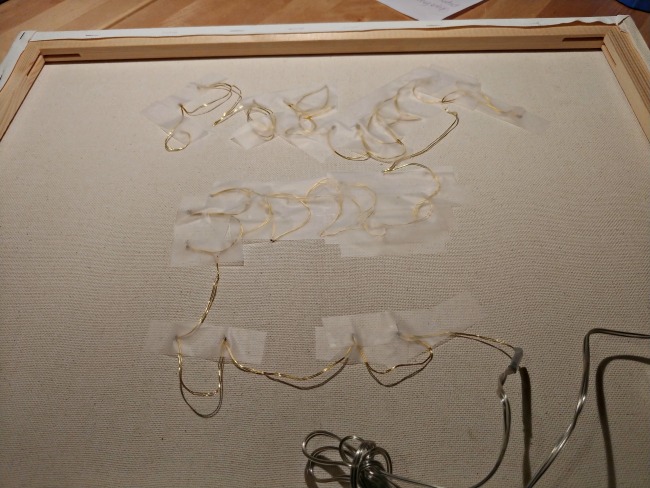
Once you have all of your holes for the lights cut, you will be ready to start threading the stringed lights through. To do this, I recommend putting the battery pack at the bottom corner of your picture, and start to thread through the hole closest to the battery pack, and then wind your way through each word, and up to the top of the canvas that way.
Once I had all the lights threaded through, I secured my string on the back with some clear tape. I did this, just so the lights stayed in the same spot I put them (not pulling out further), but you can skip this step if you are not worried about that.
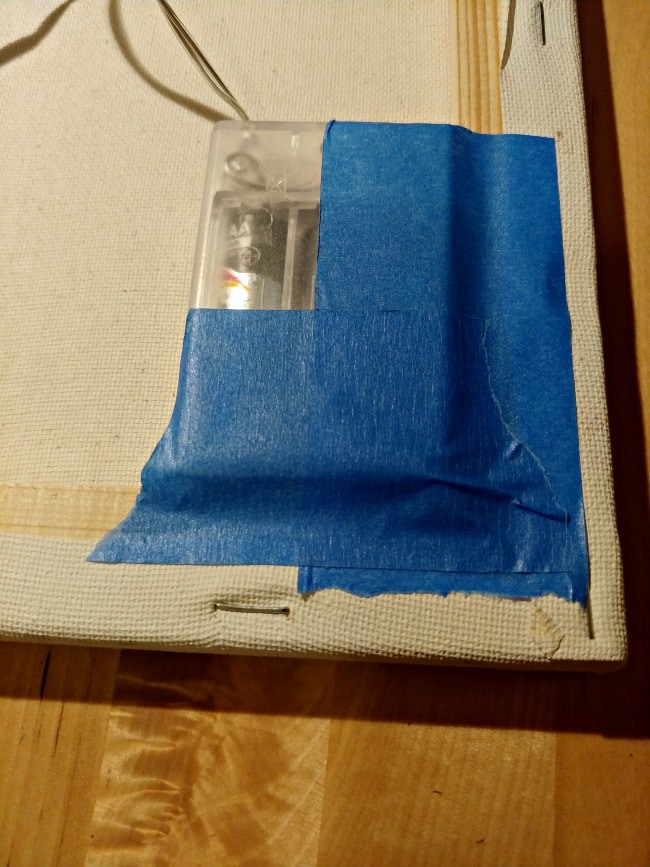
You will want to secure your batter pack to the canvas, so it does not fall out when you move your picture. A simple way to do that is to add some masking tape, or duck tape over it and attach it to the sides of the canvas that way.
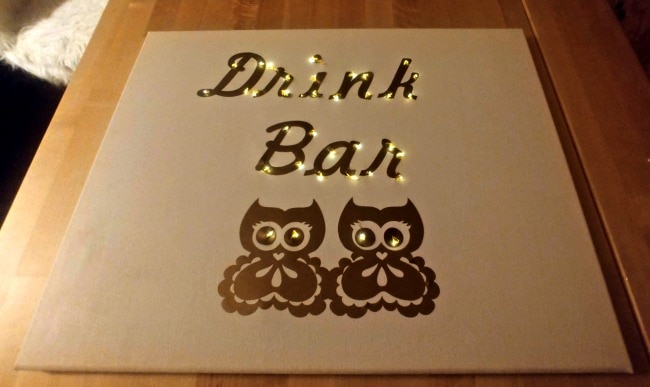
When I was done stringing the lights, I turned on my battery pack to test it out, and make sure all of the lights where where I wanted them to be. It worked out perfectly! You could use some washi tape to create a border around the sign, or even frame it if you want a more polished look.
You could also use a pre-made canvas that you can find for not too much at spots like TJ Maxx, and then just add a string of lights to that to dress it up.
![]()
Here is another example of a lighted sign we made from reclaimed wood and Christmas lights. We used the same concept here, only we drilled holes through the wood, and then added the Christmas lights (fire rated ones), through the holes for this project. You can get as creative as you want with this project.
More about the Cricut Machines:
I have one of the Explore Air Machines, and love it. I like the Air as I can set it up to be wireless and send projects to it easily from my phone or computer. There is an app I put on my phone, and I can plan projects from where ever I have my phone with me at, and then simply cut them out on the machine when I am ready to do the project.
The Cricut Explore One Machine
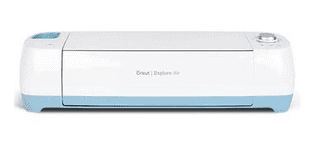
Cricut Explore Air Machine – on sale for $179.99 (reg $249.99)
This machine includes the Bluetooth embedded for wireless cutting, so you do not need to be connected to your computer in order to use it. Cut over 60 different materials to create everything from cards and invitations to party and home décor.
Here’s all that it includes::
- Embedded Bluetooth® for wireless cutting
- Dual carriage for cutting and writing or cutting and scoring in one step
- Upload your own images for free (.svg, .jpg, .png, .bmp, .gif, .dxf)
- Cut over 60 materials from vellum to leather
- Smart Set® dial for easy material settings
- Free Cricut Design Space™ online software and iPad app
- Cut Smart® precision cutting
- Works with all Cricut® cartridges
- Integrated storage compartments
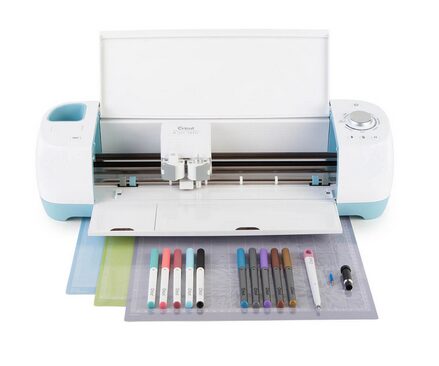
Cricut Explore Air Machine + Deluxe Starter Set – $199.99 (reg $349.94)
Cricut Explore Air™ electronic cutting machine has embedded Bluetooth® for wireless cutting and a dual carriage to cut and write or score in just one step. Also included in this set:
• Cricut Explore Deep Cut Blade With Housing
• Cricut Tools Scoring Stylus
• Cricut Multi Pen Set, Gold
• Cricut Explore Metallic Pen Set
• Cricut Cutting Mat Variety 3-pack
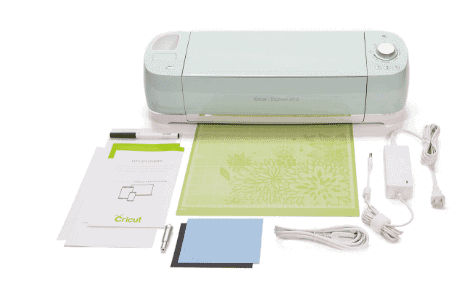
Cricut Explore Air 2 Machine – priced at $229.99 (reg $299)
Cricut Explore Air 2™ is a DIY speed machine. This smart cutting machine cuts and writes up to 2x faster than previous models and helps you make projects with over 100 different materials.
• Up to 2X Faster. Select Fast Mode when you need to make every minute count.
• Quick projects. Select from over 3,000 ready-to-make projects or make quick cuts from our extensive image library.
• Create on your computer, tablet, or smartphone.
• Embedded Bluetooth® for wireless cutting
• Cut 100+ materials from vellum to leather
• Smart Set® dial for easy material settings
• Double tool holder for cutting and writing or cutting and scoring in one step
• Upload your own images for free (.svg, .jpg, .png, .bmp, .gif, .dxf)
• Thousands of designs and ideas to kickstart virtually any project.
• Cut Smart® technology for precision cutting and easy and pre-calibrated material selection
• Upload and use your own image files or fonts for free
• Works with Cricut® cartridges
• Cuts printable images
• Integrated storage compartments
