#Bringonthecolor – DIY Hutch Makeover Plans using Olympic Paints!
This post may contain affiliate links and I may be compensated for this post. Please read our disclosure policy here.
#Bringonthecolor
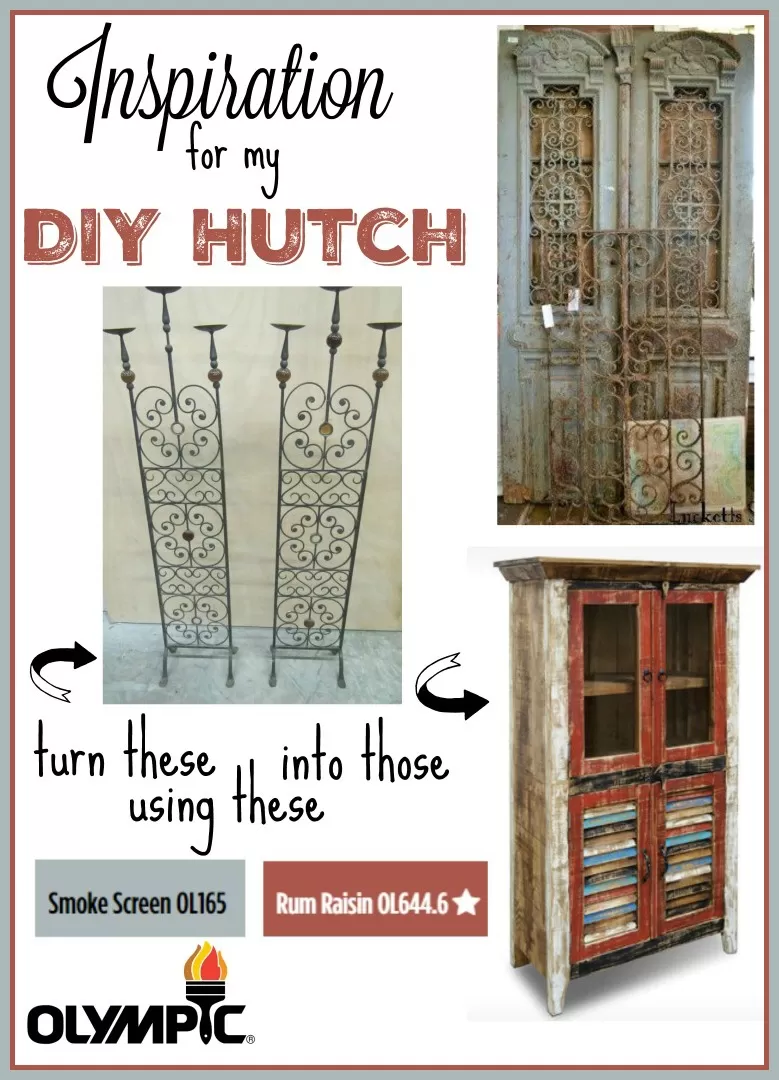
I have been holding on to these two candle abras for over ten years now, hoping to one day turn them into a dining room hutch, to display my favorite Mexican Tavalera dishes in (that I have also been collecting for over ten years now). The candle abras hold special significance for me, as they were both in my wedding (we used them in the candle lightning part of the ceremony). I love all things that are made with rustic wood and metal. The only problem is that furniture with those two components included in them can be very pricey. So we decided to make our own. It just took me a long time to finally get to it!
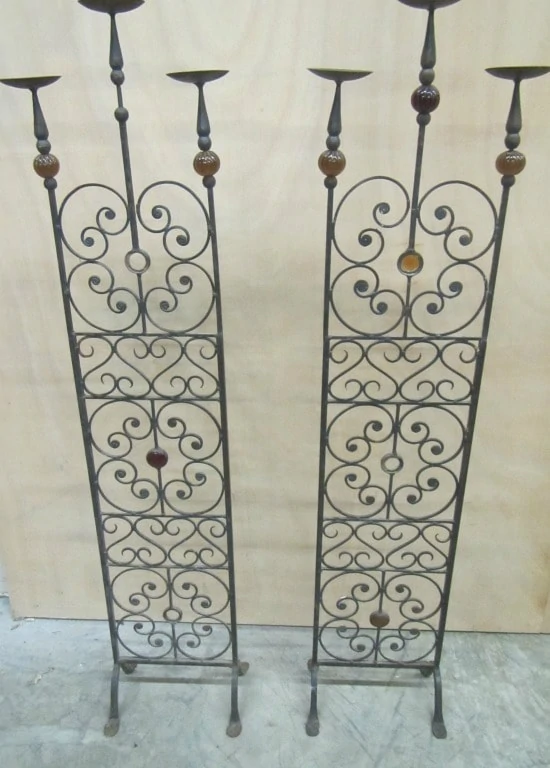
I have always envisioned the two flat parts of the iron candle abras, with the scroll designs, as being inset into two doors for a small hutch for my dining area. The first thing I did was set out to find some inspiration, so I would know how I wanted my hutch to come together.
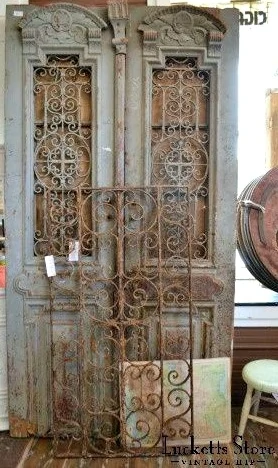
Photo Credit: The Luckett Store
I found this old rustic hutch from the Luckett Store, and was immediately drawn to it.
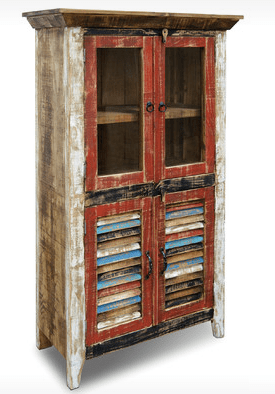
Photo Credit: The Furniture House
I had also found this cabinet with some cleaner lines, and was thinking this might be a more simplistic approach for a novice like me from The Furniture House.
I love the colors of both pieces, and am hoping that if I blend the two styles, and colors, and use my own candle abras for the doors, that I will end up with a piece that will stay with me forever!
So, my next stop was off to Lowes to check out the Olympic paint line. I knew they carried both wood stains (in colors) for exterior projects, as well as a large selection of paint colors. I had a few ideas going in to the store about what colors I wanted to use, and since this project would be used inside the house, I focused on the paint selection, and ended up choosing a blue (Smoke Screen 0L165) for the outside, and a rustic red (Rum Raisin 0L644.6) for the inside. I plan on using a couple of paint techniques to get that distressed look I love in the hutches on the inspiration board. We will be using scrap wood to build the cabinet and door frames, to keep our costs down, and so paint gave me a little more wiggle room for wood discoloration etc. I did love the stain options though, and look forward to an exterior project I might be able to use those on (like an upcoming deck project).
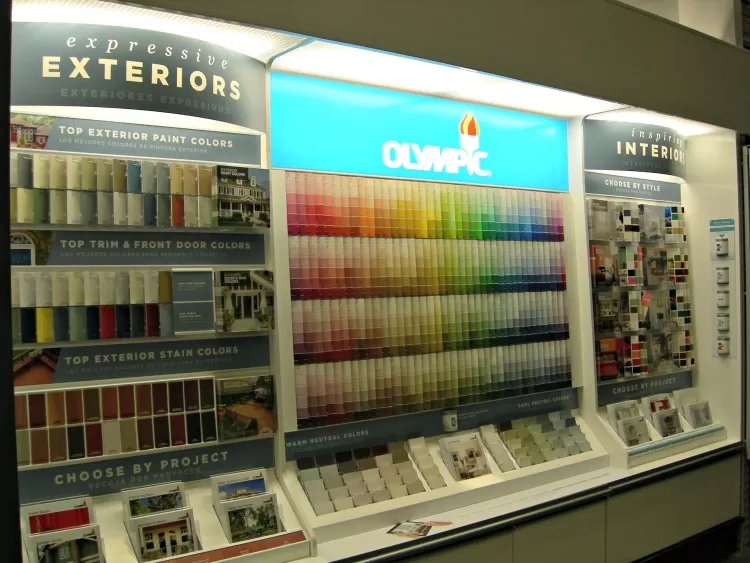
Olympic Paint Center at Lowes Stores
Olmpic Paints and Stain colors are sold exclusively at Lowes stores. Its a very easy paint center to use, as they provide many different room brochures that help you narrow down your paint choices by room, or style preferences. They have the brochures arranged in three different ways, to make paint selection easy for you based on the way you like to approach your projects. You can either choose by the traditional paint chips, or browse the Lifestyle brochures, or Project brochures (these are set up by room or specific project type).
You can also use their design tools online, which I found super helpful! You can browse by popular colors, or color wheels etc. Once you find a color you like, they will suggest complimentary colors to go with that color as well (which I loved!). You can even upload a picture of your room to their “Paint Visualizer Tool” and test paint colors on it to see what you want to use.
Paint is one of the most affordable ways to make the biggest decor update in a house, and their color selection tools make that process really simple. Sheen is one thing you will want to be sure to consider well before buying paint, and they provide a paint sheen guide to help you get that right too.
Be sure to follow them on their websites, to stay on top of design ideas and coupon savings opportunities, etc. You can find them at:
So, now I have my paint colors picked out, my candle abras moved to the shop area I plan to build the hutch in, help lined up for the building process and my inspiration board ready to help me decide how to build my hutch. I will be sharing with you all in June how the DIY Hutch turns out. Hoping I like it as much as I like the ones on my inspiration board! Stay tuned to see how it turns out, as well as step by step instructions on how we build it, in case you want to save some big money and make your own too!
Disclosure: This post is a sponsored conversation by The Motherhood and Olympic Paints. All thoughts are 100% my own.