Thrifty Craft Idea – Stained Glass Crayons
This post may contain affiliate links and I may be compensated for this post. Please read our disclosure policy here.
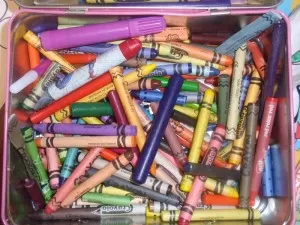
I knew there were lots of fun ideas out there to use up old broken crayons, but I never really took the time to do any of them. So today, with a sick kiddo at home, I decided it was time to give those broken crayons new life! I found a “recipe” for Stained Glass Crayons in an old family cookbook.
Directions:
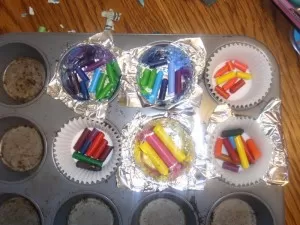
I lined my muffin tins a few different ways, just to experiment. (and partly to protect my muffin tin!) Some I simply put aluminum foil. I’m sure you could use tin foil muffin cups but I didn’t have any on hand. I lined a few with 4-5 paper liners. I get these in bulk so I don’t mind using them for crafts! And a few cups I lined with both, just to see what happened.
I had my daughter help me peel the paper off the broken crayons and we each took a side of the muffin tins to create our own masterpieces. The recipe said to mix up the crayon colors to give it that stained glass look.
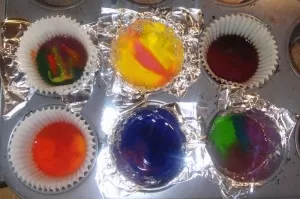
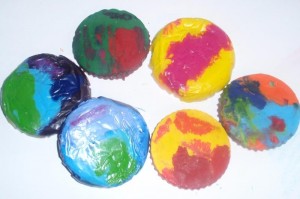
We put the tray in a 400 degree oven and peered through the window, waiting for something to happen. After about 30 seconds my daughter lost interest and found something else to do while we waited! At about the 5 minute mark the crayons in the tin foil were done melting but the ones in the paper still looked like whole crayons. I let them go another 4-5 minutes and took them out, not wanting to burn them. (if that’s even possible! it just smelled hot and I figured it was ready.) I then put them out on our cement patio to cool. About 15-20 minutes minutes later we had “NEW” crayons that look pretty cool!
Some of the crayons work better than others, but then again, some of the broken pieces worked better than others to begin with! But they are fun and my 5 year old enjoyed making her own crayons. She’s already asked to make more. (I think we’ll use mini-muffin tins next time.)
As far as which liner worked best, I think it’s a wash. Although I’m glad I used so many paper ones in each spot because the wax did go all the way to the outer paper. In which case, if I had foil in abundance I’d probably use foil as the crayons melted so much faster in foil.
What are ways that you have repurposed items around the house for crafts? Or what is your favorite thrifty craft idea?
Thanks to contributor Tara for this post!


We do these from time to time. The key is to use broken Crayolas. The others just don’t work as well.
We like to make suncatchers with crayon shavings and pretty flowers pressed between wax paper sheets (just cover with a dish towel and iron over it on a low setting).
I used this idea when my son was younger, however, we used them to make new crayons. We would put the old and broken ones in mold trays for chocolates that were in fun shapes. Around Christmas we would do Christmas shapes, bag a few up and hand them out as gifts.
We made new crayons this past summer in ice cube trays and a large magnifying glass in the hot sun. Daddy held the magnifying glass, but the kids chose the colors. It was so fun to watch the crayons melt.
Thanks for the reminder about this fun and easy craft! I run an in home childcare and we are making this today! Yeah….the kids are having fun picking out their colors, and they will have something to take home tonight. Thanks again!
We got the idea for stained glass windows made from old crayons from the Easter Veggie Tales movie! We shaved the old crayons and ironed them between pieces of waxed paper. They turned out really well, and the kids had fun with it.
When I was a kids my mom halped us make placemats out of old crayons with wax paper and an iron. I can’t rmemeber if we shredded the crayons or what but it worked good. The placemats didn’t last forever, but we could make some fun designs.