Create A Chalkboard – Super Simple Idea!
This post may contain affiliate links and I may be compensated for this post. Please read our disclosure policy here.
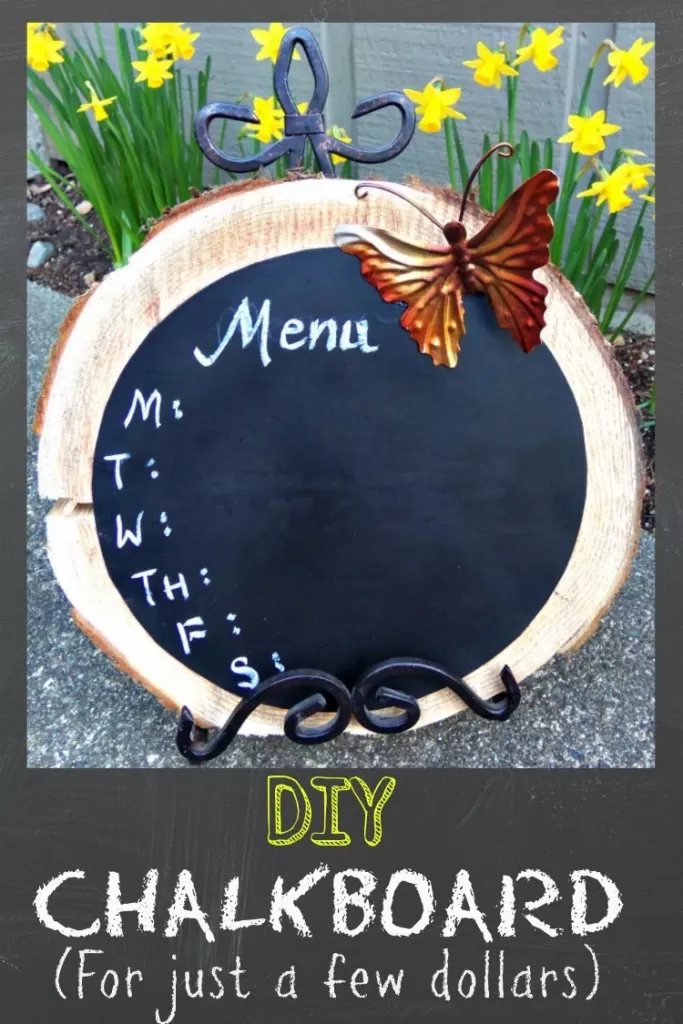
Create a Chalkboard Sign with a Few Simple Materials!
Create a chalkboard sign with these two simple supplies: a wood remnant (cut off from a stump) and chalkboard paint! This is a really affordable way to add some new decor (and functional decor too) to your kitchen, or any other room of the house you want to use it in.
Supplies Needed Create a Chalkboard (like the one pictured above):
- Cut off wood from a stump (or purchased wood piece)
- Chalkboard Paint (I prefer to use spray paint, this is the brand I used for the chalkboards shown here)
- Sandpaper
*Optionally, you can use a second wood round and hot glue or wood glue if your wood is not smooth enough.
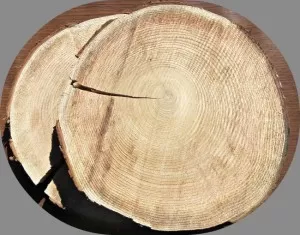
We cut our own wood off of a stump we had in the yard. If you are not able to cut wood from yours or a friend or family members yard, sometimes craft stores will sell pre-cut (and sanded) wood rounds.
You can even order them off of Amazon here.
The trick with using a cut off stump as a chalkboard is that you will need to make sure it’s sanded really smooth if you want to be able to erase and rewrite on your sign.
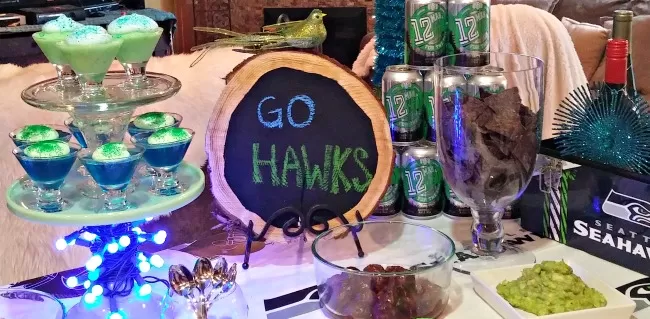
The first chalkboard I made using a stump was not so smooth, and although I loved the rough look, I was never able to really use it well after this first sign that we made for a Seahawks party, so that one became a permanent Seahawks sign. The reason is that it never erased to a clean looking slate again with all of the grooves.
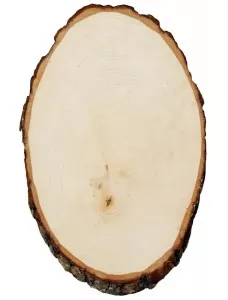
If you prefer not to do a bunch of sanding, you can use this method as well. Buy a round wood that is about an inch in diameter smaller then your wood stump (I found them at our local craft store for around $2). Something like this unfinished pine plaque can work too.
To Make Your DIY Chalkboard:
If you have your wood round sanded well, and plan to paint your chalkboard directly on the stump here are the steps to follow:
- Start by drawing your circle on in a black sharpie marker. I followed the lines of the wood grain to stay with the rustic imperfect look of the wood. You could also use a bowl or circular object to trace if you want a more exact circle.
- Once your circle is drawn, use painters tape to carefully mask off the edge around the rest of the wood stump.
- You can then lay it out on newspaper outside, and spray on light coat of chalkboard paint.
- Allow the first coat to dry, and repeat 4 more times. I like to add 5 coats so I have a nice solid chalkboard finish on my board.
- Once its thoroughly dry, you can remove the painters tape. I like to dry my boards at least over night before adding any chalk to it.
(Note – if any paint were to have seeped through your line, you can often fix it by using your black sharpy marker to even your line out)
If you plan to keep the wood round rustic, and use a separate smaller piece of round wood for your board you simply paint the inner wood round (again, I like to use 5 coats, allowing it to dry in-between coats).
Once the last coat is fully dried you can attach it to your stump cut off using a hot glue gun.
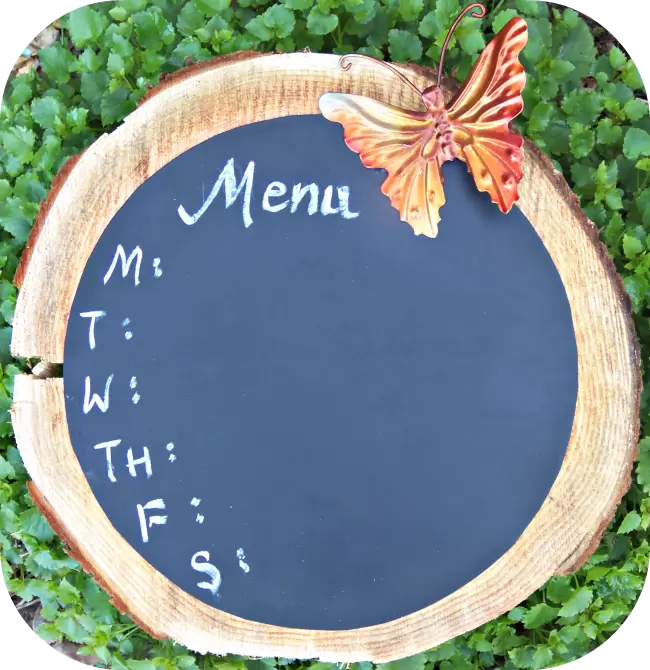
You can look at the two designs I did below, and see which one will work best for you.
In this version we painted out a thin wood veneer circle with chalkboard paint, and attached with hot glue, for a smooth surface.
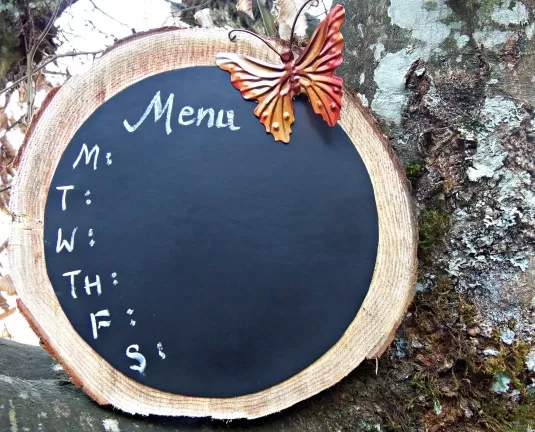
This is the rustic version (lightly sanded, and painted right on the wood grain)
In this version the wood was free to me, and so we just paid for the cost of the chalkboard paint (approx. $3)! When we added a wood veneer, we were still at just $5 – which is a great price for a decorative chalkboard!
To display your chalkboard you could attach some picture hanging wire to the back and hang it, or I just picked up a simple plate stand at my local Dollar Store. I also embellished mine a little by using hot glue to attach a metal butterfly I had laying around the house.
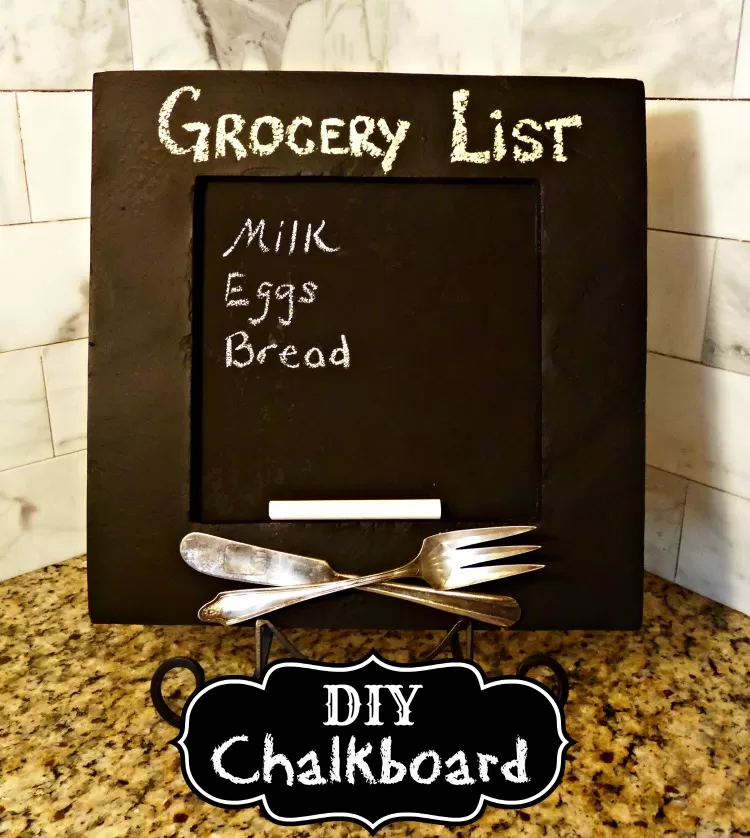
Another idea is to head to your local Value Village or thrift store. We recently visited the grand opening of the Value Village in Issaquah and found lots of items you could use for a fun kitchen chalkboard. Look for things like picture frames that you like (they can have a picture in them, but just look for shapes and sizes of the frame that you like). Silver trays, or cool large plates or platters are other good options to pick up if you want to make your own DIY chalkboard.
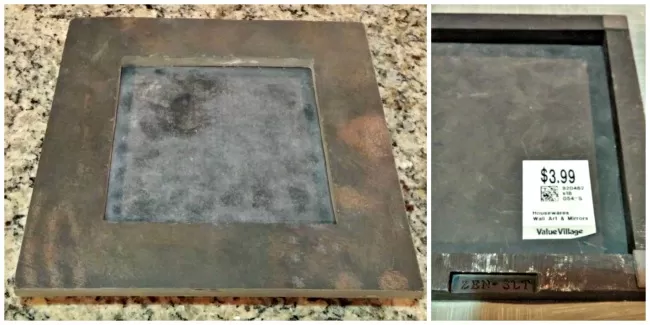
I found the slate frame for just $3.99 at Value Village. I paid $0.25 per utensil, and $2.99 for a bottle of chalkboard spray paint (which I was able to use for multiple chalk boards. The grand total for this Kitchen Chalkboard was $7.23!
Lastly, you can tape off your wall and paint one directly on there, which will just cost you the price of a can of chalkboard paint. Its a fun, frugal and functional way to add some fresh decor to the house! They are also lots of fun for entertaining. Bring out a chalkboard or two to let guests know what is for dinner, or what drinks they can choose from etc.
Other posts you might like: